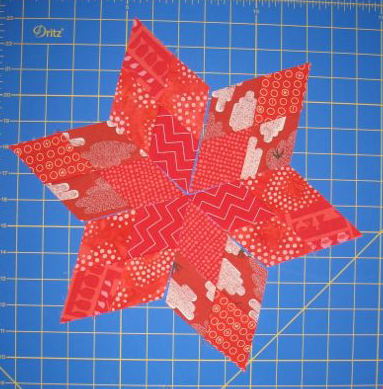
I’m in the online quilting bee Stash Bee, and May is my month to pick a block for everyone to make! I thought I’d repost my tutorial here. It’s based on the larger block by Alia of card table inc. People are already posting beautiful blocks!
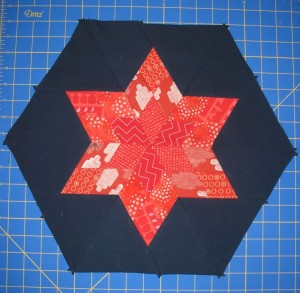
Click through for the full tutorial!
Here is how this block will be assembled. We will make 6 units with 4 diamonds each. There will be 3 each of 2 different fabric arrangements.

For the star, you will need 8 strips of fabric, 8” x 2”, in 6 different fabrics. Cut 2 strips from two of the fabrics and one strip from each of the other four fabrics.
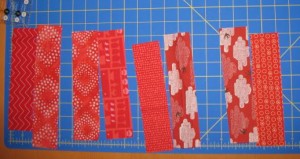
The left two sets will form one set of diamond units, and the right two sets will form the other ones.
Sew the strips together in sets of 2, but instead of aligning them like you normally would, shift the top strip up by 1 inch before sewing:
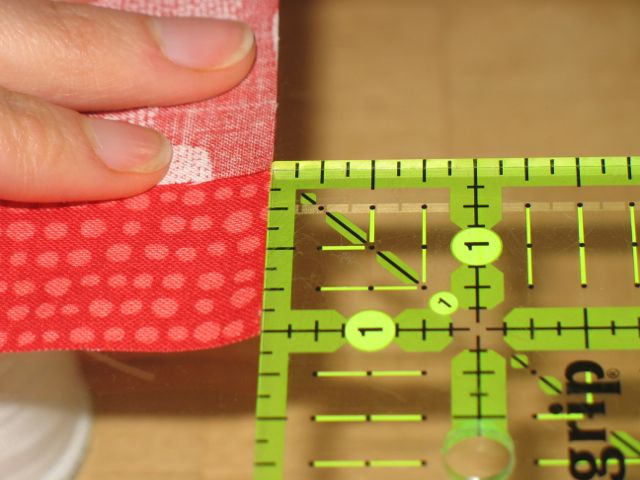
The strips will look like this when sewn together:
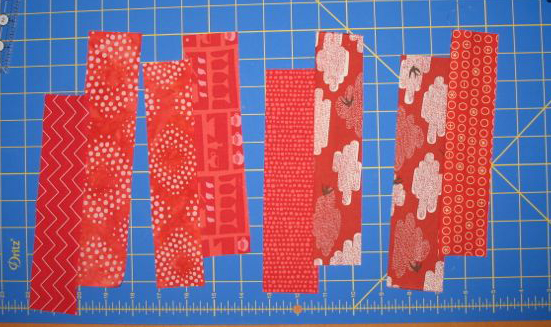
The higher strip should be on the right hand side. Now using the 60 degree line on your ruler, cut the corners off your first set of strips:
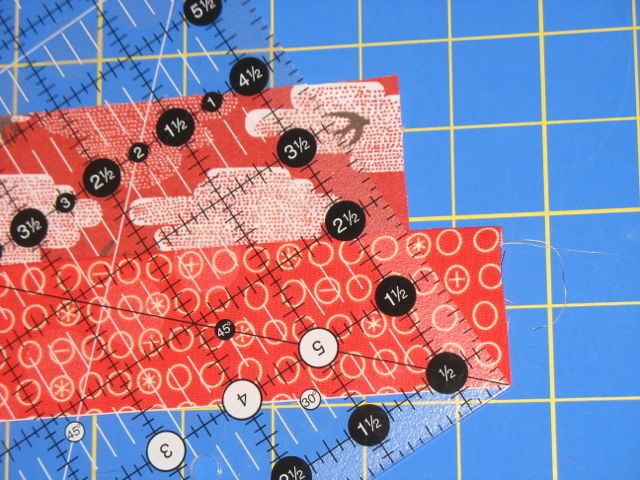
Then, from the edge you just cut, cut 2-inch strips. You’ll get 3 units out of each set of strips. You can keep aligning the 60 degree line with the other edge of the fabric to make sure you are staying accurate:
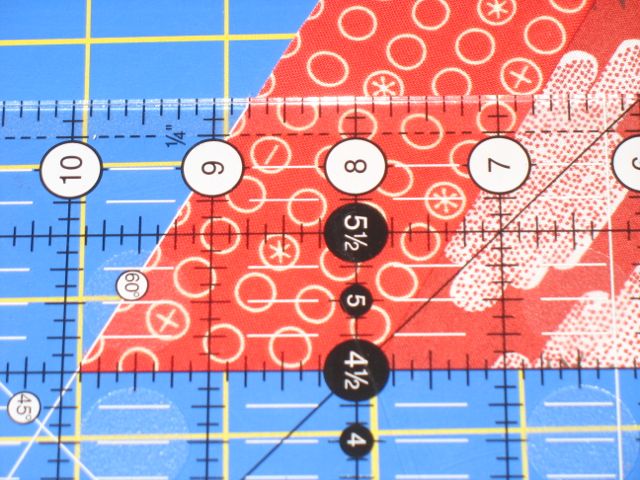
Repeat for all strip sets:
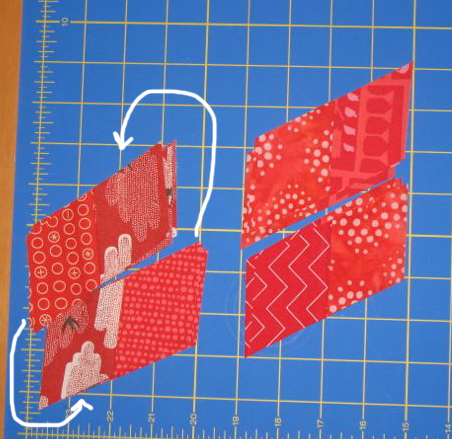
Those two units on the left weren’t arranged correctly. Oops.Repeated patches should be in the same position as on the right.
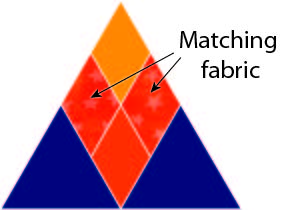
The matching fabrics should go across from each other like this:
Alia suggests cutting off the points of one of your units for each diamond by lining up the point with the 60 degree line and ¼ inch line, and this is a great idea and really helps later. You’ll want to do this on one of the middle (repeated) fabrics.
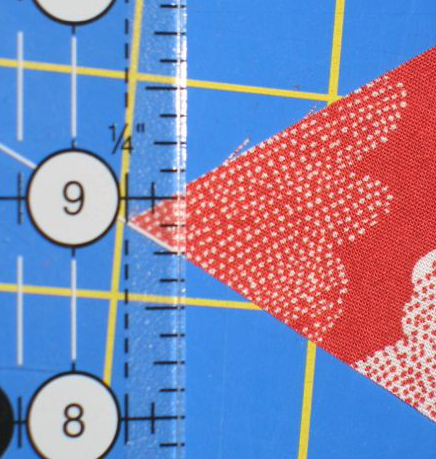
Now you can use that corner to line up your strips and then sew them together:
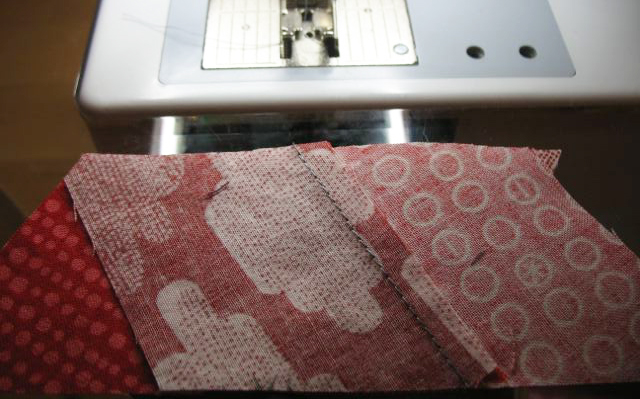
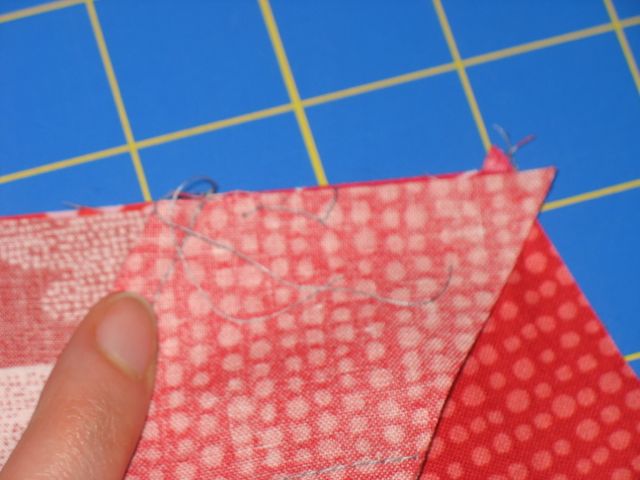
A tip for getting the points to line up perfectly: see how in this picture, the corner of the top fabric piece is just a little bit to the left of the hole in my stitch plate?
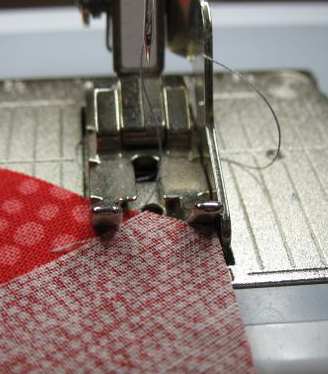
Logic says it should line up, but I found that if I let it go just to the left, my points lined up much better.
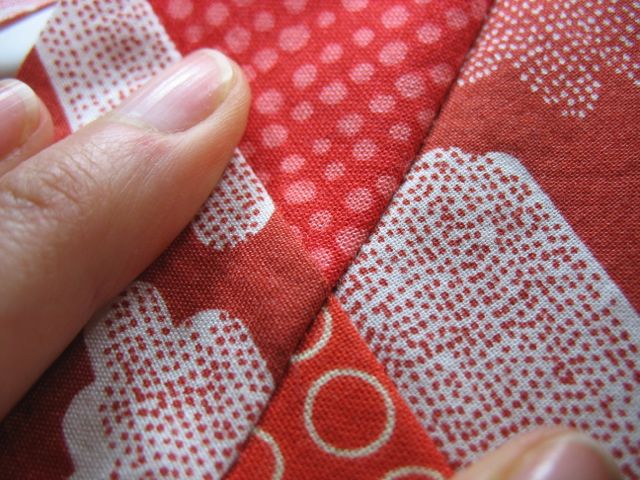
Decide which way your points will go if you haven’t already.
For the background, you will want to cut 12 4” equilateral triangles. Cut a 4” strip (one full width of fabric strip was more than enough, but if you are using a fat quarter you’ll need 2 strips).
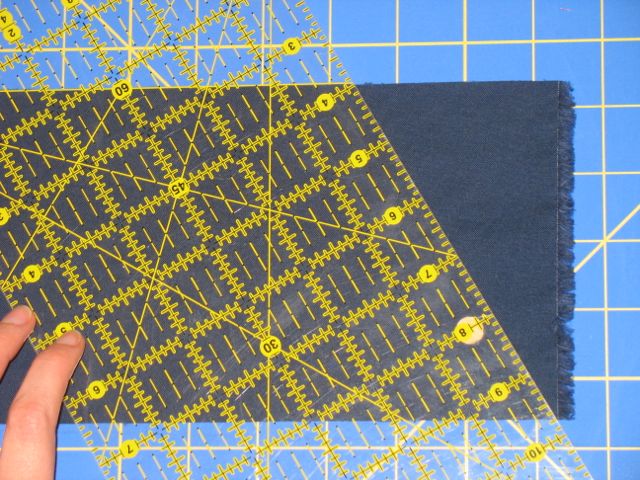
Trim the edge using the 60 degree line on your ruler:
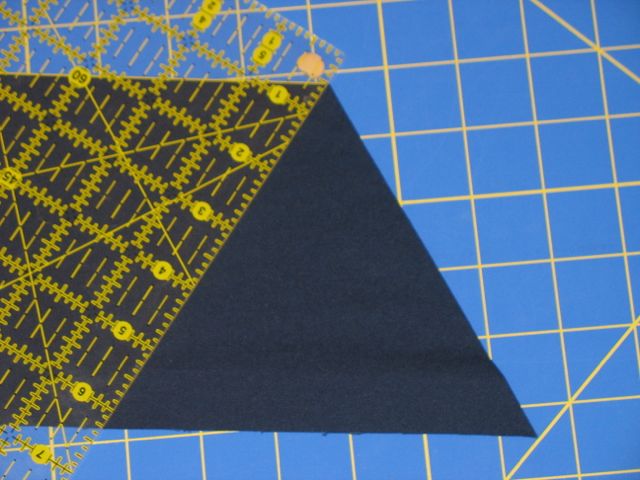
 Then cut triangles by using the other 60 degree line:
 If you have a handy dandy 60 degree ruler like I do, you can cut two at once!
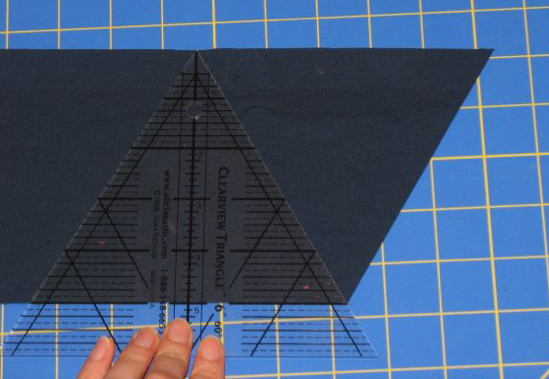
You can trim one corner off each of these as well to help with alignment. Here’s how to do it if you have the same triangle ruler as I do:
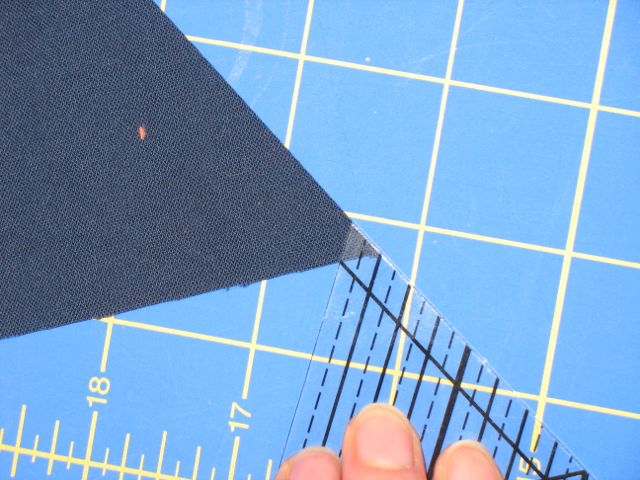
Then line up with the outer edge of one of your diamond units and sew:
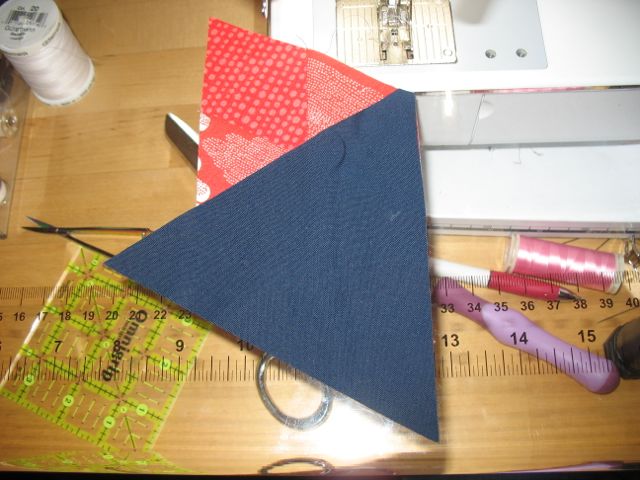
After you do that, trim off the extra corner:
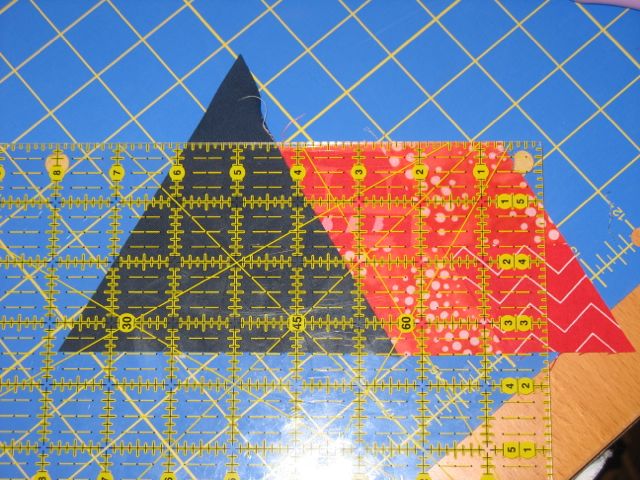
And then add the other triangle:
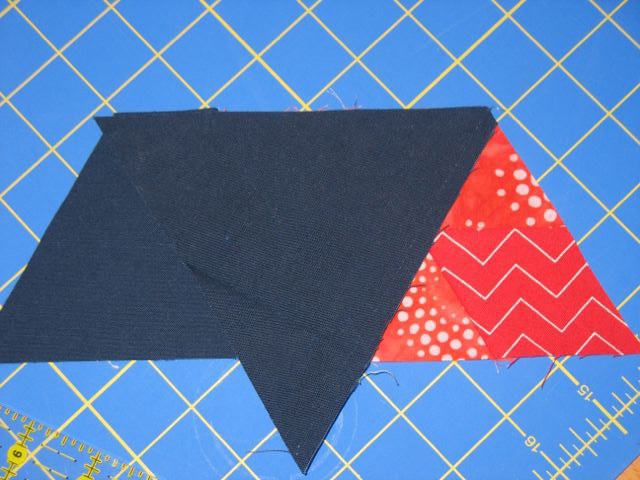 Then you’ll sew 2 sets of three triangle units together, alternating the different units:
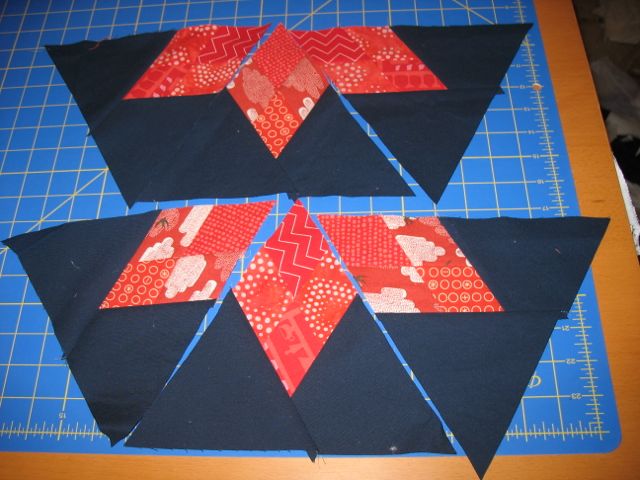
If you press your seams open at this point, it will help to reduce the bulk at the center. Plus, you can still use the points to help you align the third triangle in each set:
Finally, you will sew the two halves together! At this point I used a few pins to help me keep things lined up:
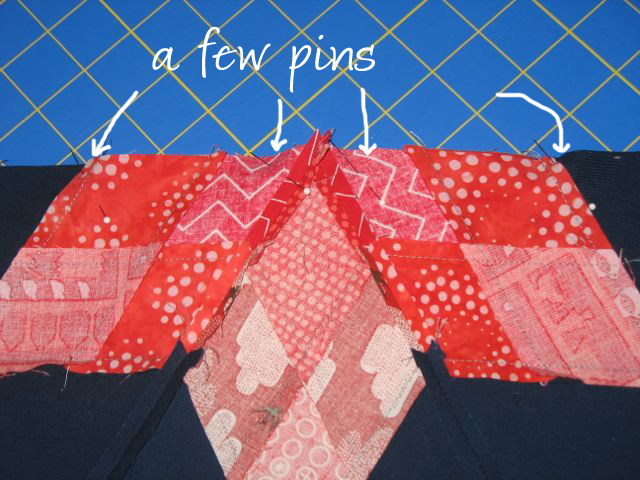
All done! The finished block should measure just about 7.5″ on each edge and 13” across from edge to edge. (Yours will have a little less background than shown here since I cut my outer triangles too big.)


Looked at the pics on the Stash Bee page – that’s going to be a beautiful quilt if you get all those star blocks!
Thanks for the tutorial. It’s fun to see something made with diamonds. You always do come up with fun stuff!
Great tutorial and fun block!!! Cant wait to see the finished project.
thank you for the tutorial! I can’t wait to try this soon!
I left a comment on another blog post looking for help in recreating the amazing celestial orb quilt. I think I just found my help! Thanks!
I meant Main Sequence Quilt.. for which there is no pattern. This tutorial helps and I have a friend that will help check my math for the fabrics. 🙂 I did notice that some of the hexes had some sashing around them. Is that because some of the blocks came to you in slightly different sizes?