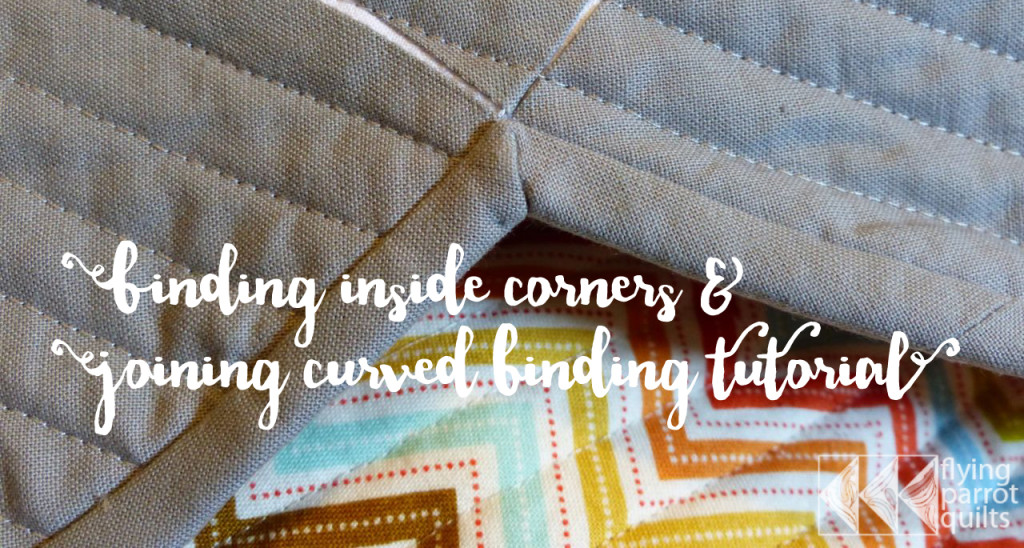
I’m working on a quilt with a scalloped binding, so I thought I’d share my technique for binding inside corners and joining the binding on a curve.
Start with a double-fold bias binding. (Here is some information on making bias binding.) Begin sewing your binding onto the quilt in a curved section.
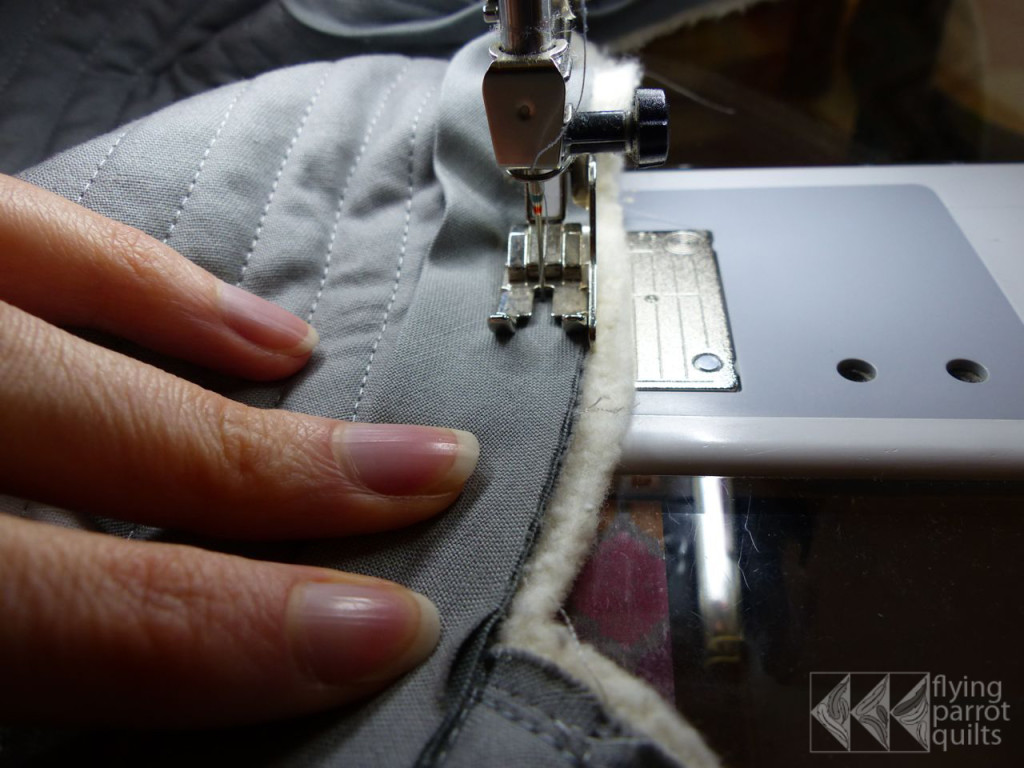
When you approach the inside corner, stop with your needle down and, using a water- or air-erasable fabric marker, mark the inside the point of the binding by measuring in 1/4″ from the edge of the binding and 1/4″ down from the next edge of the quilt:
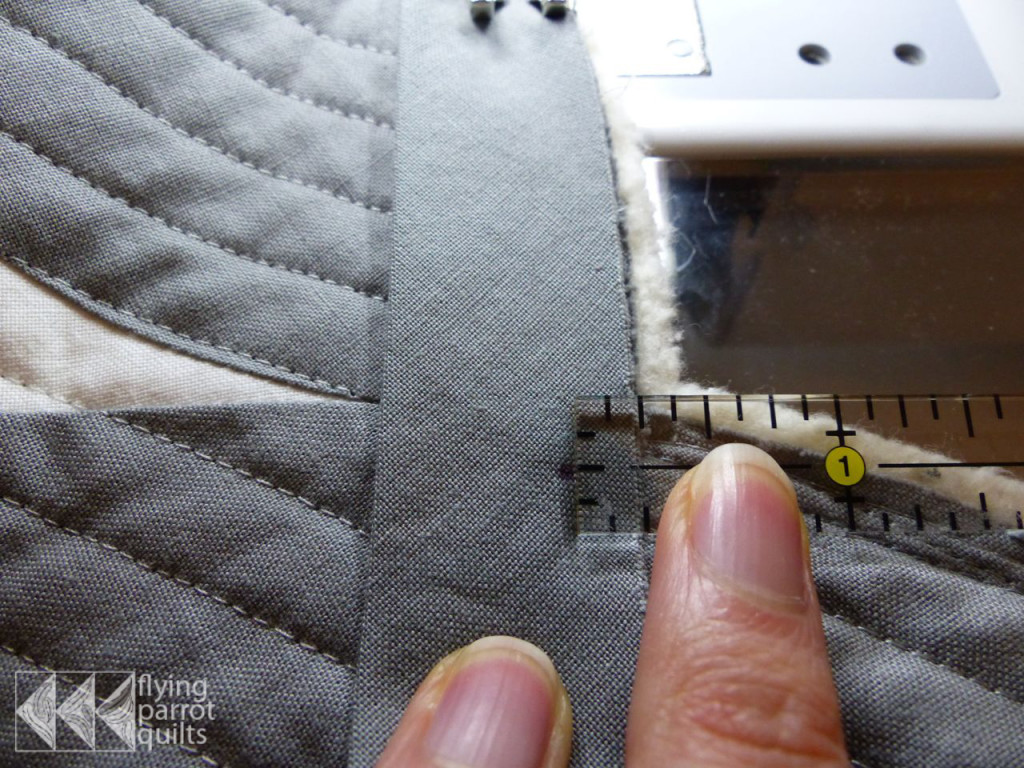
Sew to this point and stop with your needle down. If you want, you can lift your presser foot and peer underneath the binding to make sure the needle has stopped in the right place in relation to the piecing on your top.
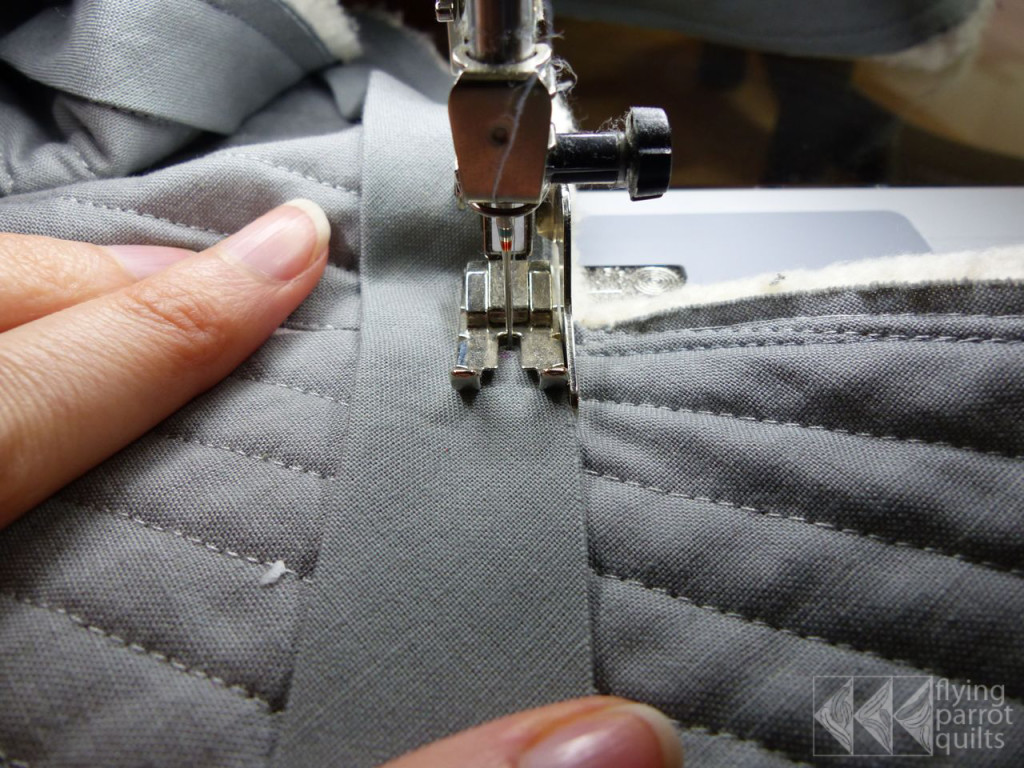
Lift your presser foot and pivot the quilt so the edge of your 1/4″ foot lines up with the next edge of the quilt. Pull the binding around, too.
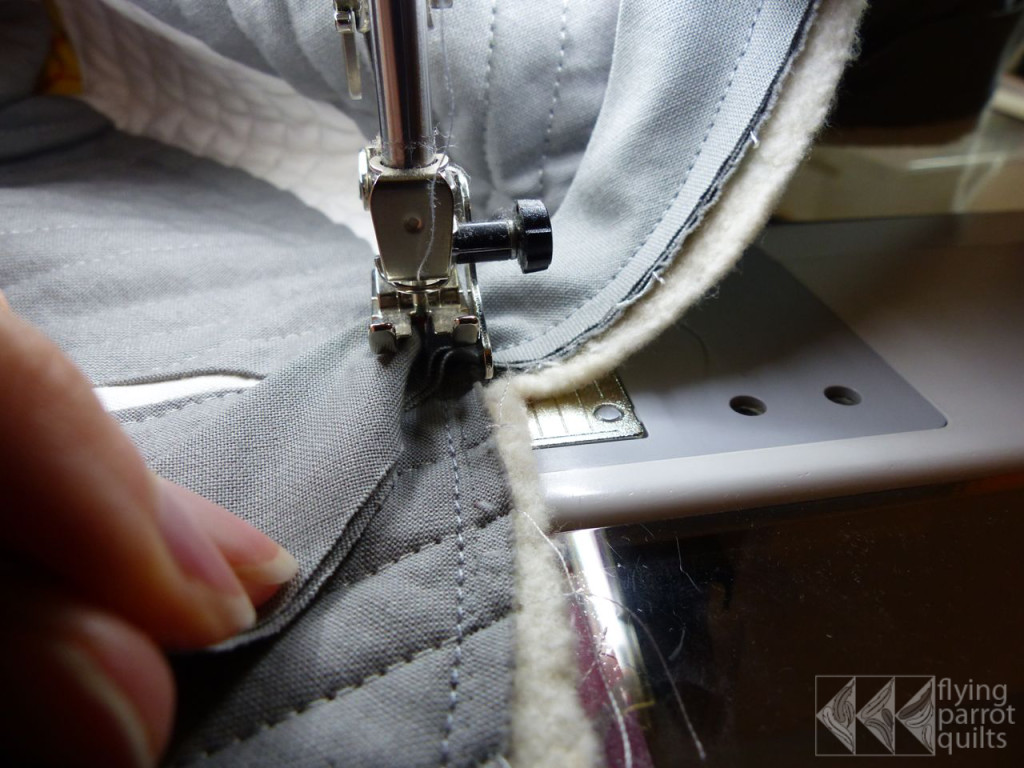
If you start sewing now you’ll get weird tucks in your binding, so use a skewer or a toothpick to gently push the excess fabric out of the way right in front of the needle. Lower the presser foot again and make sure the folds are still out of the way. You can keep the skewer in place as you take your first few stitches.
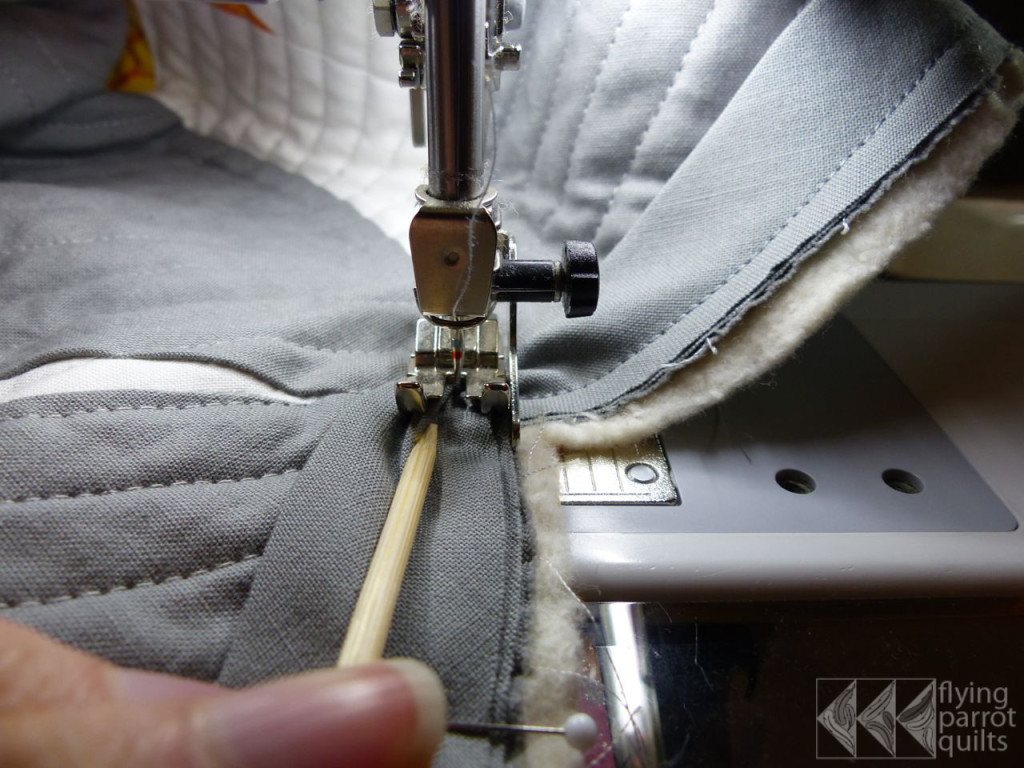
Continue sewing around the quilt, stopping about 8 inches before where you started sewing the binding.
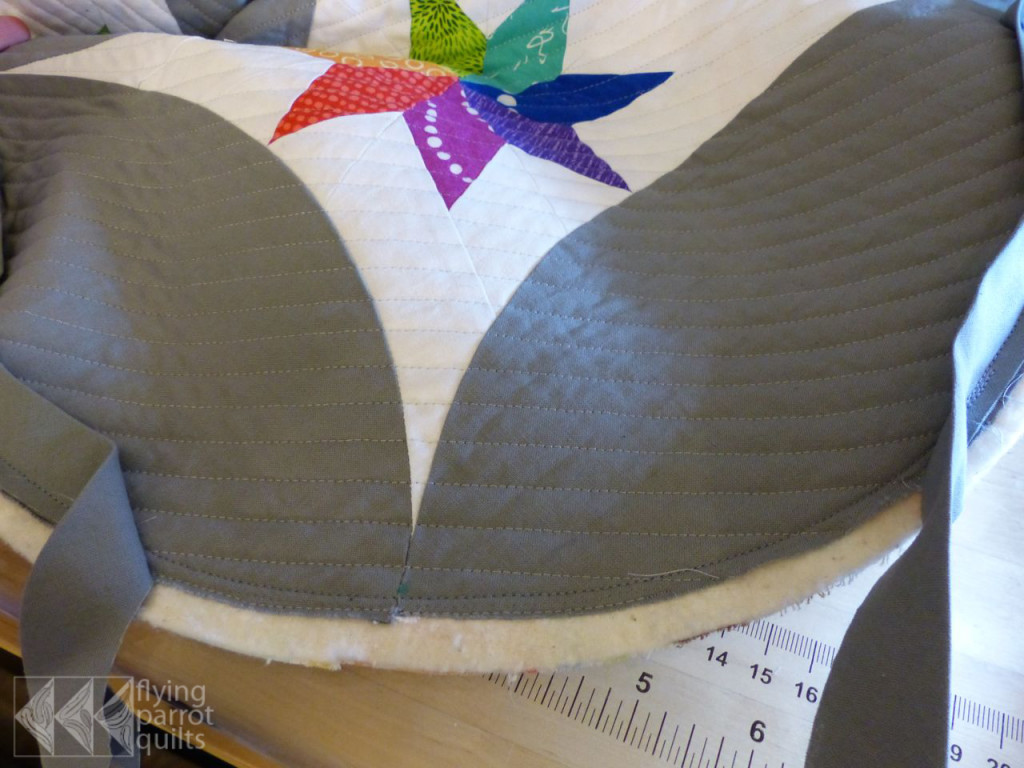
Joining the binding on a curve works just like joining the binding on a straight section. Since one end of your binding should already be cut at the proper angle for a miter, here’s the technique I use.
If necessary, trim your other end so you can lay it flat on the quilt, and pin to the quilt.
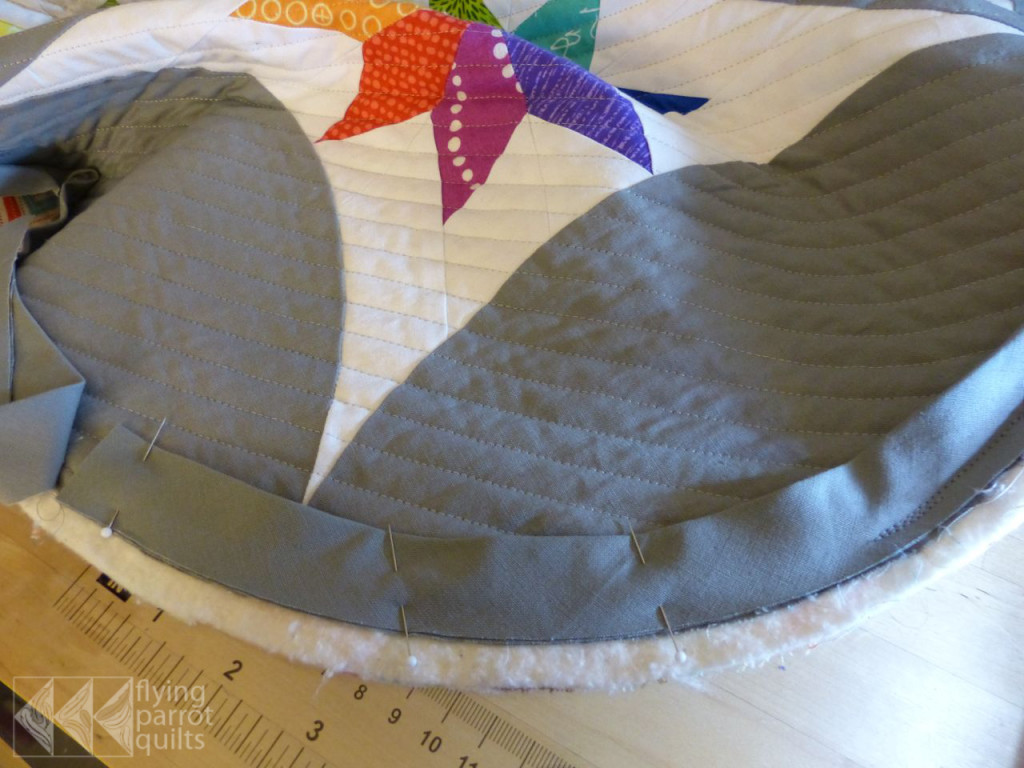
Lay your other binding end (the one with the nice 45-degree angle) on top, following the curve. You can pin it if you would like. Then, mark the end of the top binding.
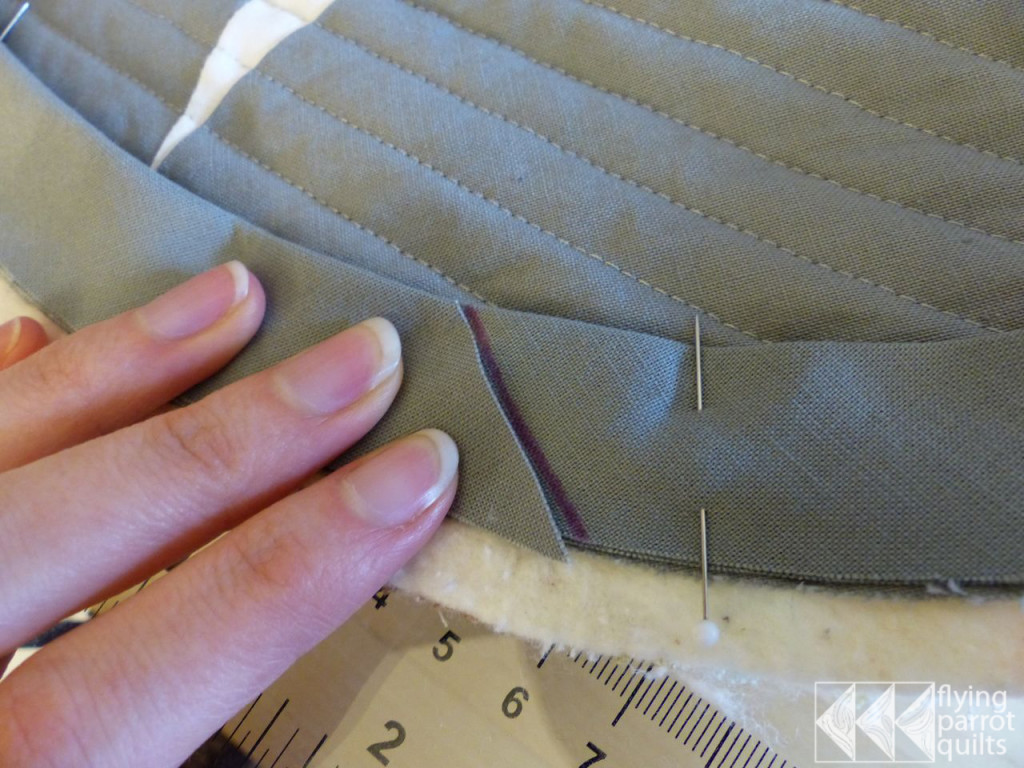
Remove your pins again, and mark a second line on the bottom binding, 1/2″ away from the previous line and closer to the end of the binding.
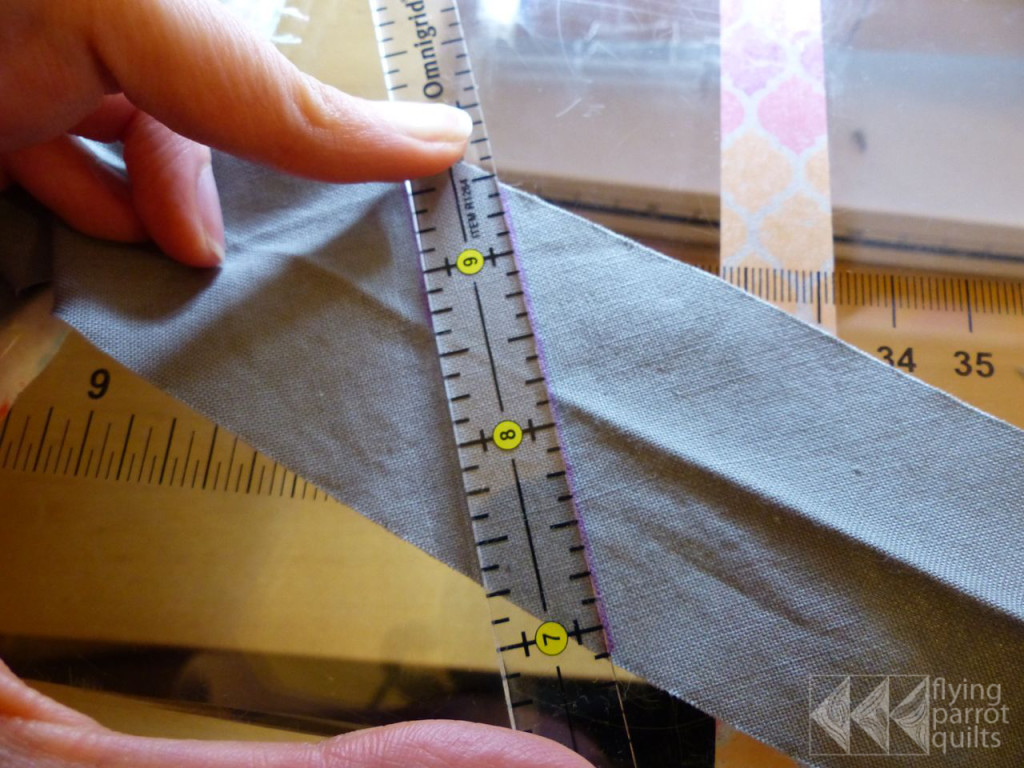
I use a skinny 1/2″ wide ruler for this.
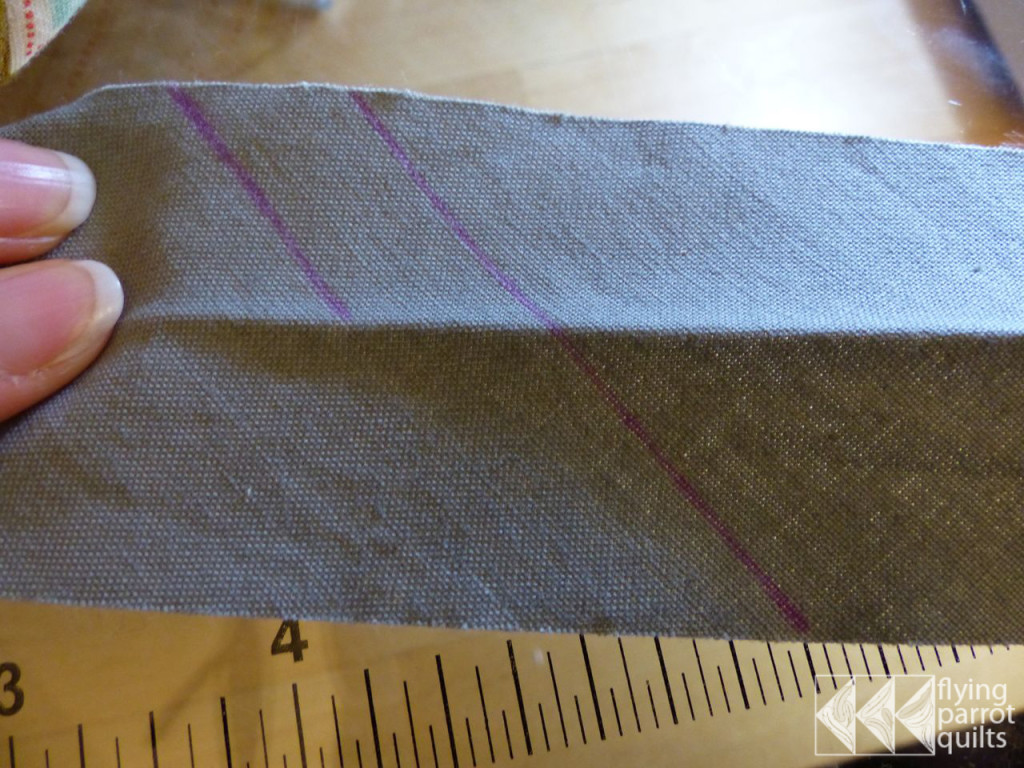
Now, right sides together, line the end of your other binding up with the line you just marked, shifting it 1/4″ to account for the seam allowance:
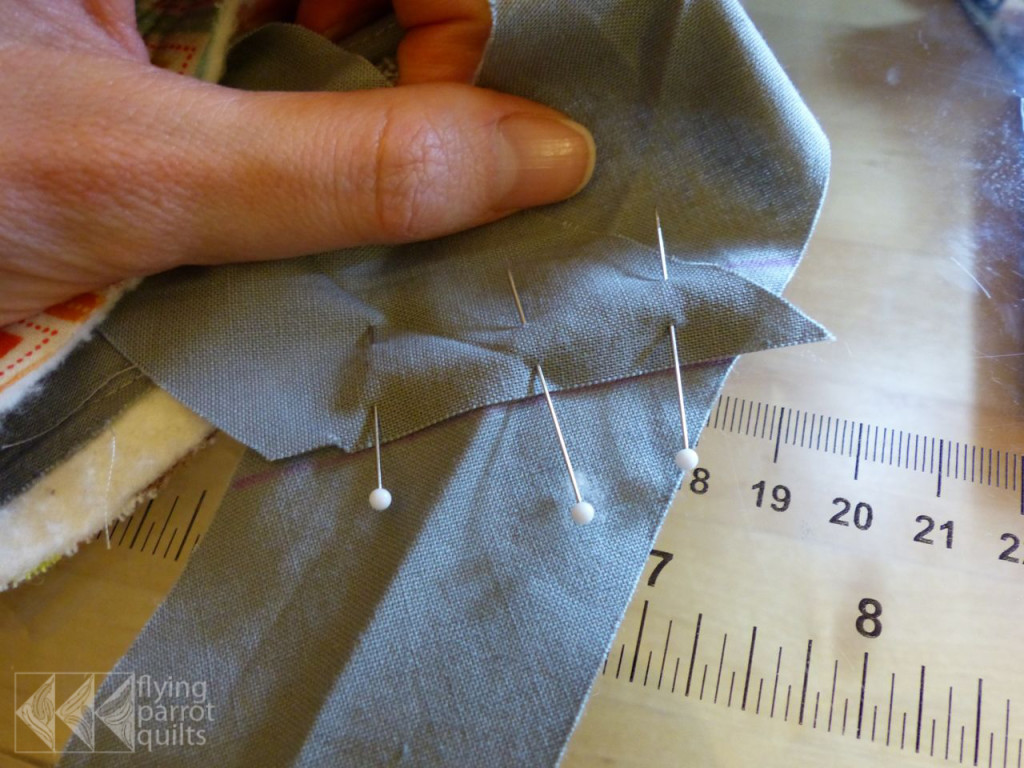
Pin and sew with a 1/4″ seam allowance.
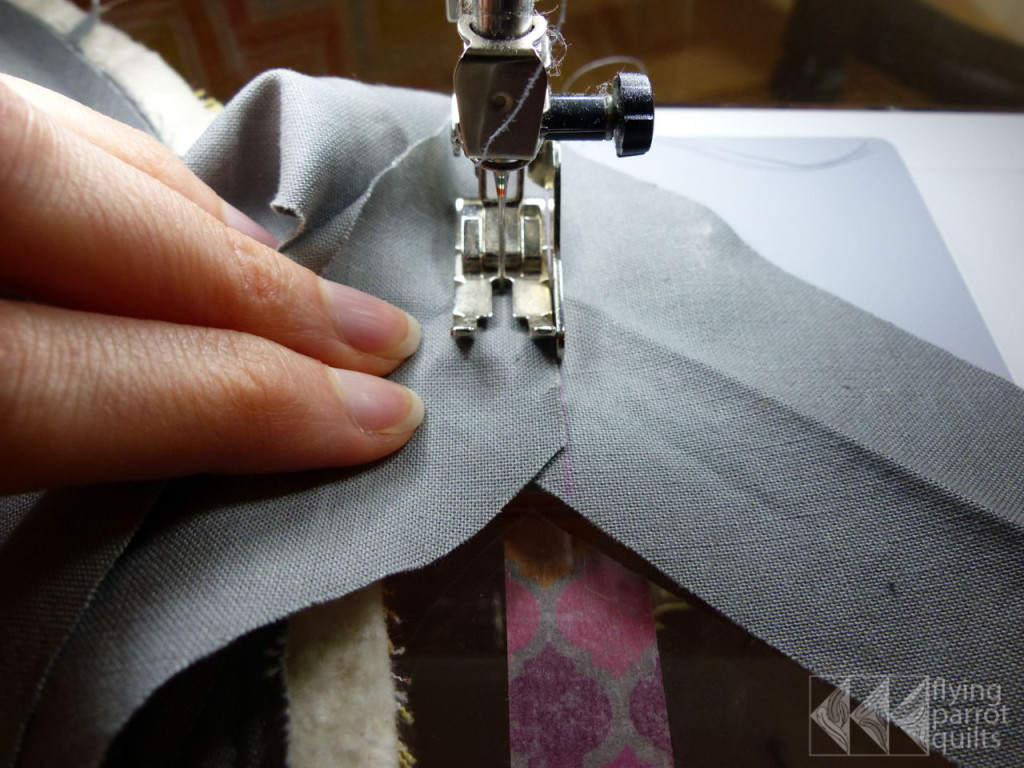
Before you trim, make sure the binding fits properly:
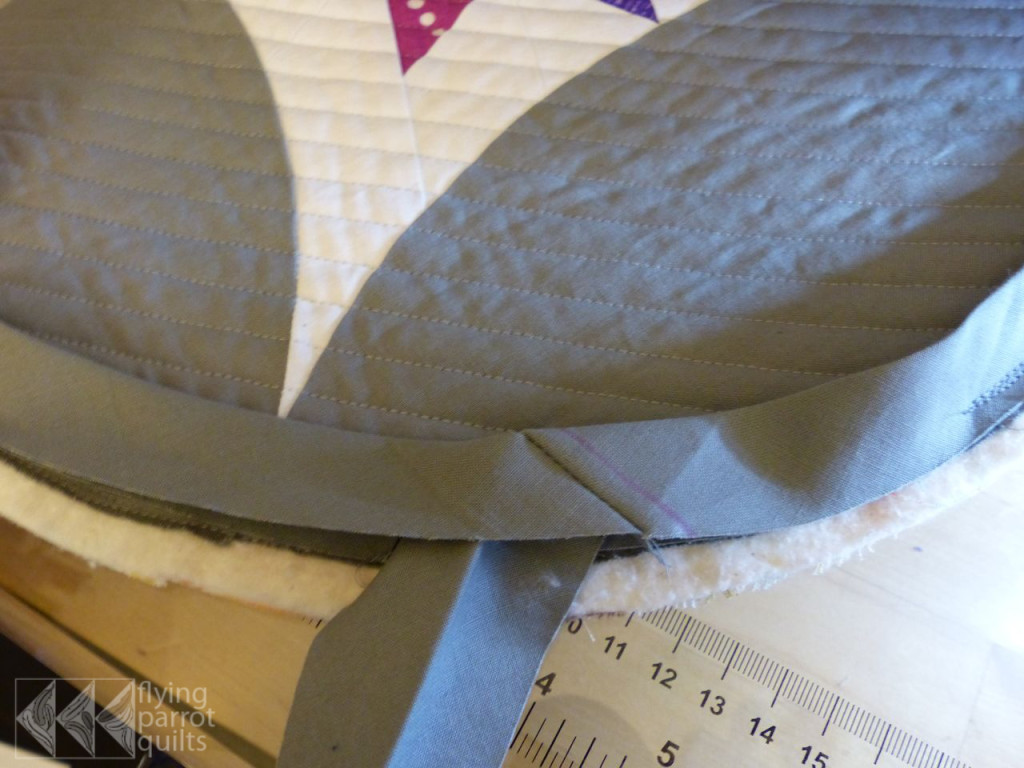
The seam will be in between the two lines that you drew. If the binding fits properly, trim the excess, finger press your seam open, and sew this last section of binding to the quilt.
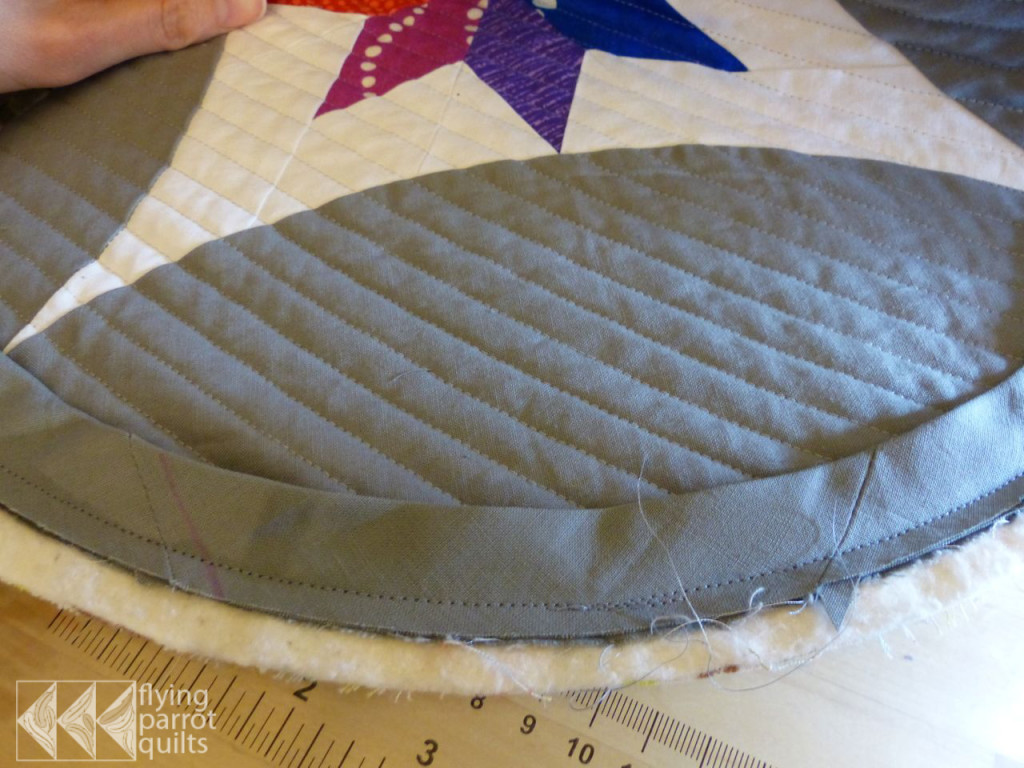
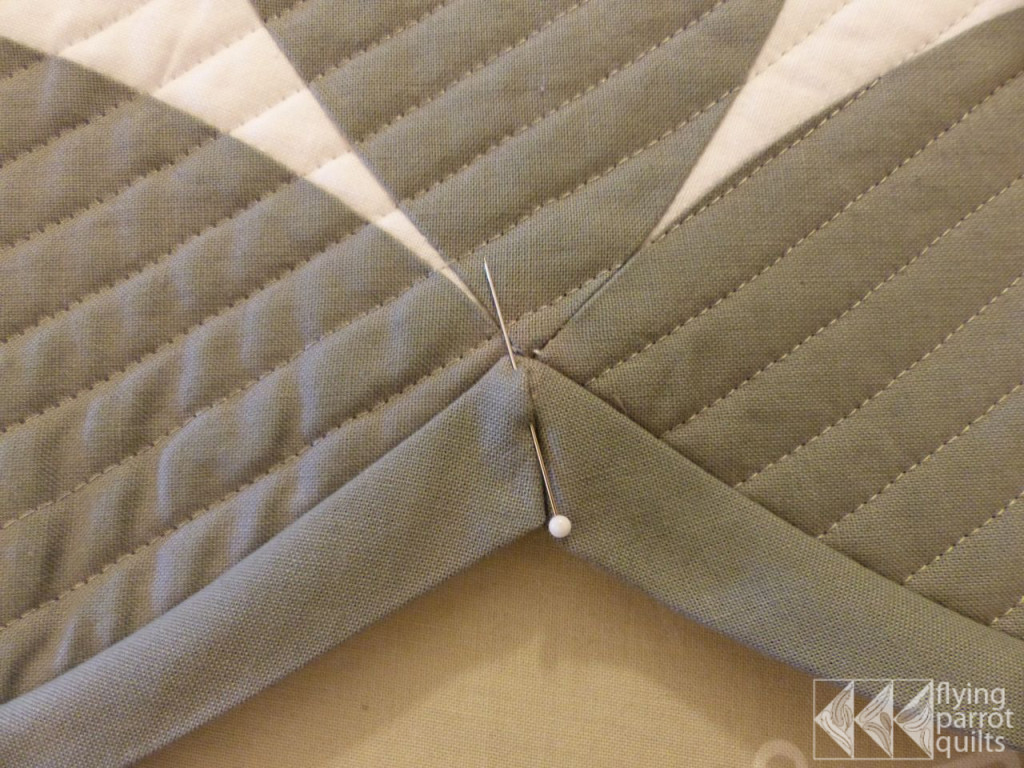
Trim any excess batting and backing now. Next, you will press the binding outward with your iron. The binding should fold naturally in the corners, but you can adjust it to make sure the top fold is right in the center of the corner. The fold should start right at the corner.
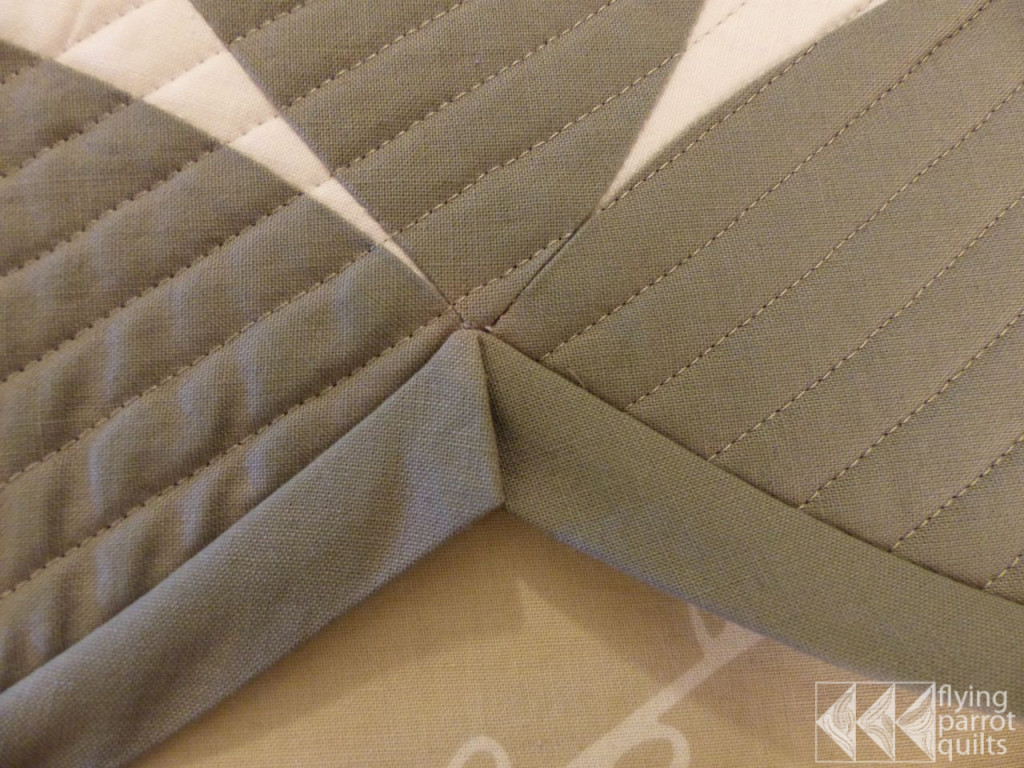
Once you have pressed each corner, insert a pin just into the bottom part of the fold (the part that will be on the front of the quilt) to hold it in place until you can stitch it down.
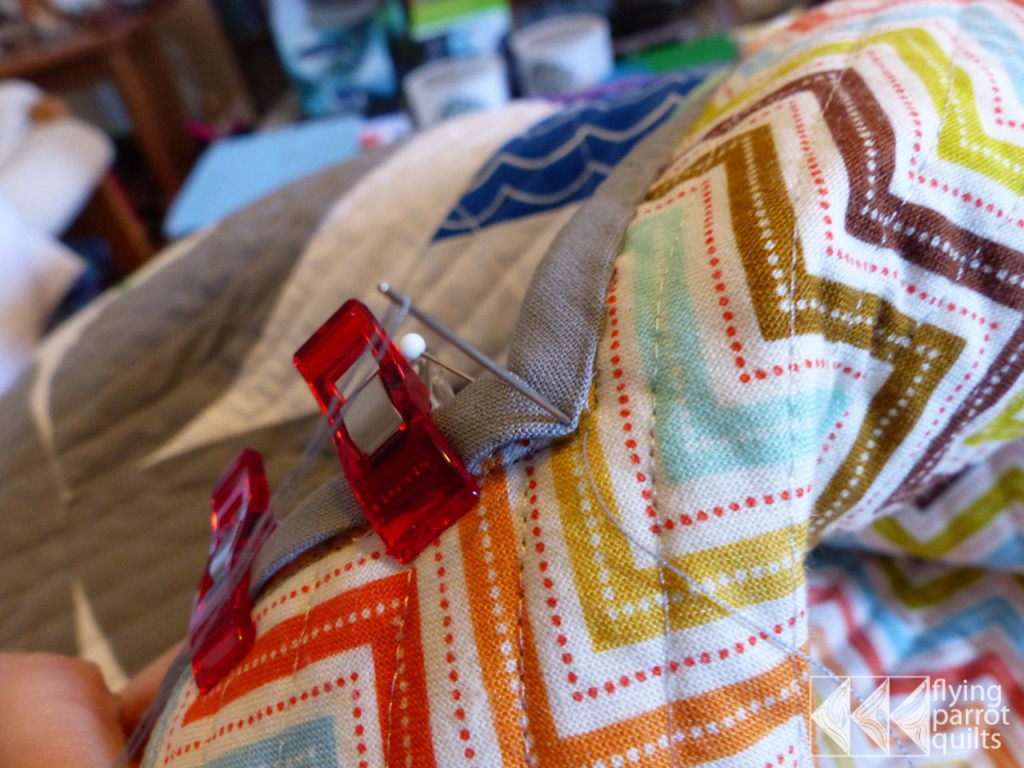
To hand-sew these inside corners, use clips or pins to temporarily secure the binding to the back of the quilt. I use Wonder Clips. I put two clips very close to the inside corner:
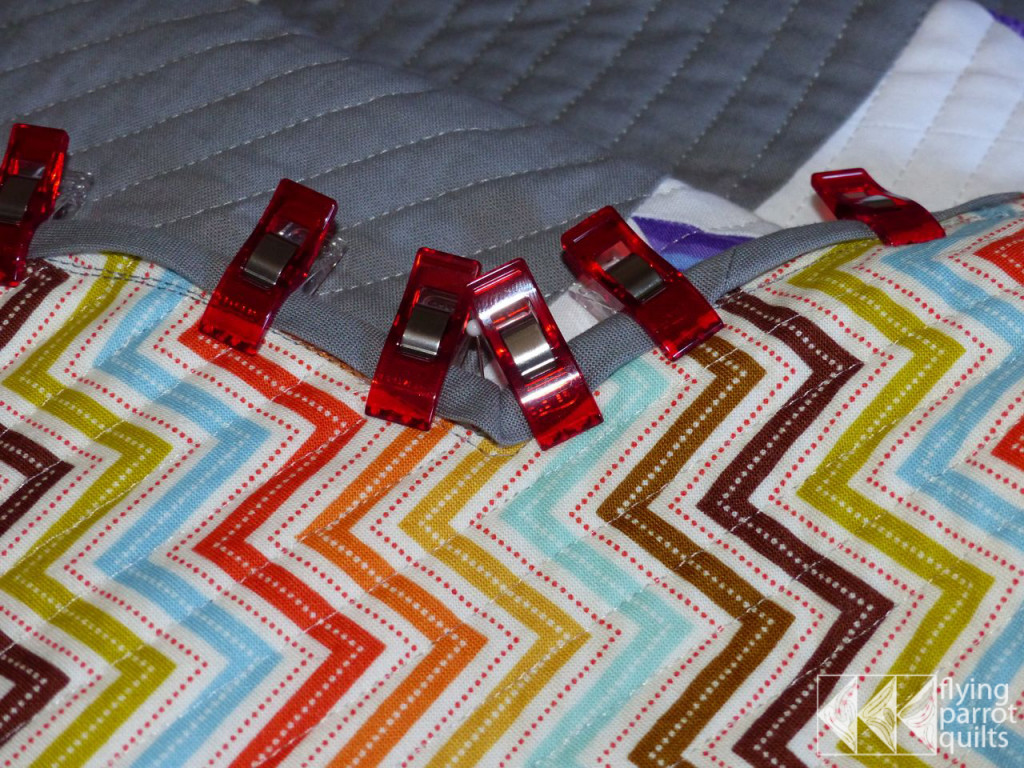
Sew around the quilt, removing clips as you come to them. I usually use a ladder stitch, but you can use whatever stitch you prefer.
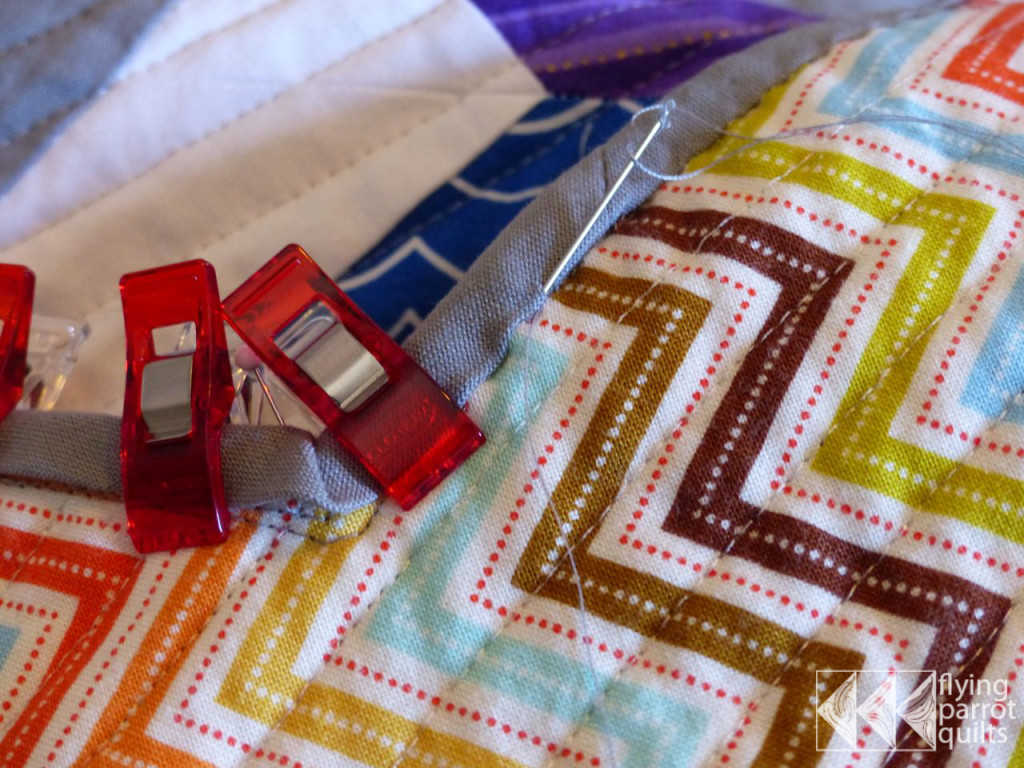
Come up through the backing right at the corner.
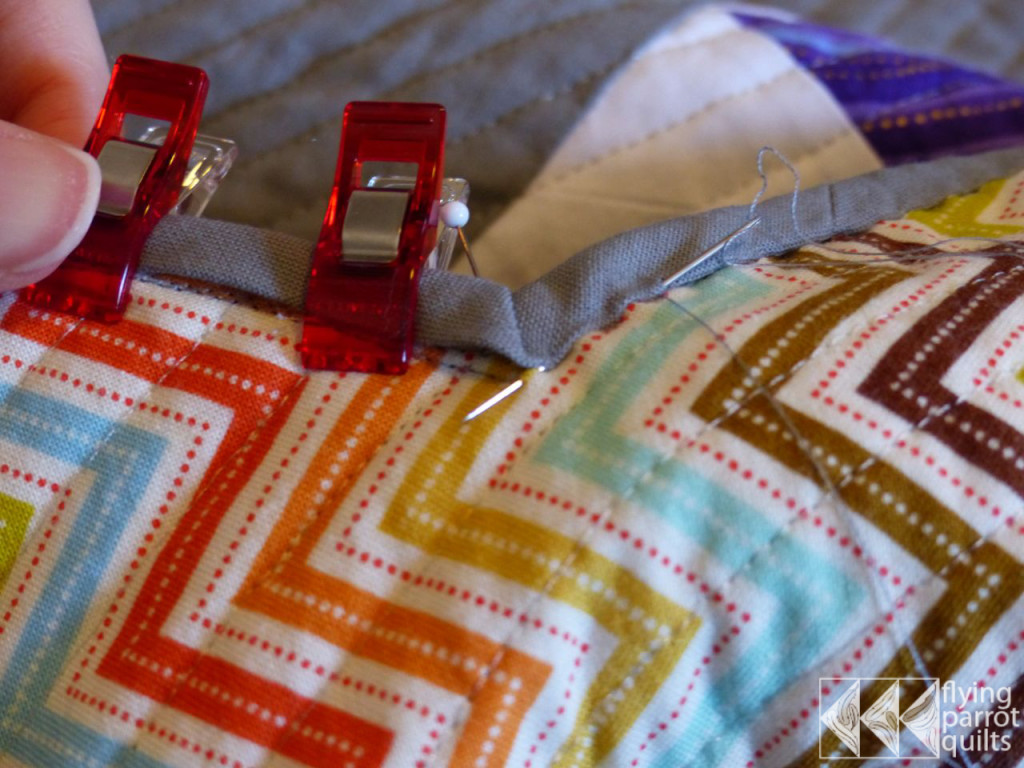
Then, take a stitch through the entire quilt at the corner, catching just a couple of threads of the binding on the back:
Come up just below the binding on the front.
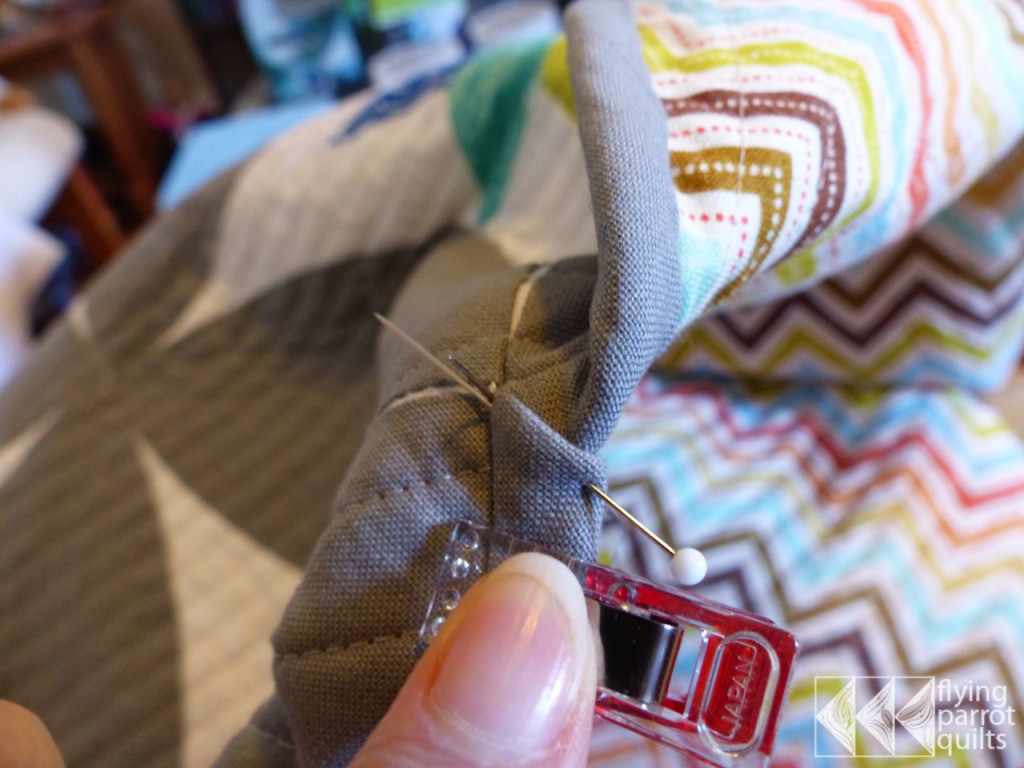
Take a few stitches to secure the miter on the front:
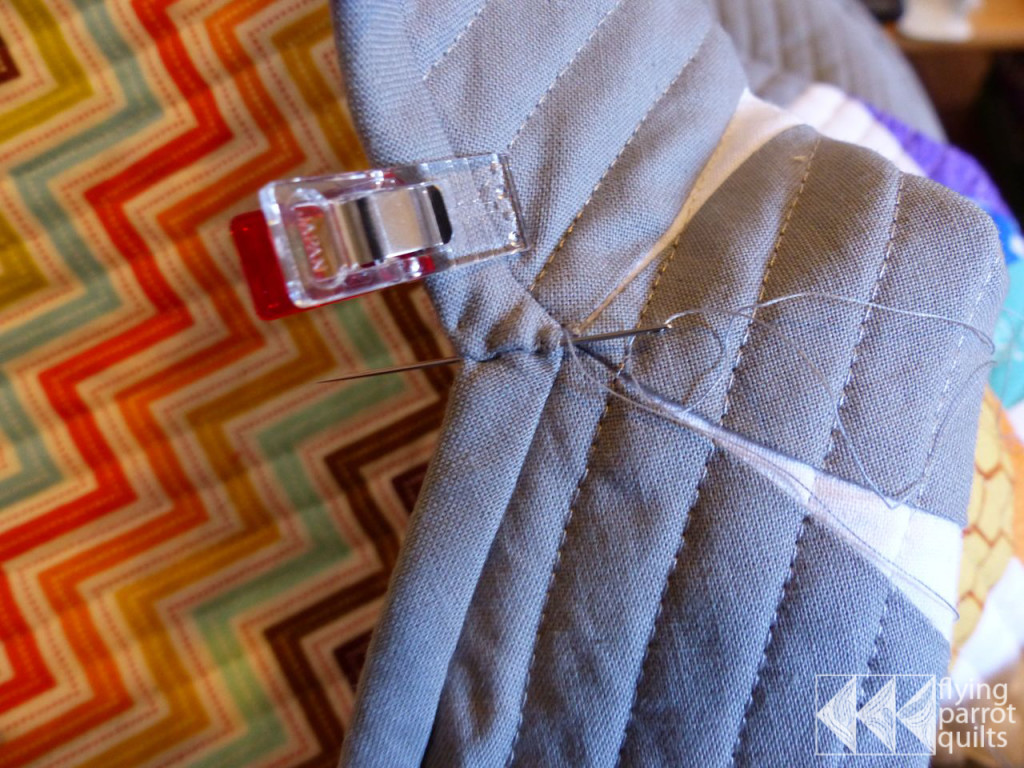
And down the back:
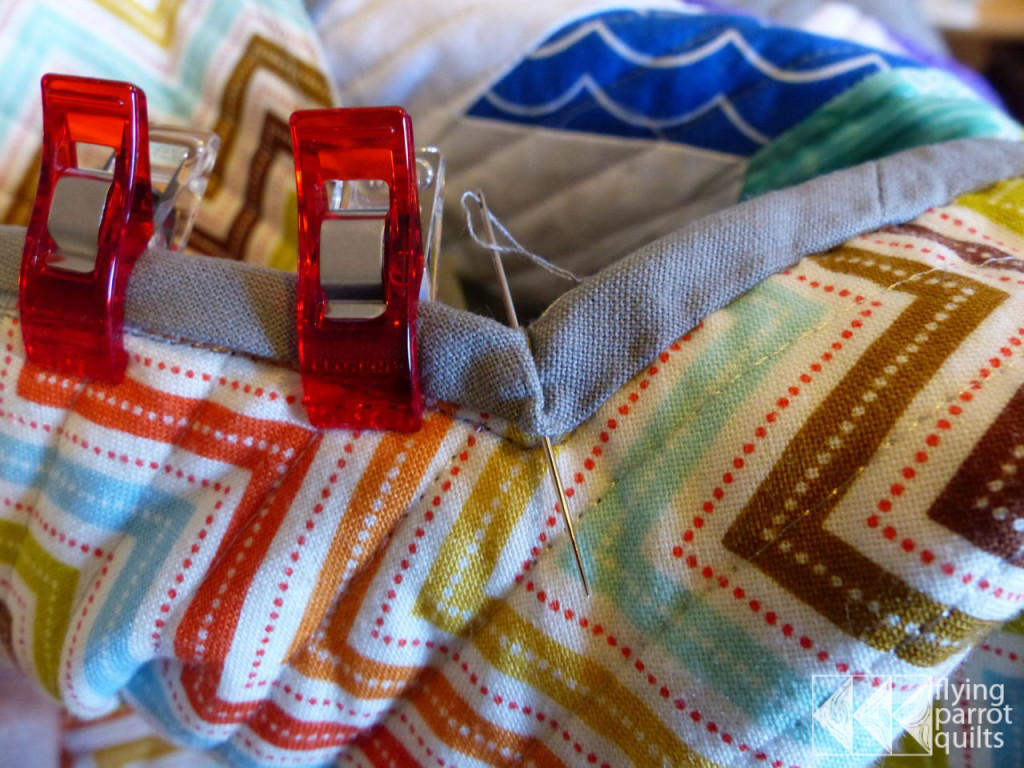
Pull tight, and you’re ready to continue around your quilt!
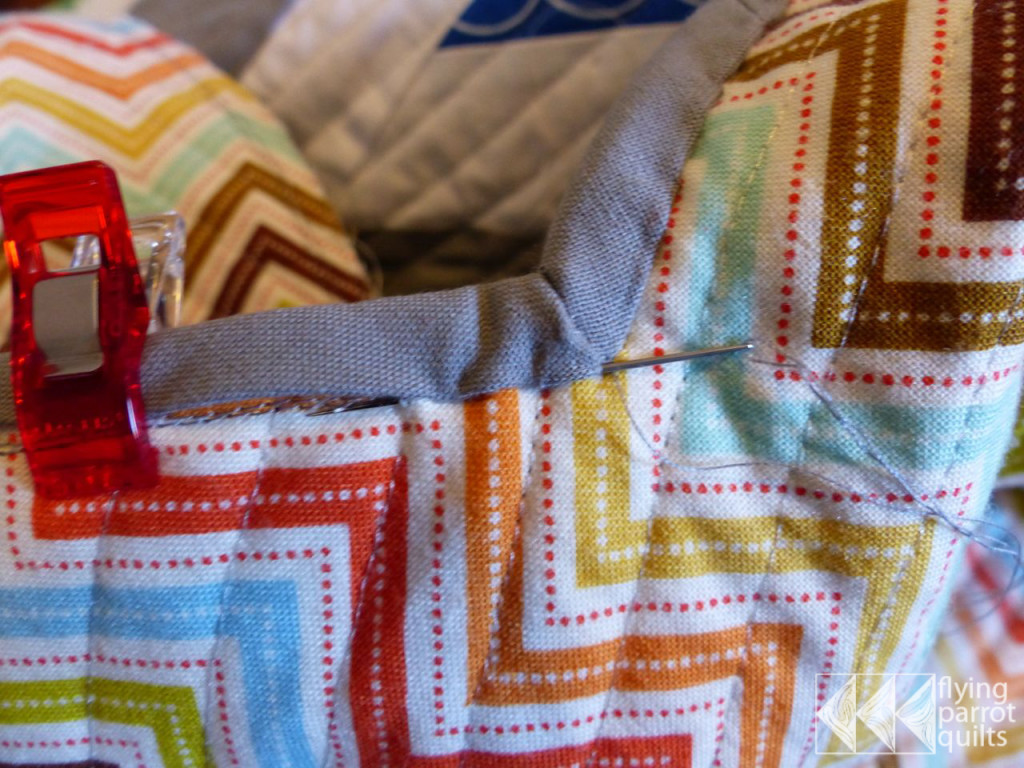
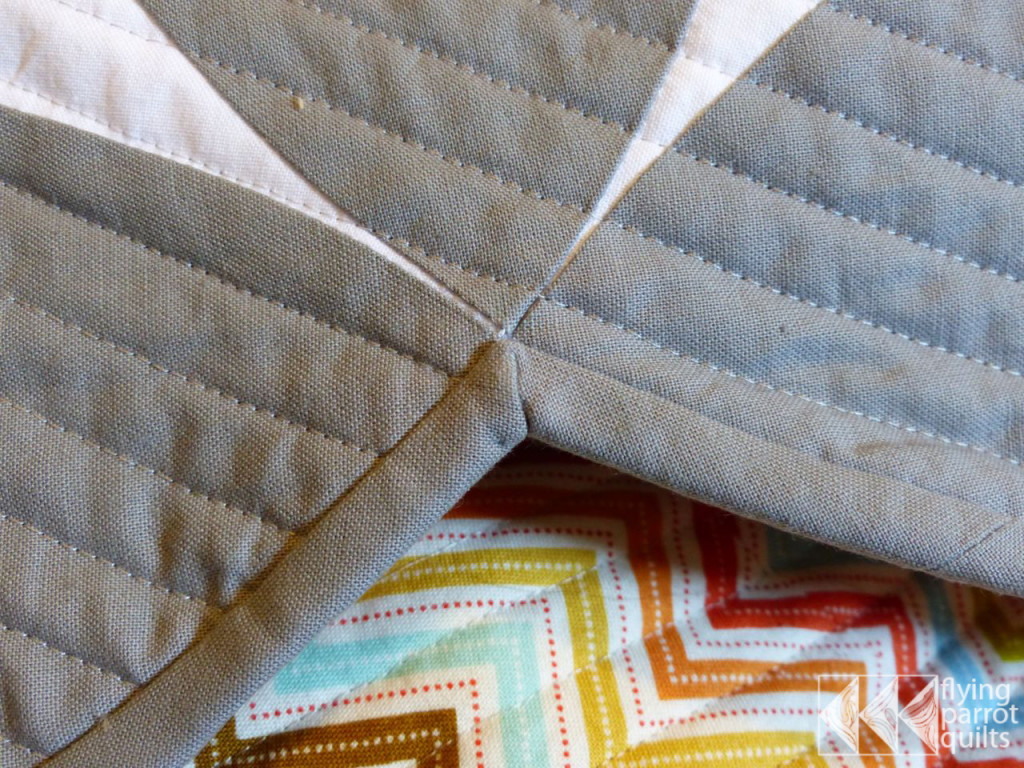
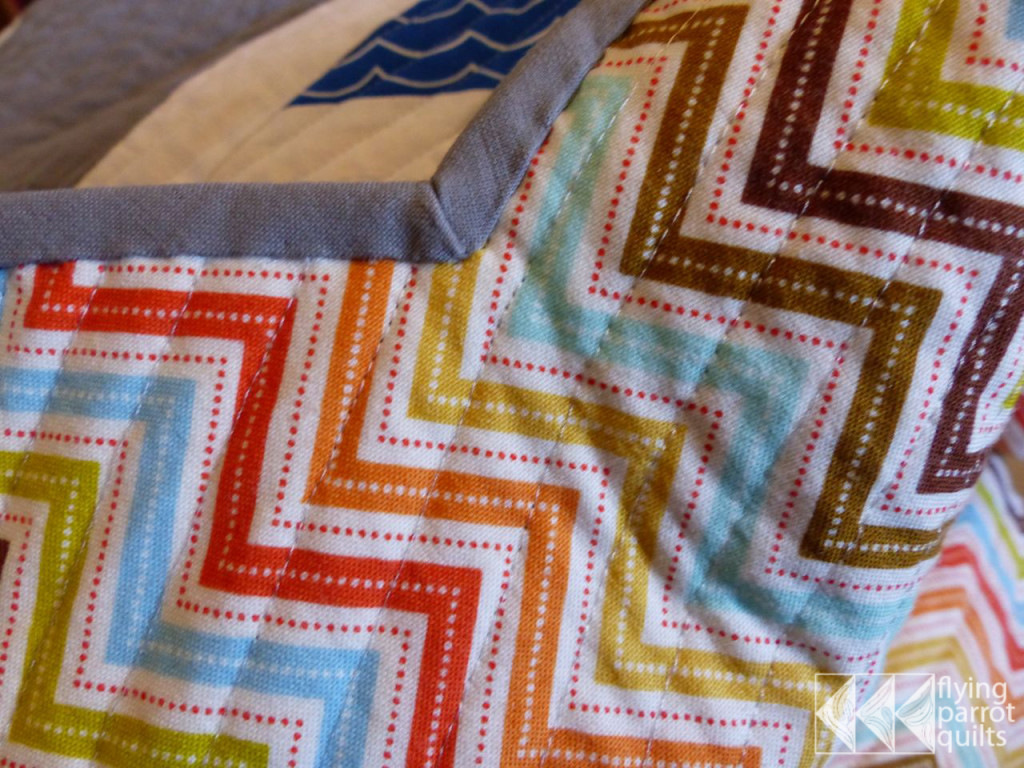
This is how your finished corners should look.


Great tutorial. I have never been bold enough to try a scalloped border!!!
By the way, great job on the talk last Tuesday. I learned a lot and really enjoyed seeing all of the quilts.
Thank you so very much for writing this tutorial. I sewed my scalloped binding on a quilt that I will be giving on Saturday (4 days) and I didn’t know how to join. Very thorough tutorial! I was successful and it looks beautiful!