Have you started your Christmas sewing yet? Ha, ha. Funny. I generally start Christmas sewing on about December 15th, but I’m way ahead of the curve this year because I asked members of my Stash Bee hive to make Christmas blocks for my turn as Queen Bee last month. I realized I hadn’t shared the tutorial here and thought I would do so!
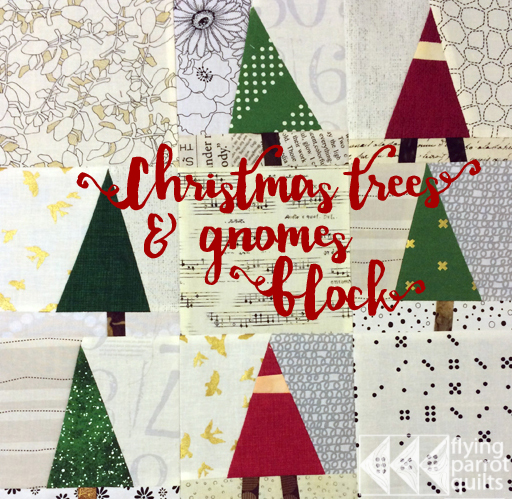
This block was inspired by this quilt, but a wonkier version. It’s a great block for using up some of those scraps, and other than the open squares, doesn’t require any sort of precision. These instructions are for individual 3×3 blocks that finish at 15″ square, but if you’re making the whole quilt by yourself you could just as easily sew together the subunits in rows and columns.
Click below for the full tutorial!
Cutting
Low volume background:
3 squares 5 1/2″ x 5 1/2″ (open squares)
6 rectangles 5″ x 6″ (background for trees and gnomes)
6 rectangles about 1 1/2″ x 6″ (bottom part of backgrounds)
Trees (green):
1-5 rectangles, 3 1/2″ x 5″
Gnomes:
1-5 red rectangles, 3 1/2″ x 5″
1-5 skin-colored scraps, about 3 1/2″ x 1″ or 1.5″
Tree trunks/gnome legs (brown):
Rectangles, about 1″ x 2″ (1 per tree, 2 per gnome)
Piecing:
The trees and gnomes are essentially done the same way. We’ll start with making a tree. (Note: these go quickly if you assembly-line sew, but only do half of them at a time. Otherwise, later on you will have to cut more background fabric and then you will be sad.)
TREE: Place your green rectangle right side up on top of one of the 6″ w x 5″ h background rectangles. It should be about 1 1/2″-2″ from the right side of the background rectangle.
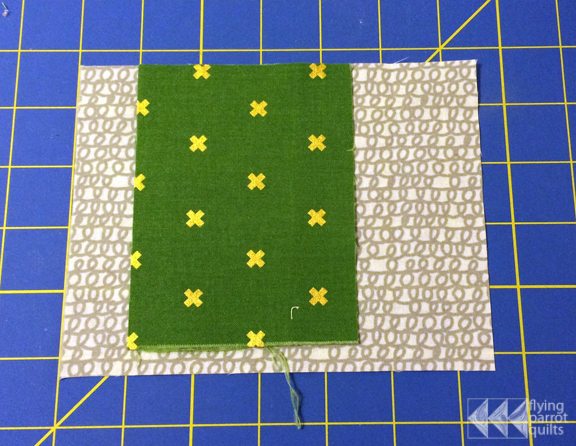
Line up your ruler with the bottom right corner of the green rectangle, and make a cut at an angle. Any angle!
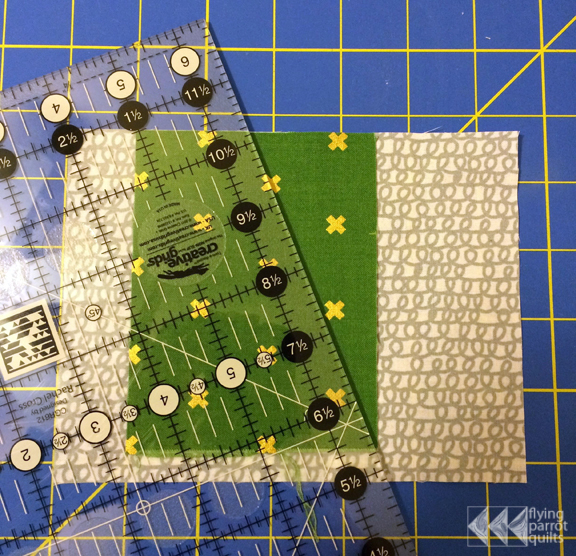
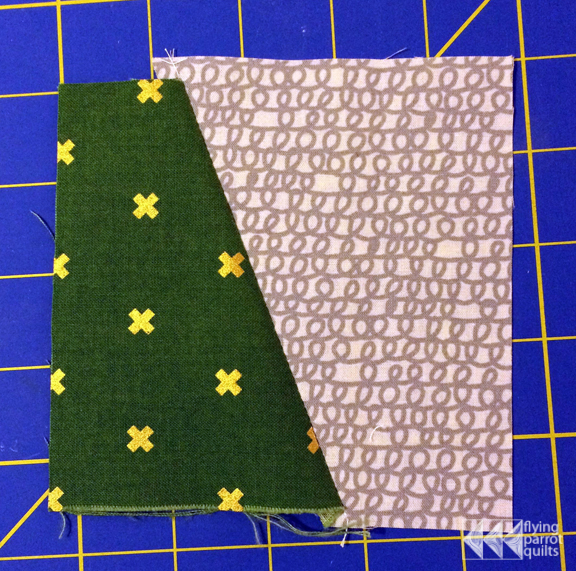
Sew the background and the green tree fabric together along the cut you just made. Set the other piece of background fabric aside for now. You will want the background fabric to protrude a little, about 1/4″-1/2″ or so:
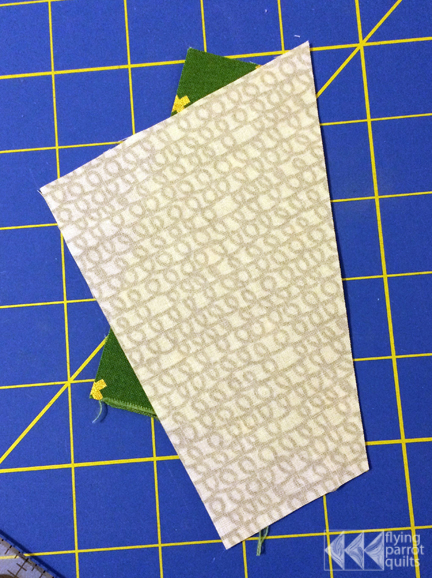
It will look like this:
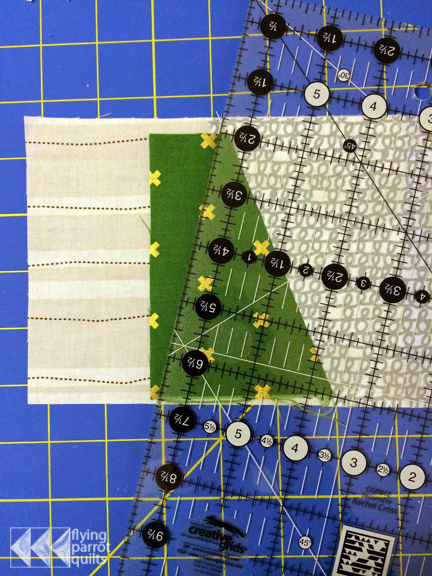
Press towards the dark, and place your sewn piece on top of a second rectangle of background fabric. This time, line the green up about 2 inches from the left side. Line the ruler up with the top corner of the green (you can go about 1/8″ beyond the actual corner if you want) and on or near the bottom left corner of the green, and cut:
Again, line up your pieces along the line you just cut, setting aside the other piece of background fabric, and sew.
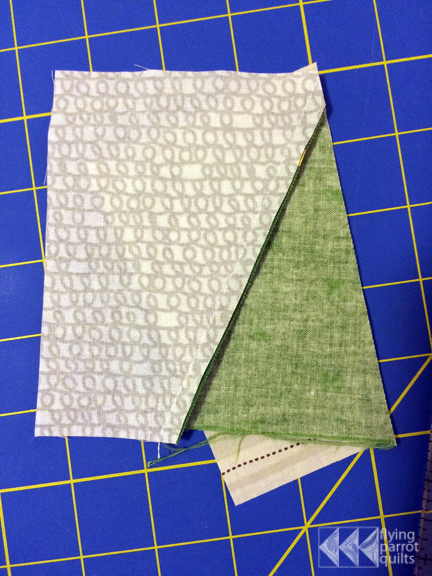
When you open it up, there should be at least 1/4″ above the tip of the tree to account for seam allowance.
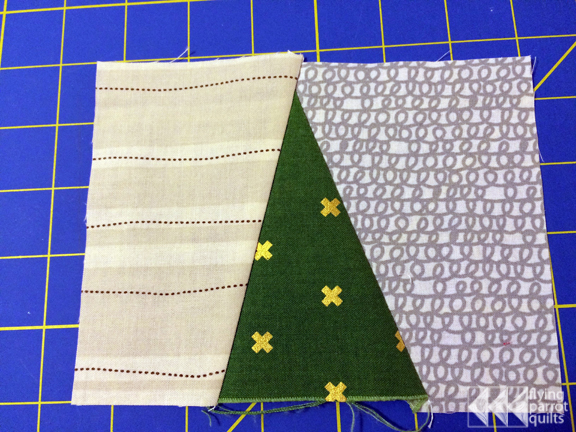
Take one of your narrow strips of background fabric and make an angled cut somewhere near the middle.
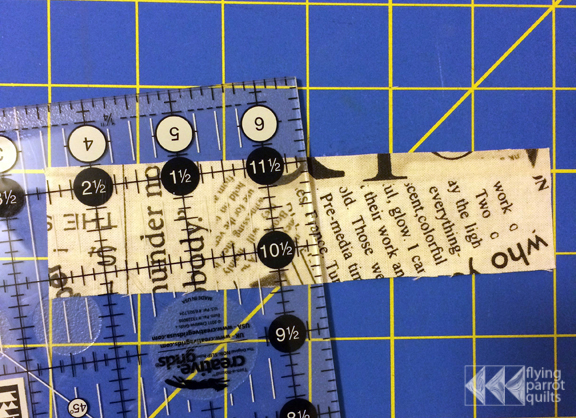
Insert the brown scrap into this cut you just made, trying to keep the background fabric aligned as much as you can:
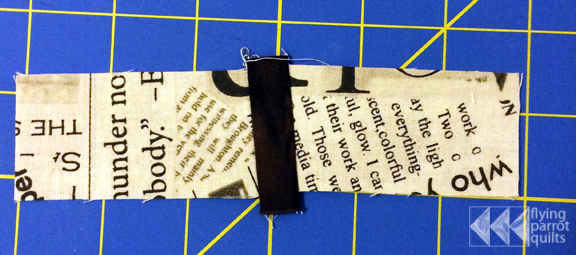
Press seams in towards the brown, and straighten up the top. Also straighten up the bottom of your tree:
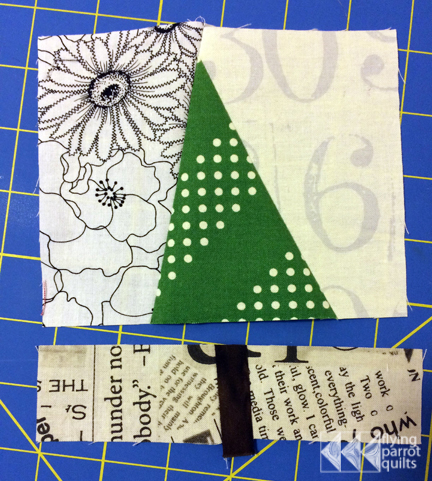
Apparently the tree will magically change its fabrics while you’re making the trunks. 🙂
Sew the trunk you just made to your tree:
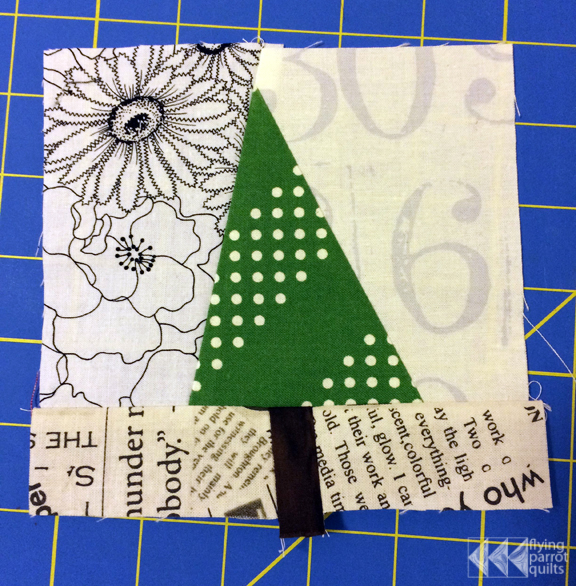
Square up to 5 1/2″ x 5 1/2″ and that’s one tree done!
I’ll show how to make a gnome using the background fabrics that you set aside, but if you are making more trees, it works exactly the same–you just won’t insert faces! (This is where you’d make the other half of your trees/gnomes if you are assembly-lining.)
GNOME: Take your red fabric and make a cut about 1 1/2″ down from the top. Insert your strip of skin colored fabric. I made my skin insert a little wonky, but you can also just insert a straight strip. (If you want to make it wonky, I recommend cutting both the red fabric and the skin strip a little bigger.)
Instructions for wonky face: Place your skin strip on top of the red fabric and make an angled cut.
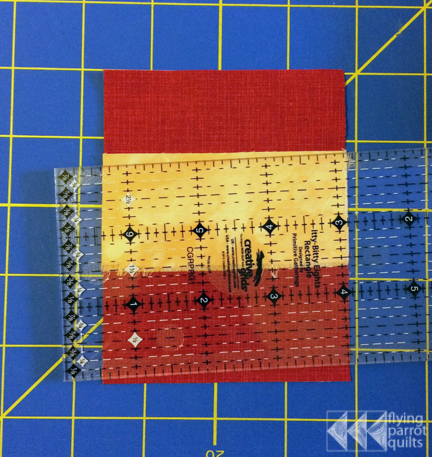
Sew the skin strip to the top red piece that you just cut off.
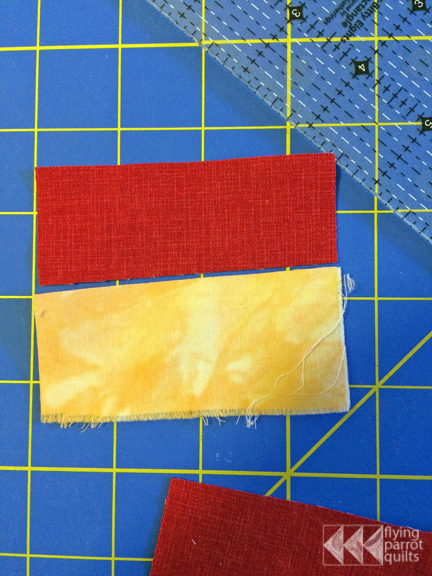
Then place your remaining red fabric on top:
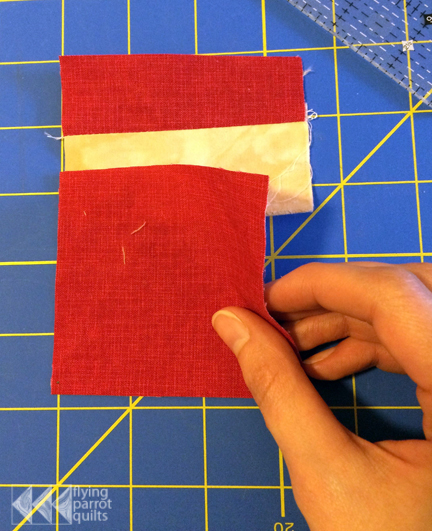
And make another angled cut, making sure that your whole cut is through both pieces of fabric.
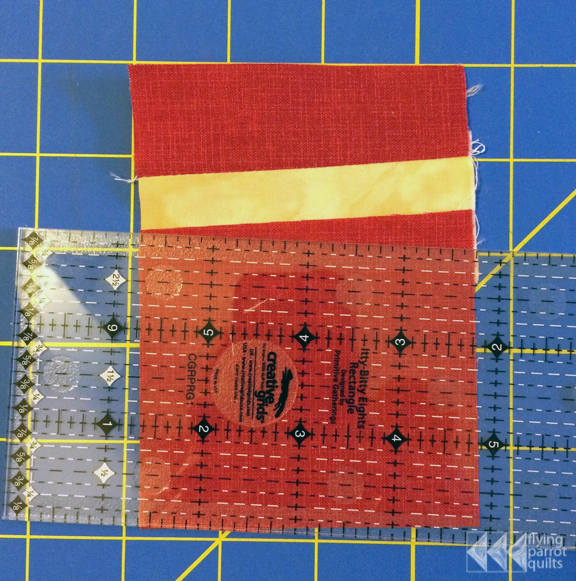
Sew the bottom piece on to the face strip.
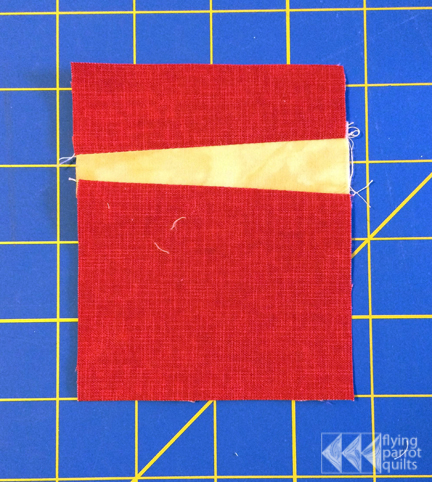
Once you have inserted your skin strip for the face, take one of the remaining right-side background fabrics and place it on top of the gnome fabric. If your gnome body ends up longer than the background fabric, it’s best to line up at the top, so that the gnome’s hat doesn’t get too small.
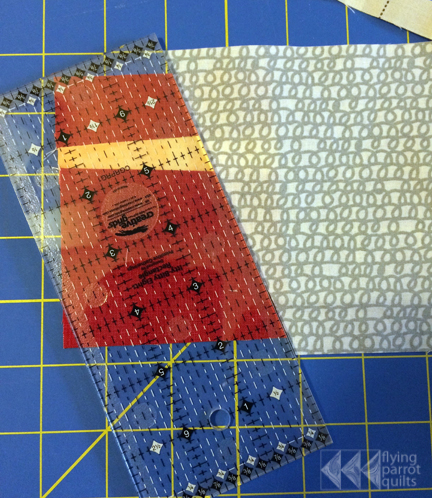
Either cut the gnome fabric right along the line made by the background fabric, or cut through both fabrics at a slightly different angle:
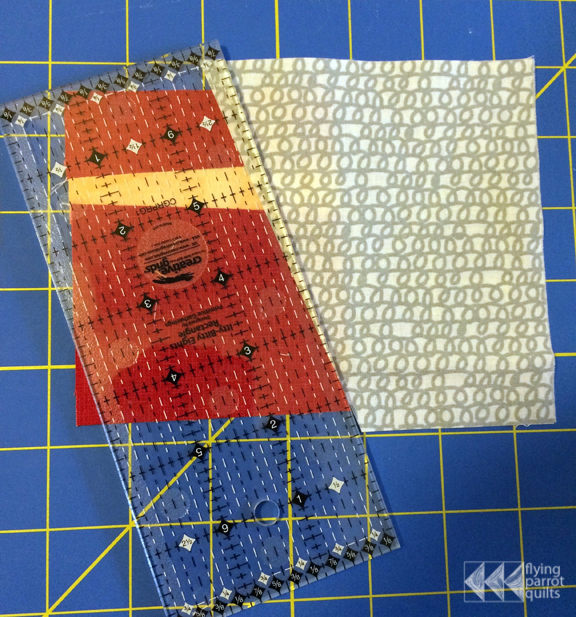
Then sew together, lining up as before with the background fabric protruding slightly:
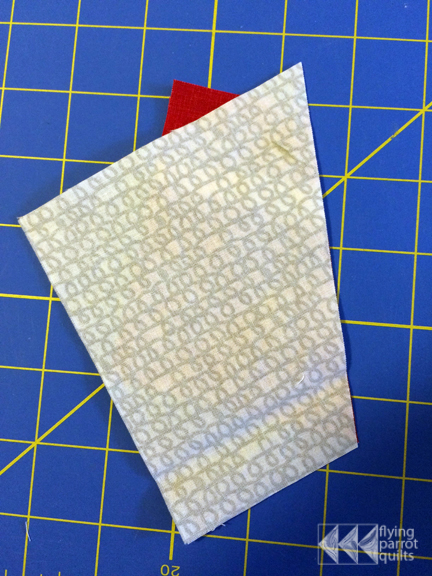
That’s your first seam done:
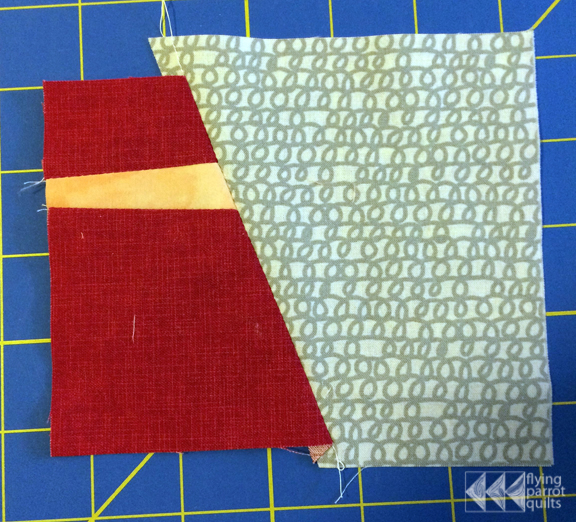
Line up with one of the remaining left-side background fabrics. Again, it’s OK to place it up to 1/8″ away from the top point.
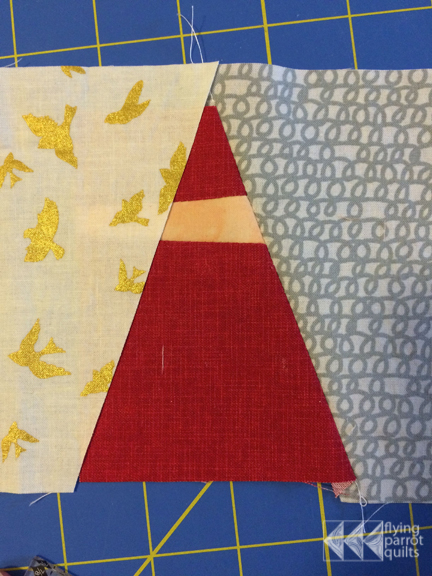
Cut:
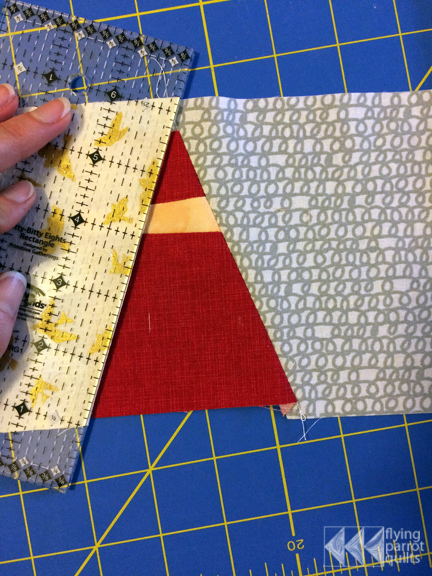
And sew together. Again, there should be at least 1/4″ above the tip of the hat.
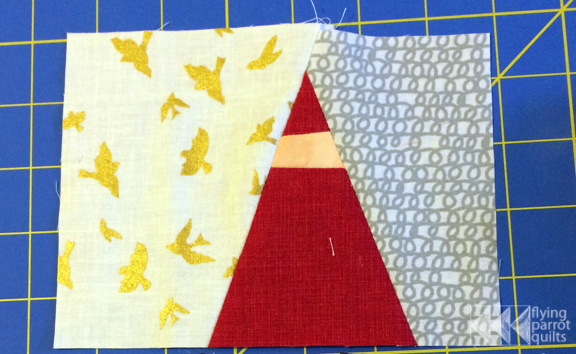
The legs are done the same way as the tree trunks, except you will insert 2 brown strips instead of one:

Again, straighten the top of the legs and the bottom of the gnome, and then sew together:
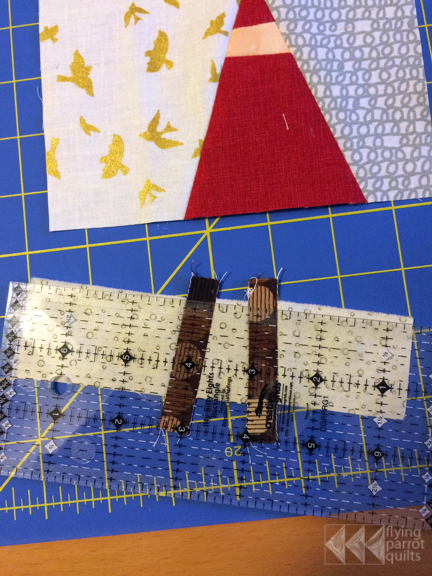
And square to 5 1/2″ x 5 1/2″.
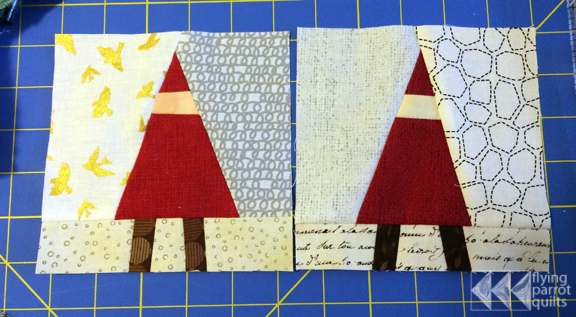
FINAL ASSEMBLY: Once you have your 6 trees/gnomes, take your 3 remaining background squares and put them all together. You can lay them out any way you like!
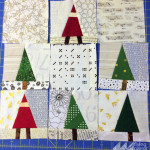
Sew together. The finished block should be 15 1/2″ x 15 1/2″.
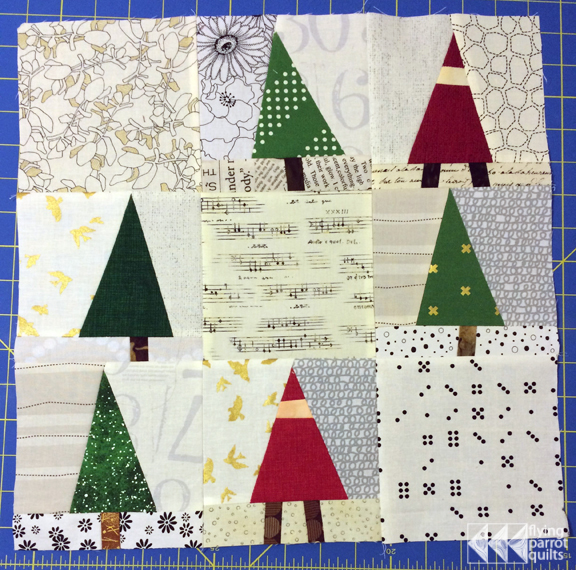
I’m waiting for one or two more blocks from the bee, then I’ll be able to show you a quilt top!


Cute!
The tutorial was very easy to follow and well written.
I loved making this block – really great fun and looks brilliant too!
Gnomes disguised as trees, trees disguised as … trees? What a fun quilt!
Great instructions. Can’t wait to see the finished top!
LOVE it….what a fun way to make a quick Christmas quilt!!!