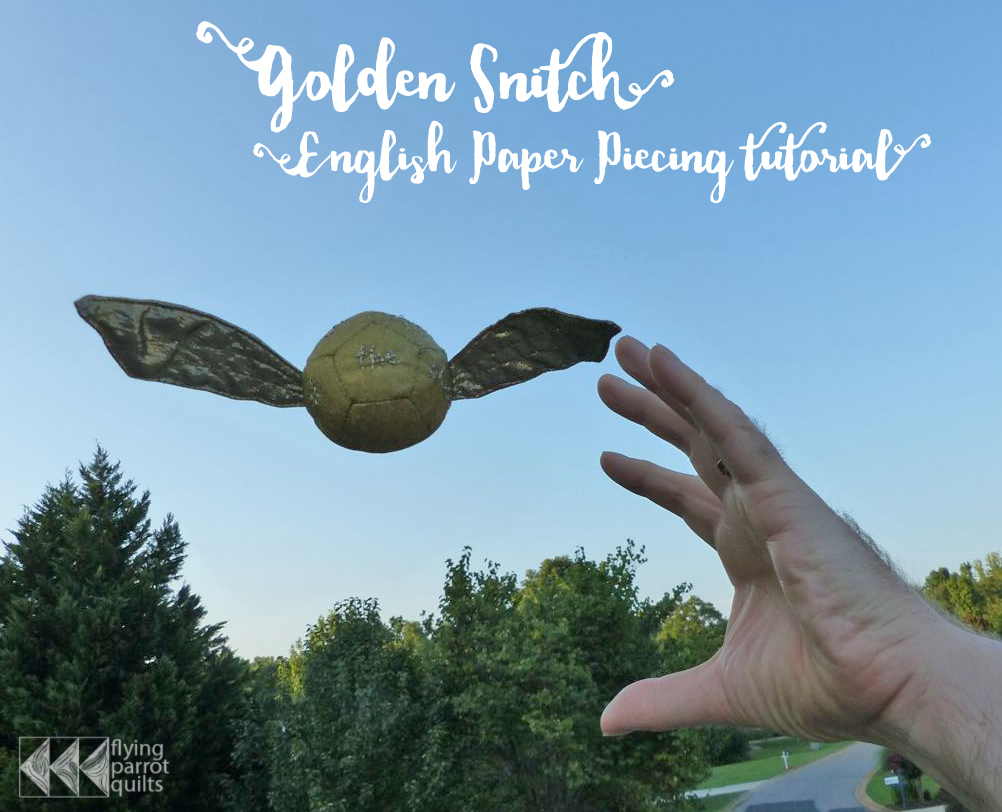
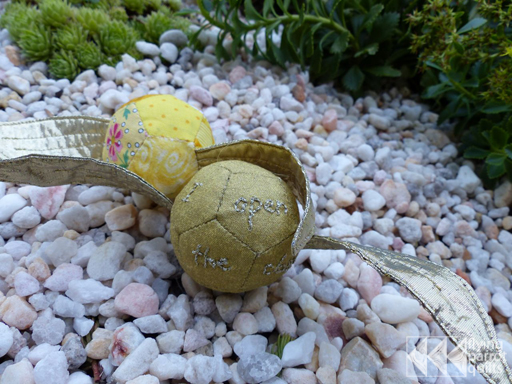
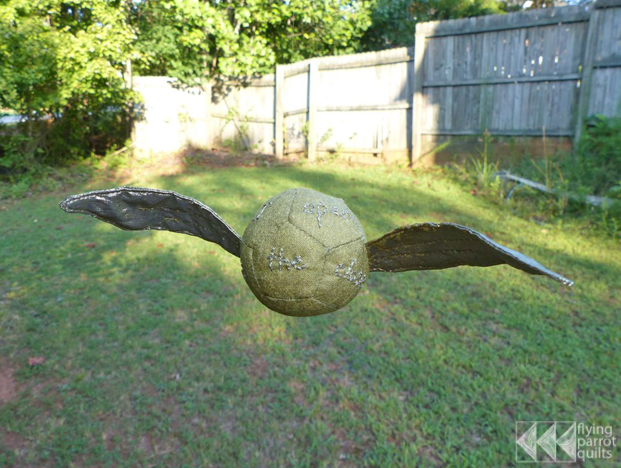
I’m participating in a Harry Potter Mini Quilt Swap over on Instagram, and as a little extra for my partner, I made a Golden Snitch using English Paper Piecing.
It’s been getting a lot of love from the other participants, and since it will be a little hard to part with, I decided to make myself one, and put together a tutorial for you in the process.
Click here for the pattern pieces! Print them on card stock or heavy paper and cut out. If you’d like a smaller or larger snitch, resize to your heart’s content. The pentagons in my version and the pattern are 3/4″ on each side.
Materials
Scrap of gold lamé fabric for wings
Scraps of yellow or gold fabrics for body
Scraps of fusible interfacing
Hand sewing needle and thread
Stuffing material, such as polyester fiberfill or wool roving
Making the wings
First, you’ll want to trace two of each wing shape onto your fusible interfacing. Cut out roughly and fuse to your wing fabric, leaving 1/4 to 1/2″ of space between the shapes to account for seam allowance. I’m using lamé, which frays easily; if you’re using quilting cottons, you can probably interface only one side of each wing. (You could also just cut them out of felt if you don’t want really shiny wings.)
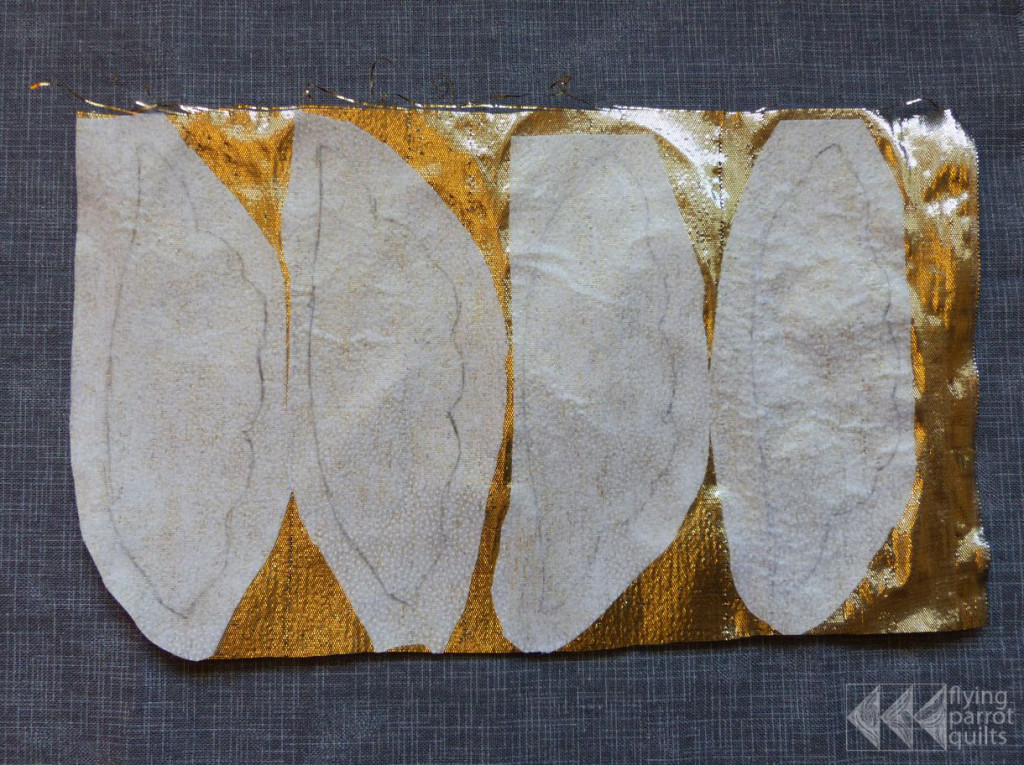
Cut out roughly and pin two wing shapes together, right sides together.
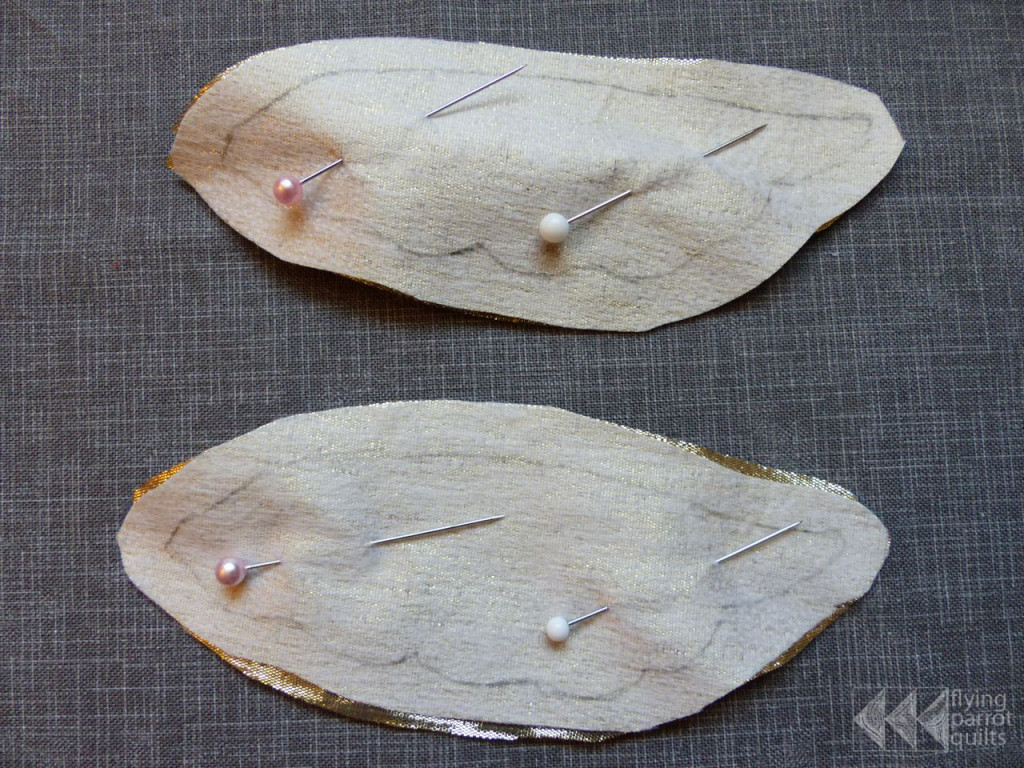
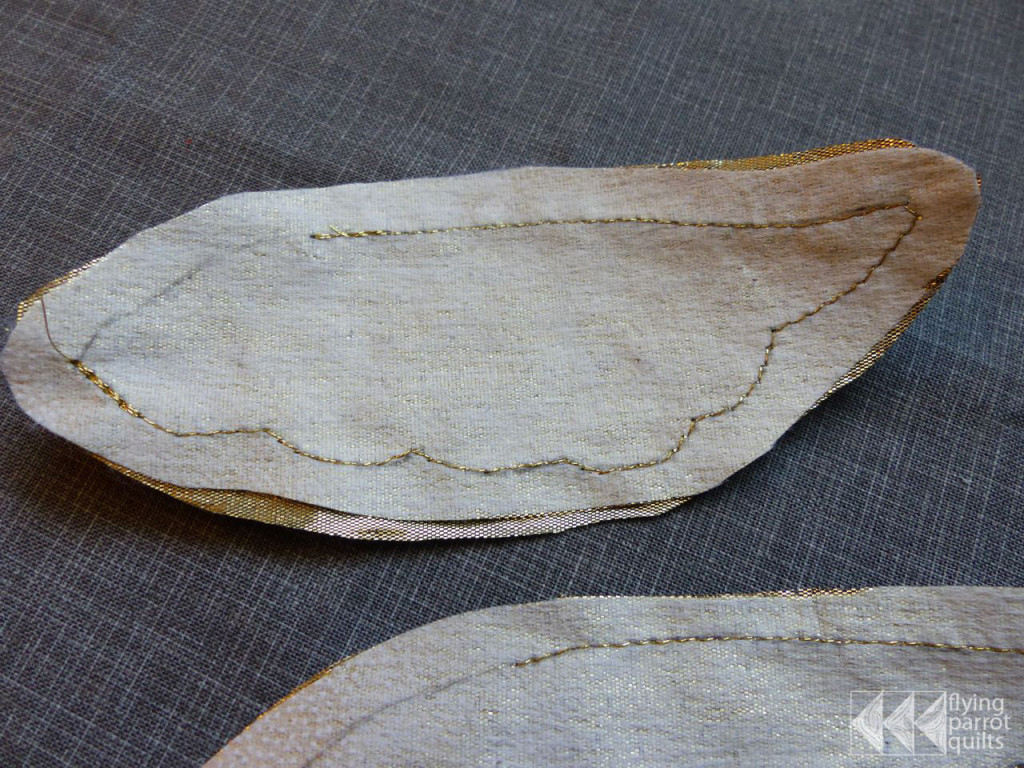
Sew along the line, leaving an opening of about 2 inches along the top. You will need to pivot with your needle down at the sharp corners.
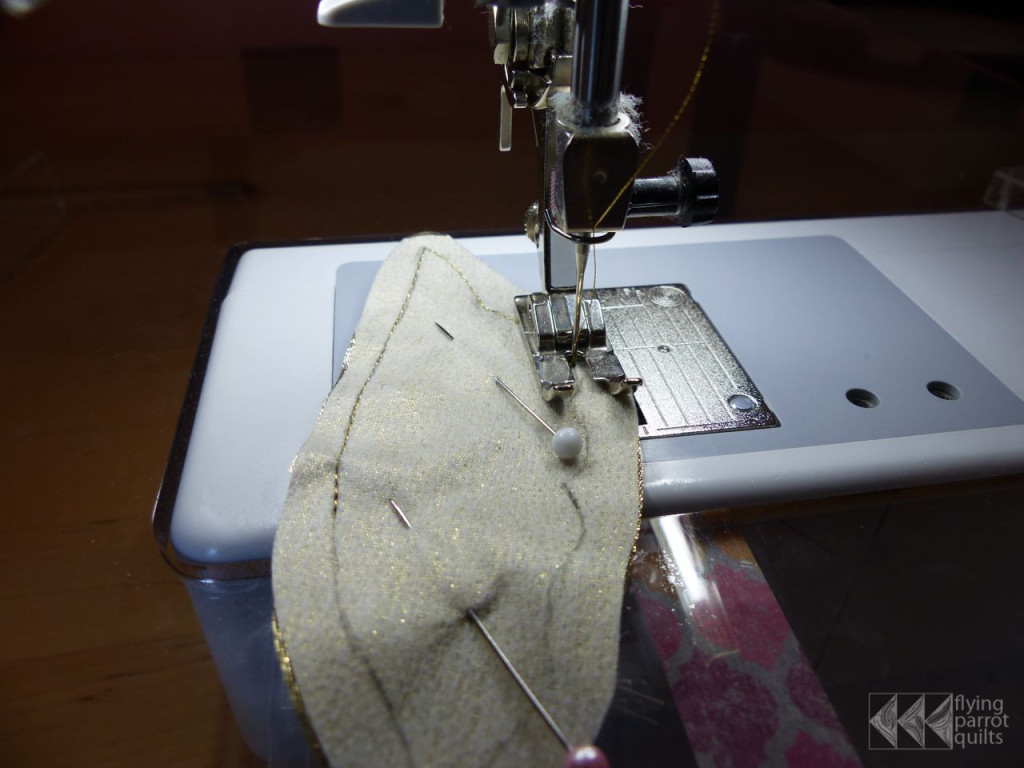
You can see where I left the opening here. Backstitch at both ends. Your sewing won’t be exactly along the line on the back of the wing; that’s OK!
Trim the seam allowance, clip the corners, and turn the wing inside out. You’ll need to use a pointed tool of some sort to really push the outer corner of the wing out. Turn under the open edge and topstitch (you can leave a small opening where the wing will be attached to the body).
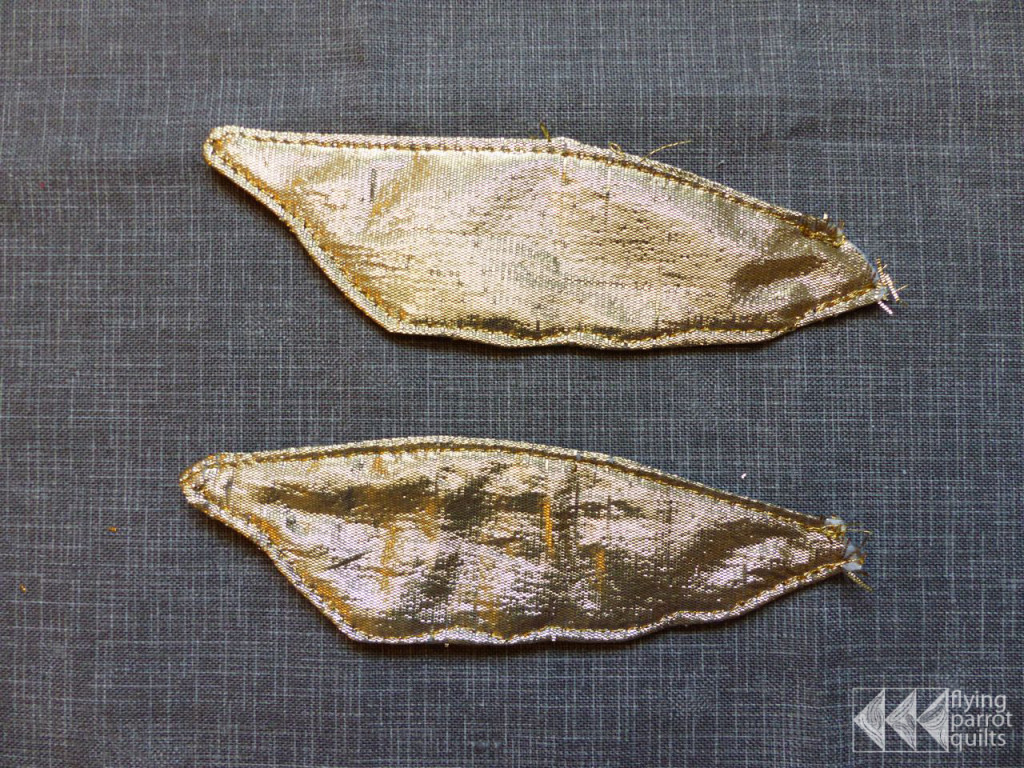
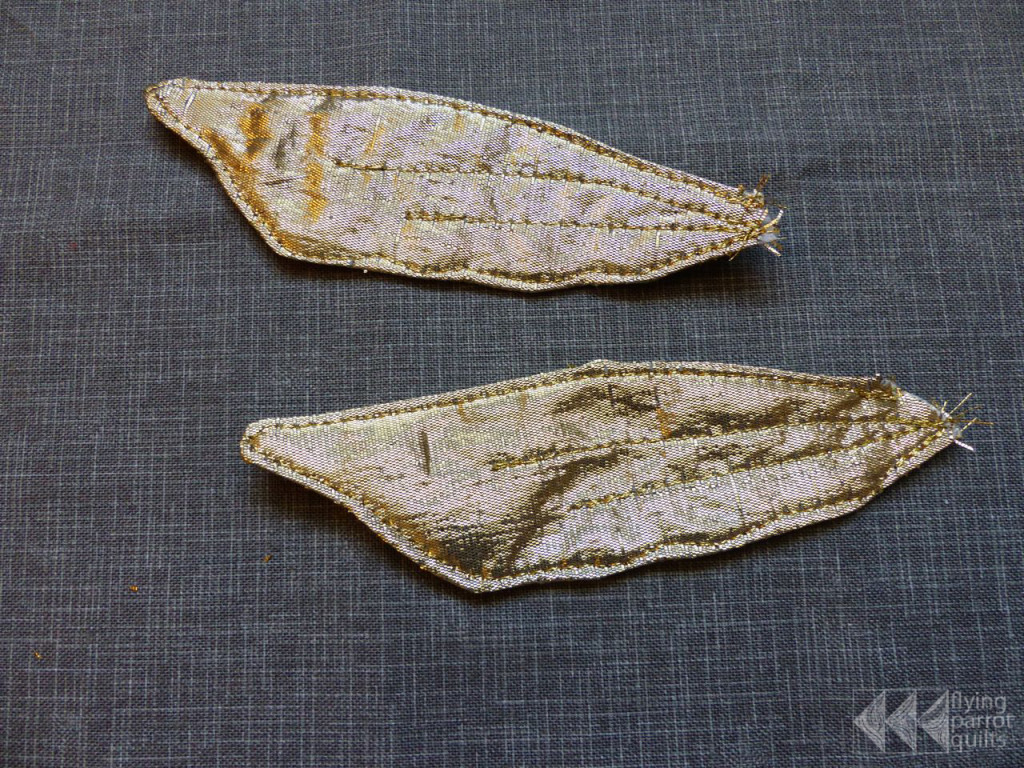
I went ahead and stitched a couple more lines along the wing just to give it a little more definition.
Body: Basting pentagons
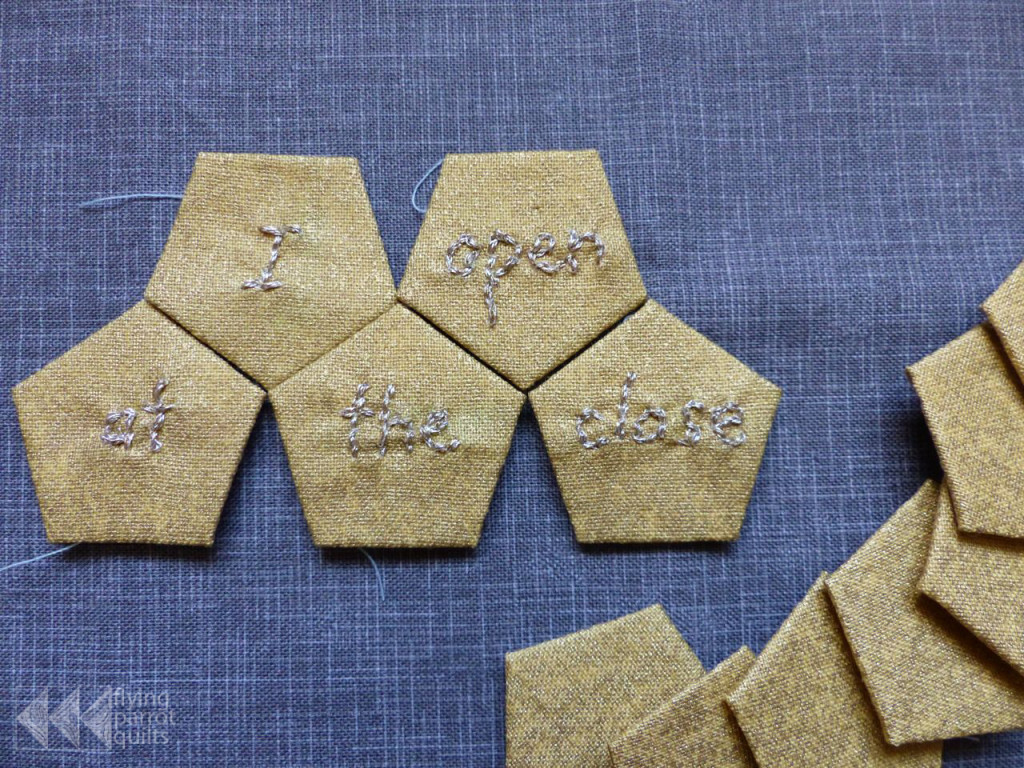
If there’s any embroidery you’d like to add to your snitch, do so first! I just wrote the words with a wash-away marker and then stitched over them with a couple of strands of metallic embroidery floss.
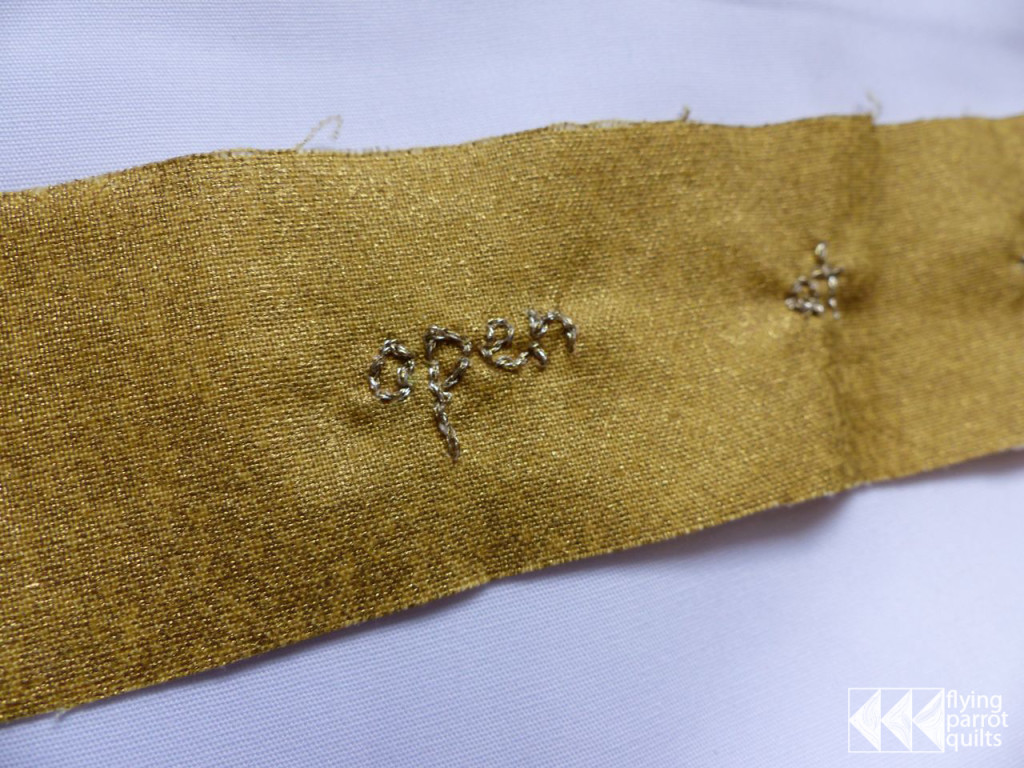
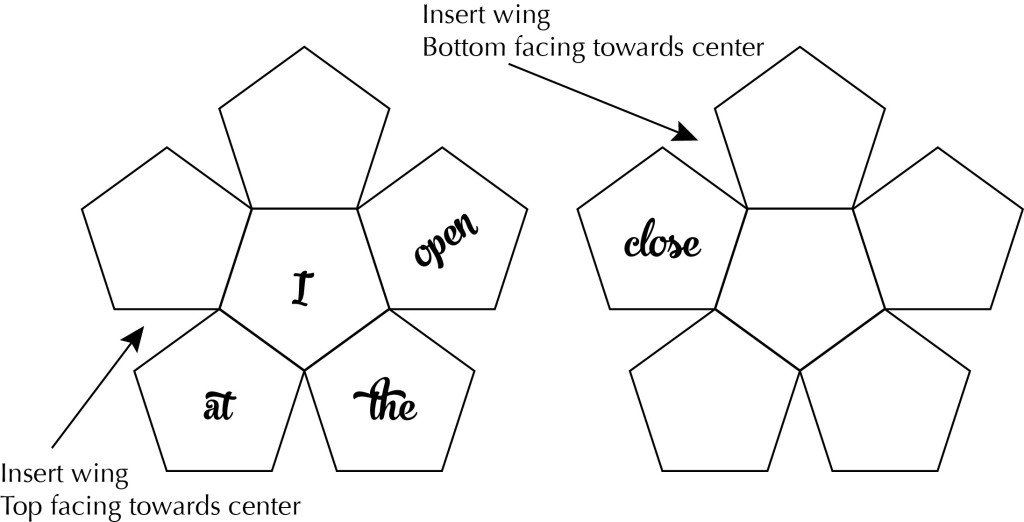
Using a dab of washable glue, stick one of your pentagon papers to the back side of your fabric and cut roughly around the pentagon (about 1/4″ away or so). If you are using the words, make sure that they are in the correct orientation as indicated on the pattern pieces! “I” and “open” need to be upside down.
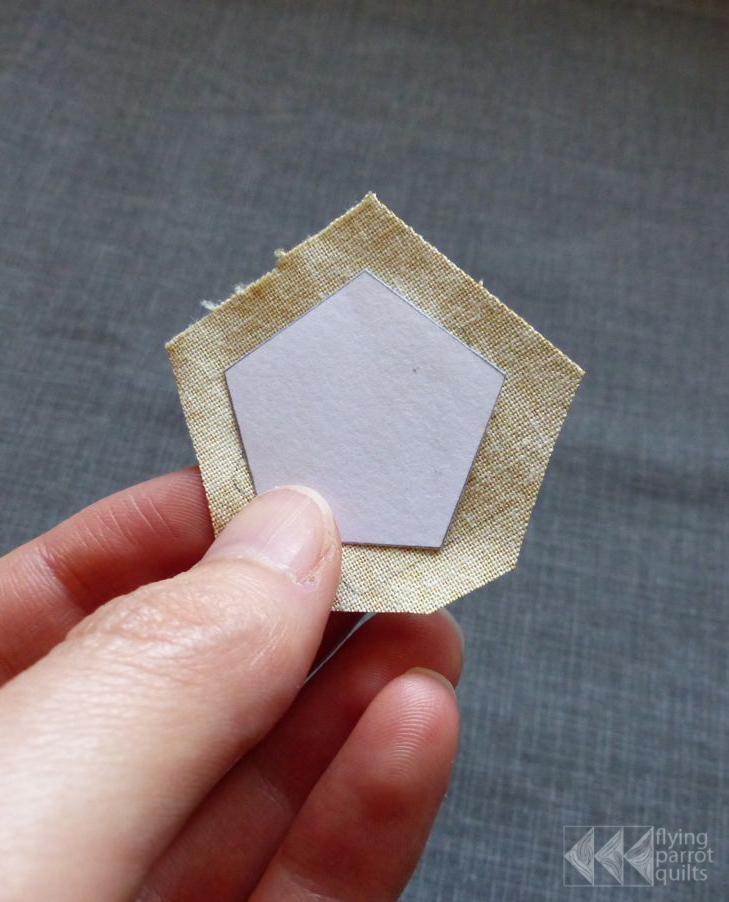
Make a knot in your thread, then fold over the first edge:
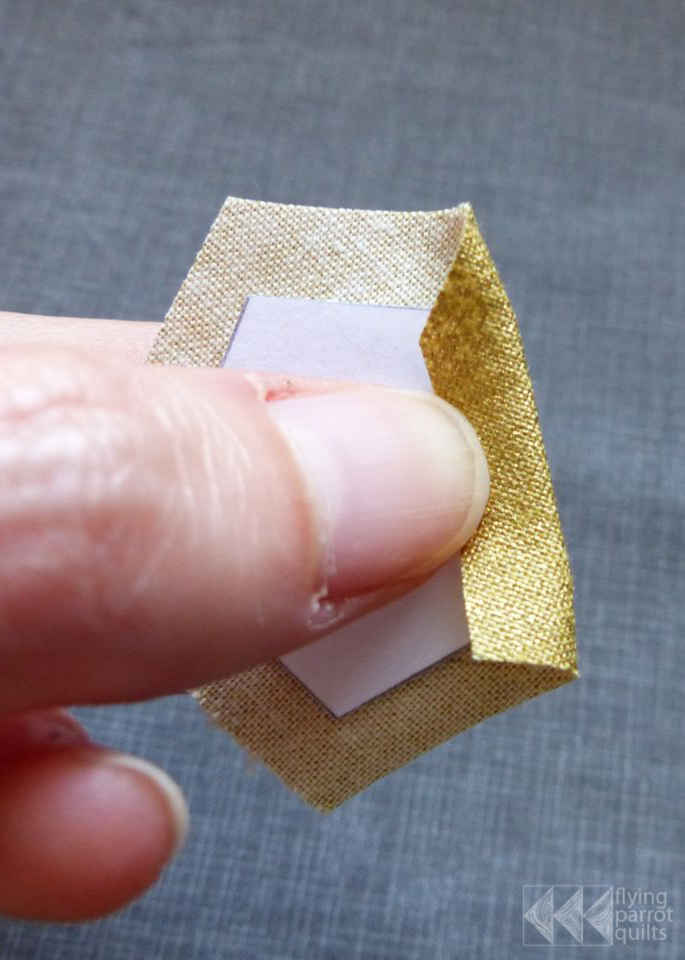
And then the second, holding in place with your finger. Take a stitch through the folded fabric:
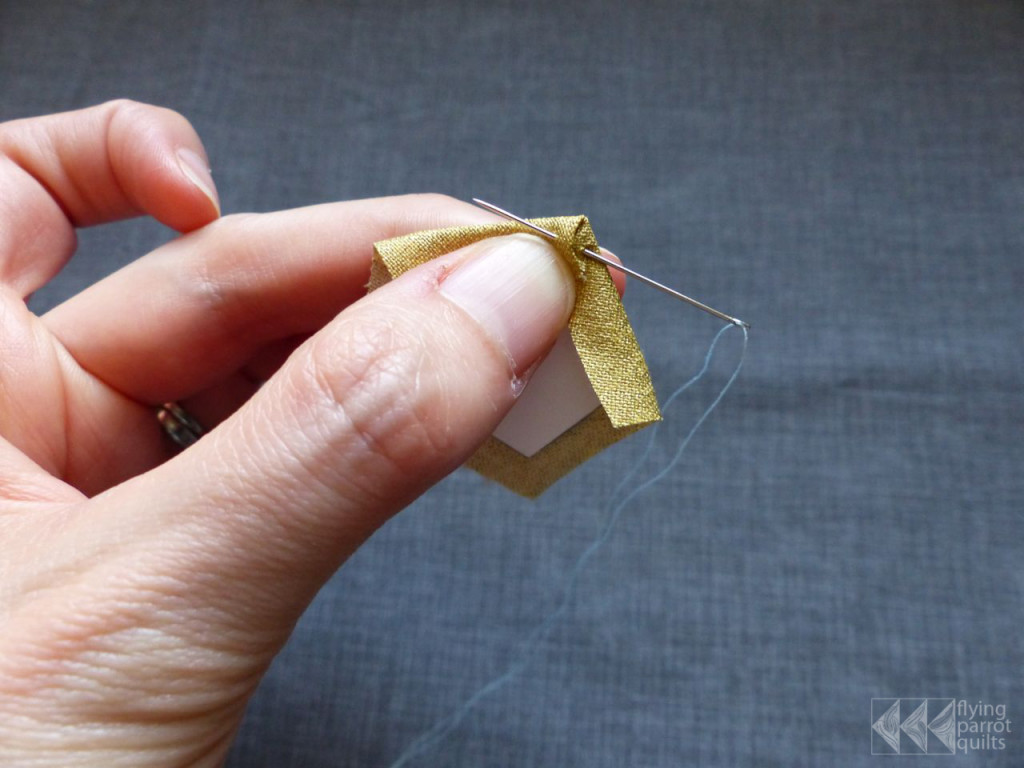
Take a second stitch in the same place to tack down the first corner.
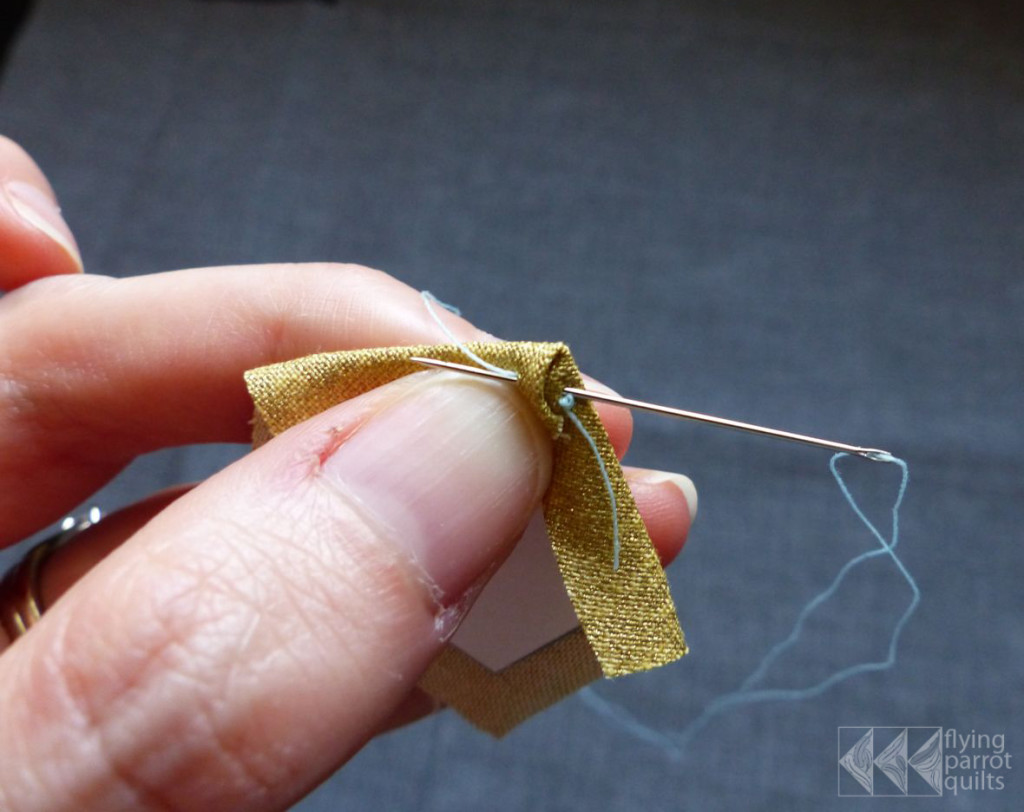
Fold down the third edge and take two stitches through that folded corner.
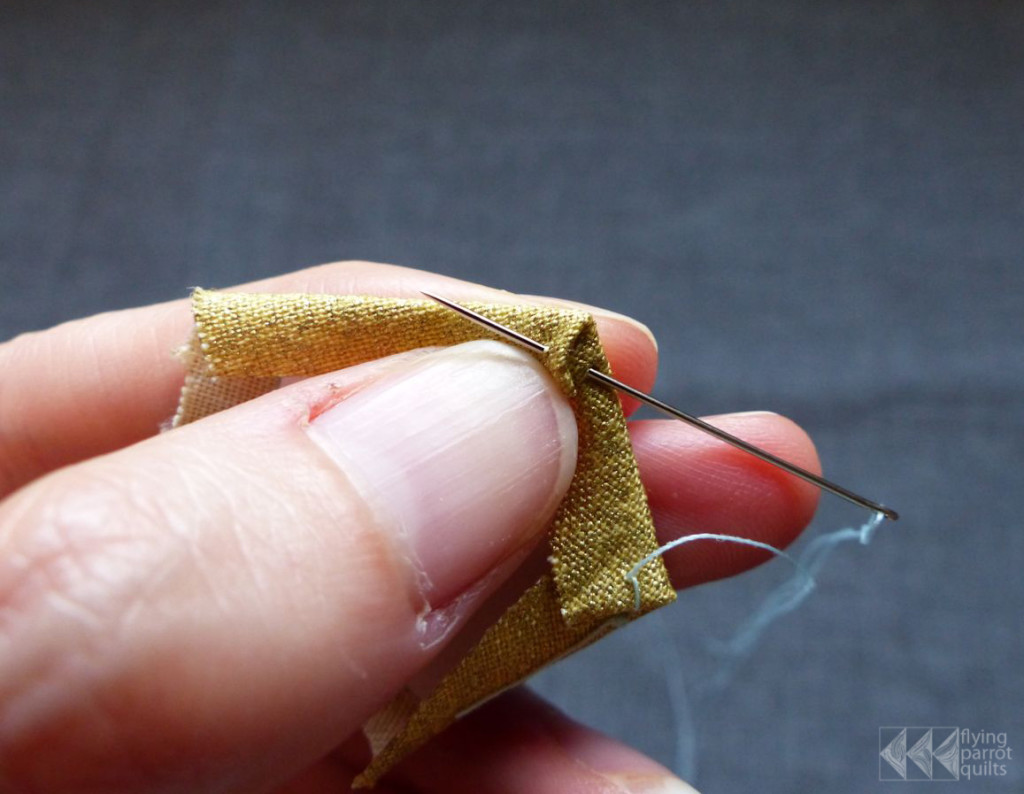
If you have done English paper piecing before: Do not baste through the paper. Some of the papers need to be removed before all edges are sewn and leaving the basting stitches in will help the fabric keep its shape.
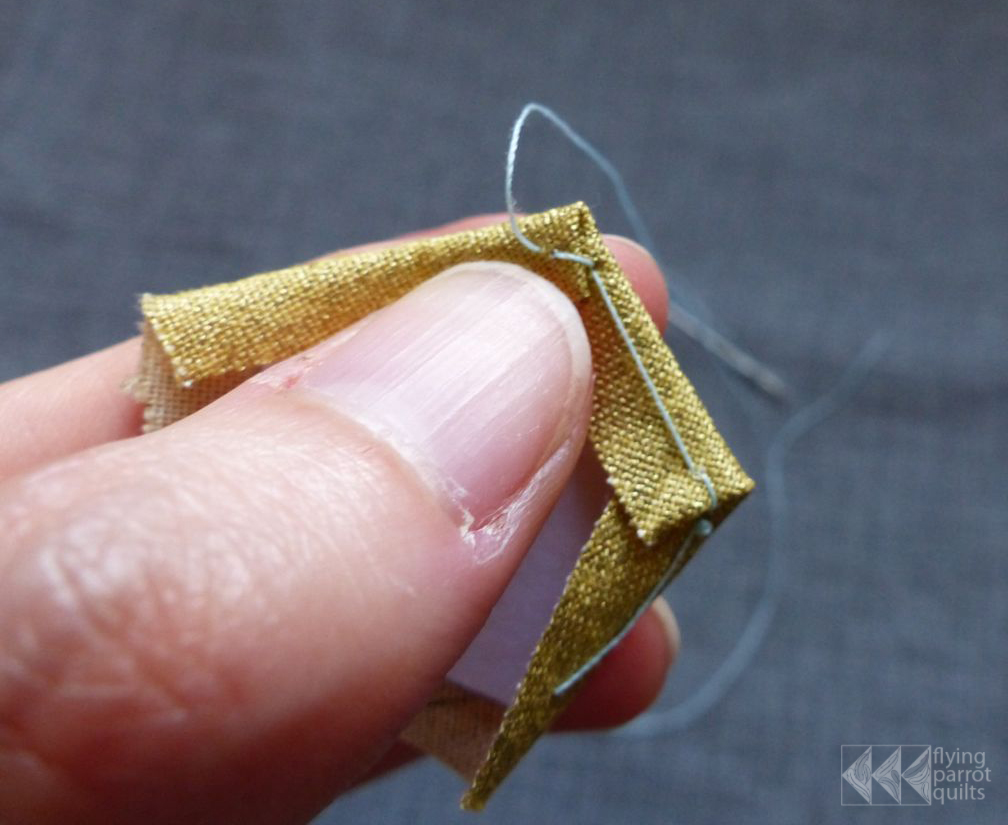
Continue tacking the remaining edges like this. You can just leave a tail with your thread rather than tying off.
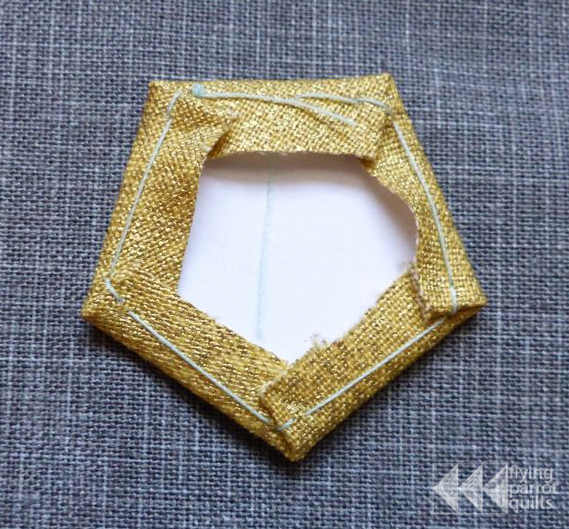
Baste all the hexagons. Your word pentagons should look like this:
Assembling the “flowers”
This is the assembly diagram for the pentagons. Please pay close attention to the orientation of the words if you’ve chosen to include those! If you are not including the phrase, all you need to pay attention to is the direction in which the wings are inserted.
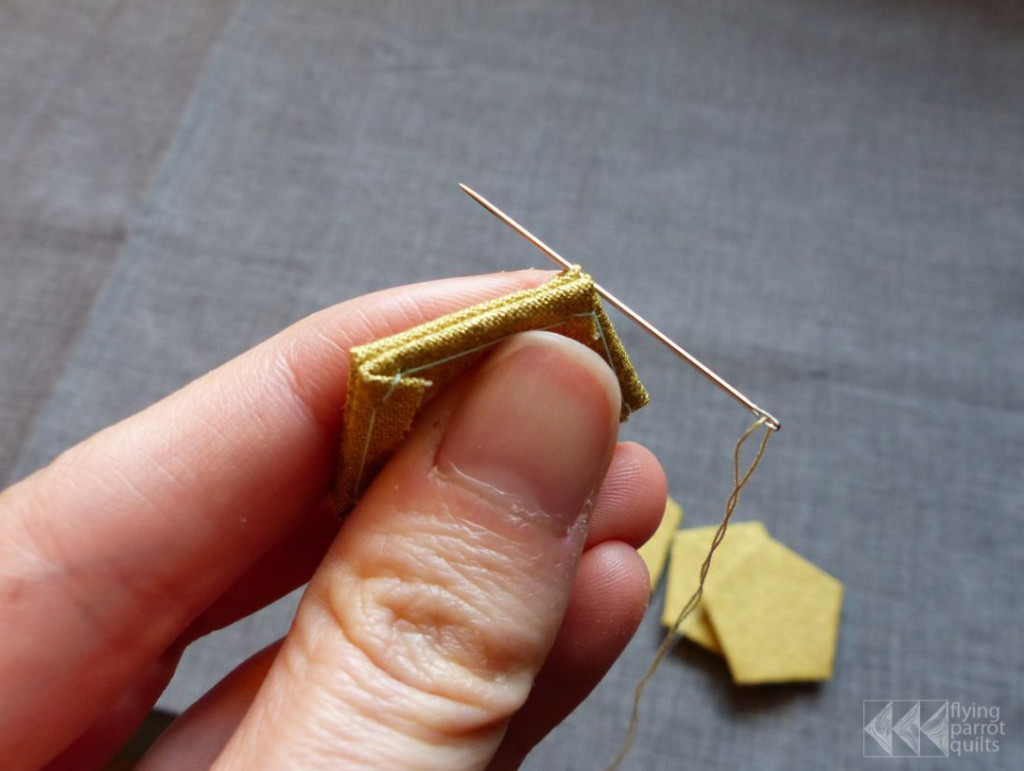
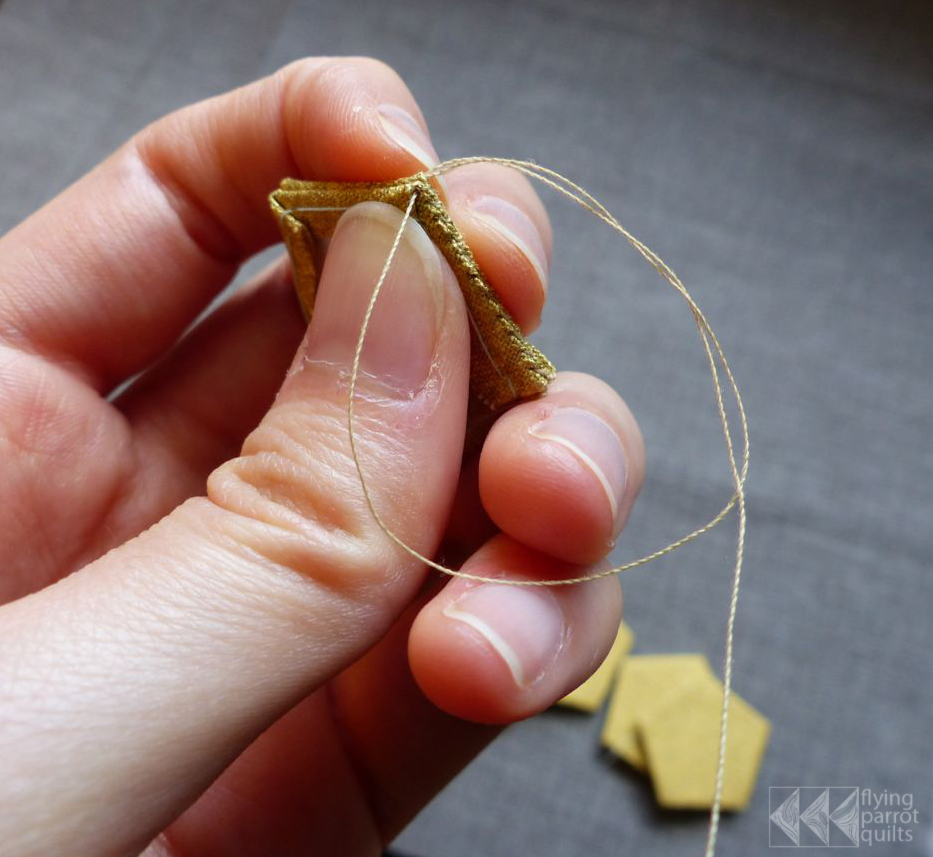
To start assembling your pentagons into flowers, choose a matching thread and knot the end. Place two pentagons right sides together and take a stitch through the corner. You will want to catch only a couple of threads of each pentagon.
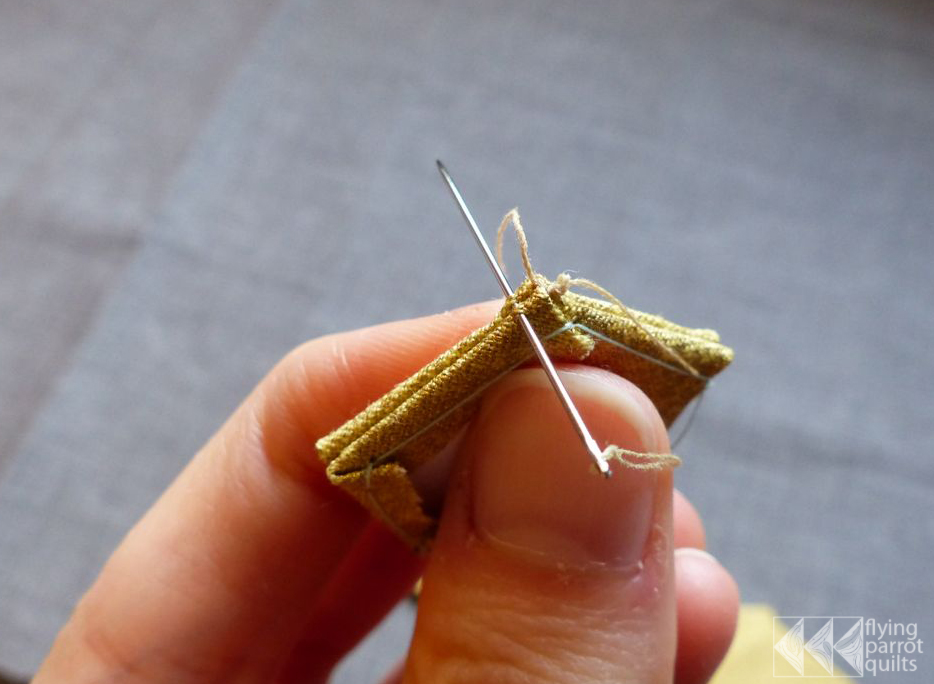
Whipstitch along the seam, always being careful not to catch too many threads in any stitch. (This will help hide your stitches in the finished product.)
Stitch all the way along this one edge.
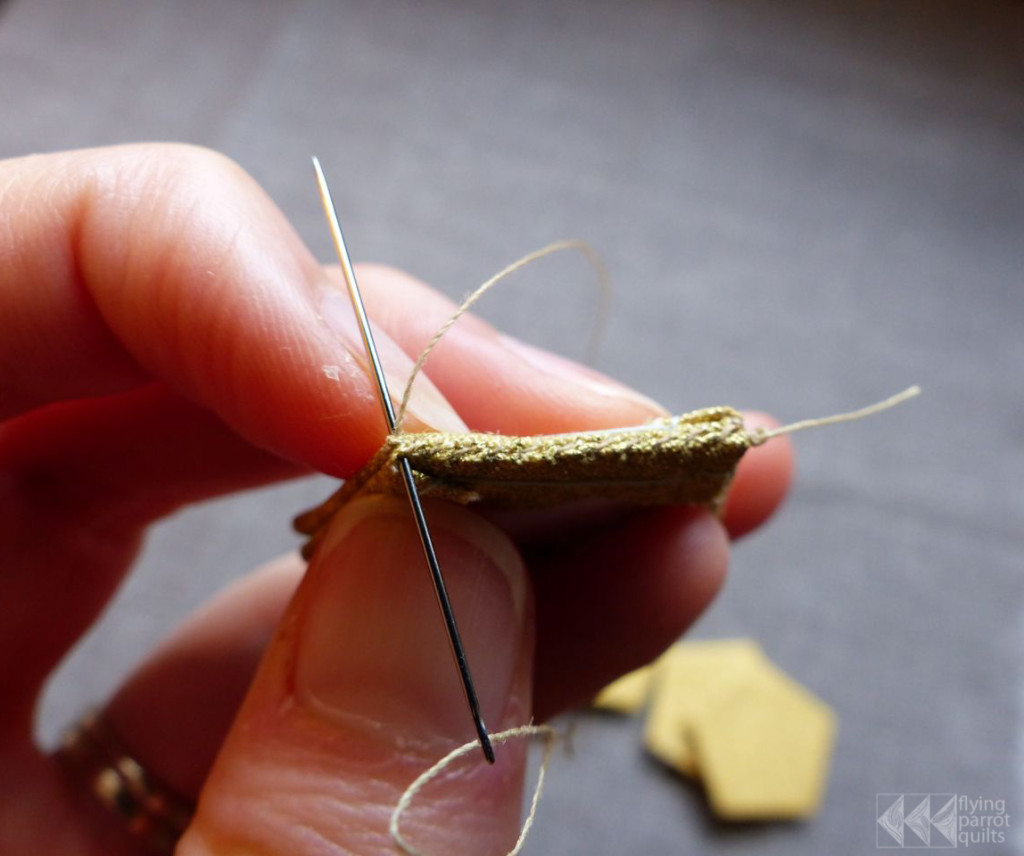
I like to tie off with a knot at the end of each seam for security, but don’t clip your thread yet.
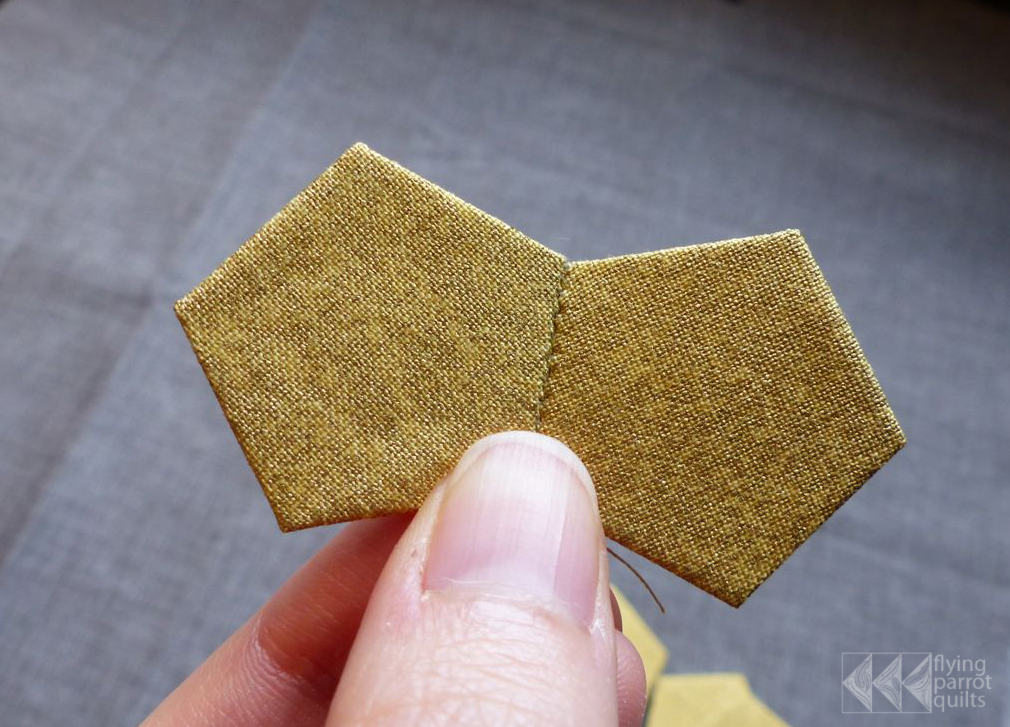
Unfold the pentagons. This is how they will look when the first two are sewn together.
Place another pentagon along the next edge and sew that seam the same way.
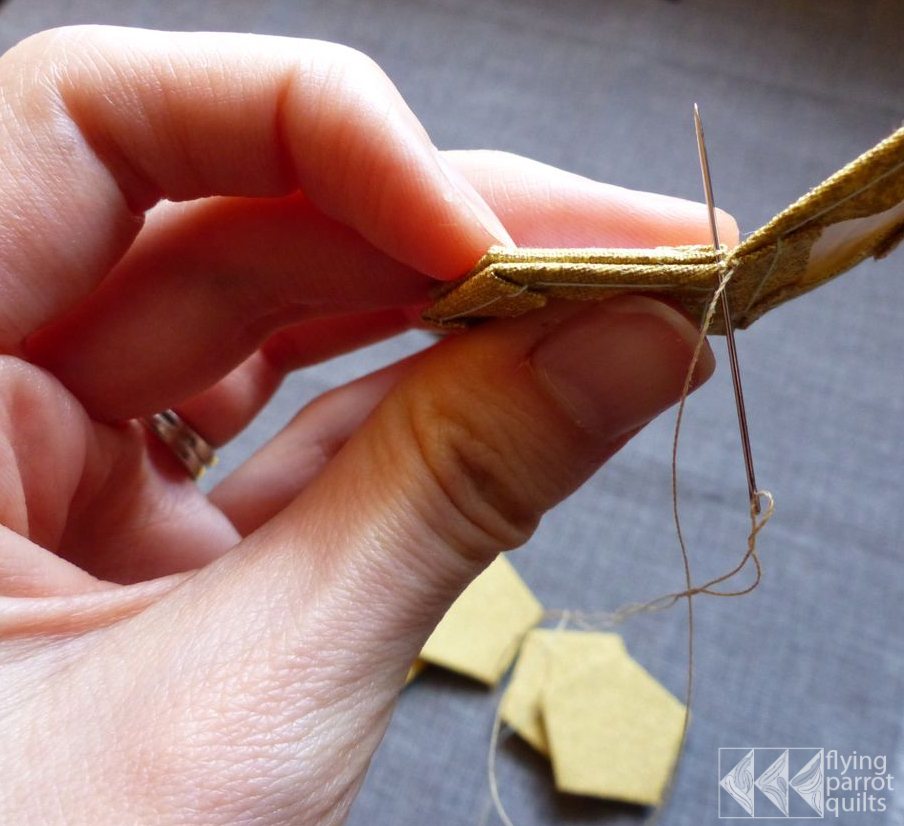
You will continue all the way around the center pentagon in this manner. Tie off and clip your thread.
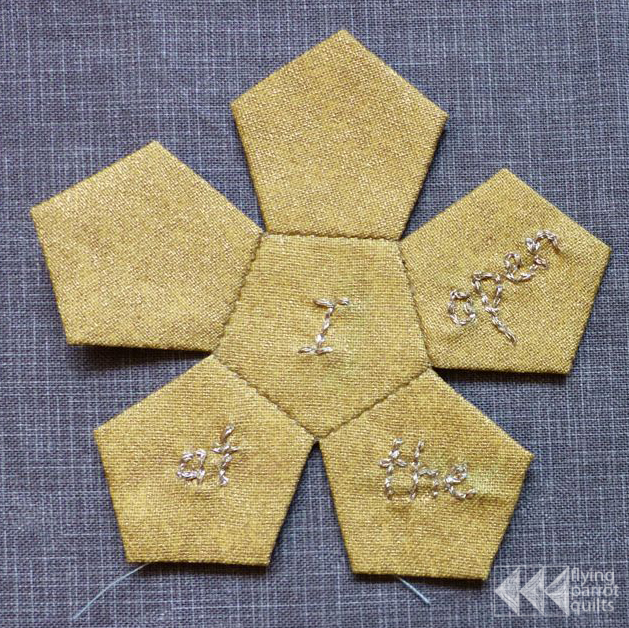
Make the second flower in the same way.
Inserting the wings
To attach the wings, pin each one to one of the adjacent pentagons. Make sure that the bottom of the wing faces towards the center on one flower and the top of the wing faces towards the center on the other flower. The raw edge of the wing should hang off the side of the pentagon about 1/4″ so that there is plenty of fabric to catch in the seam allowance.
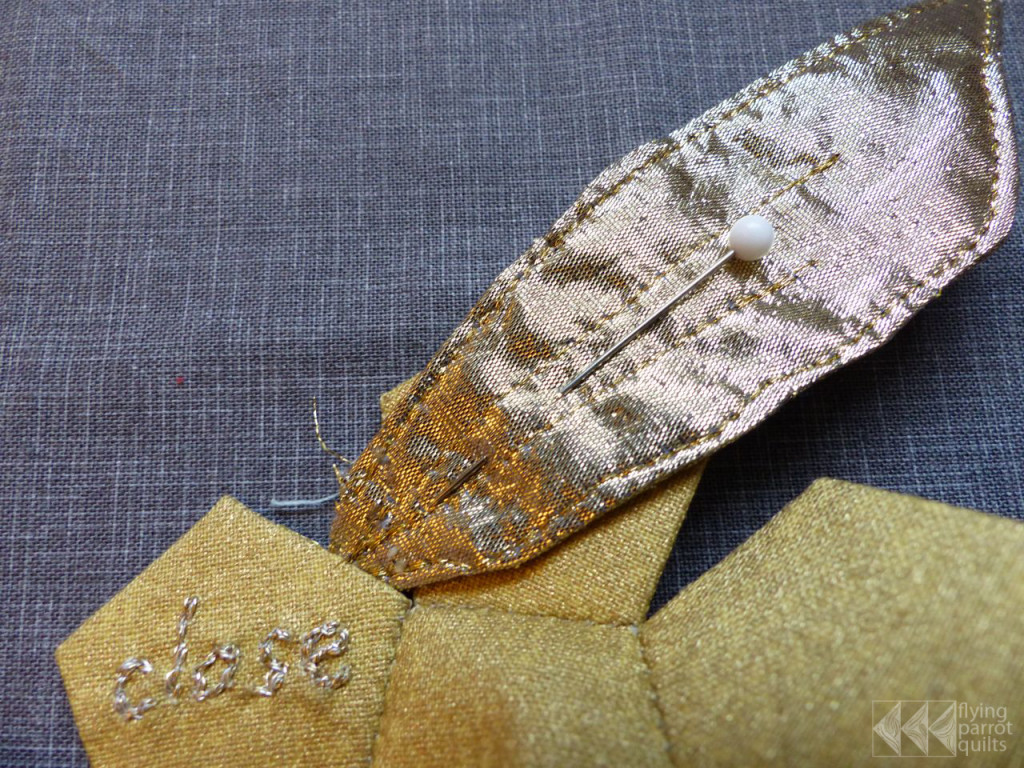
Go ahead and take out the paper in the center pentagon, and fold the flower so that the two pentagons adjacent to the wing are right sides together, with the seam allowance protruding between them. Begin stitching your seam as normal.
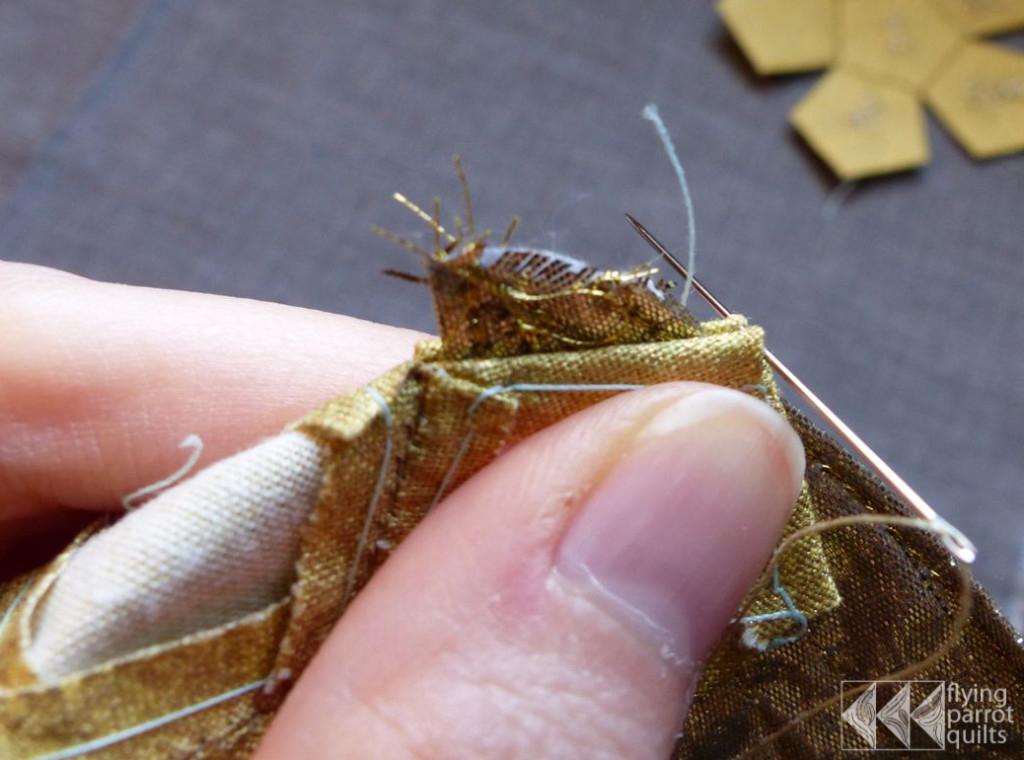
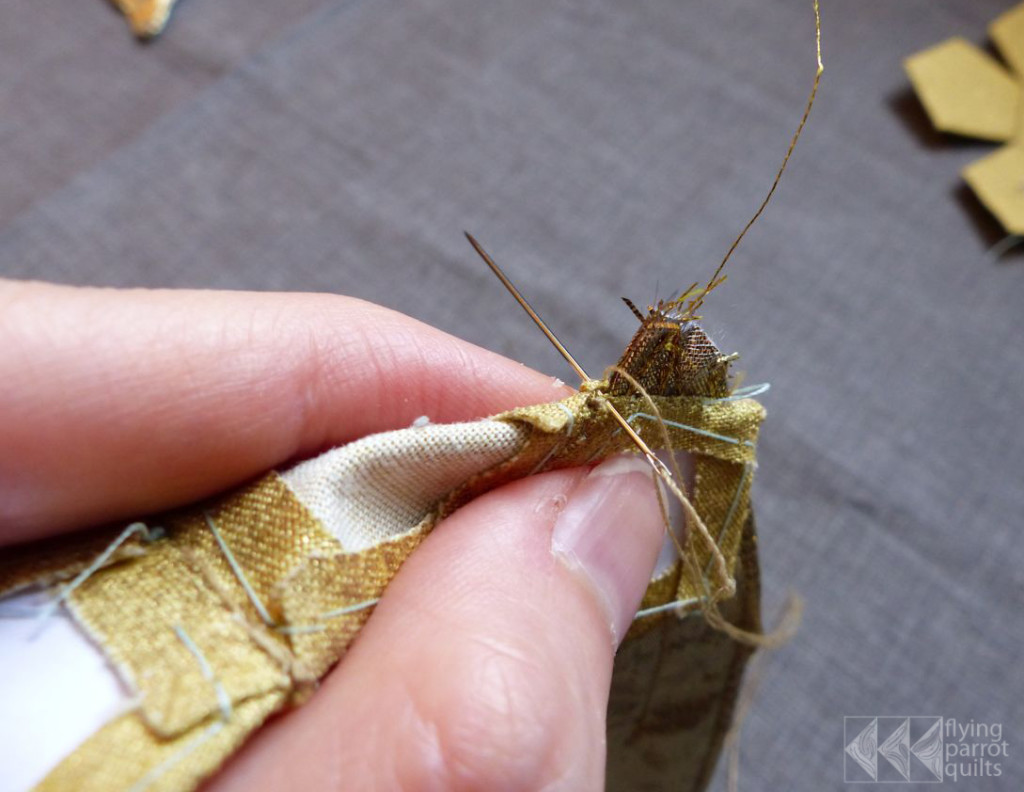
When you reach the wing, you will pass your needle straight through the wing. As always, catch only a couple of threads of each of the two pentagons.
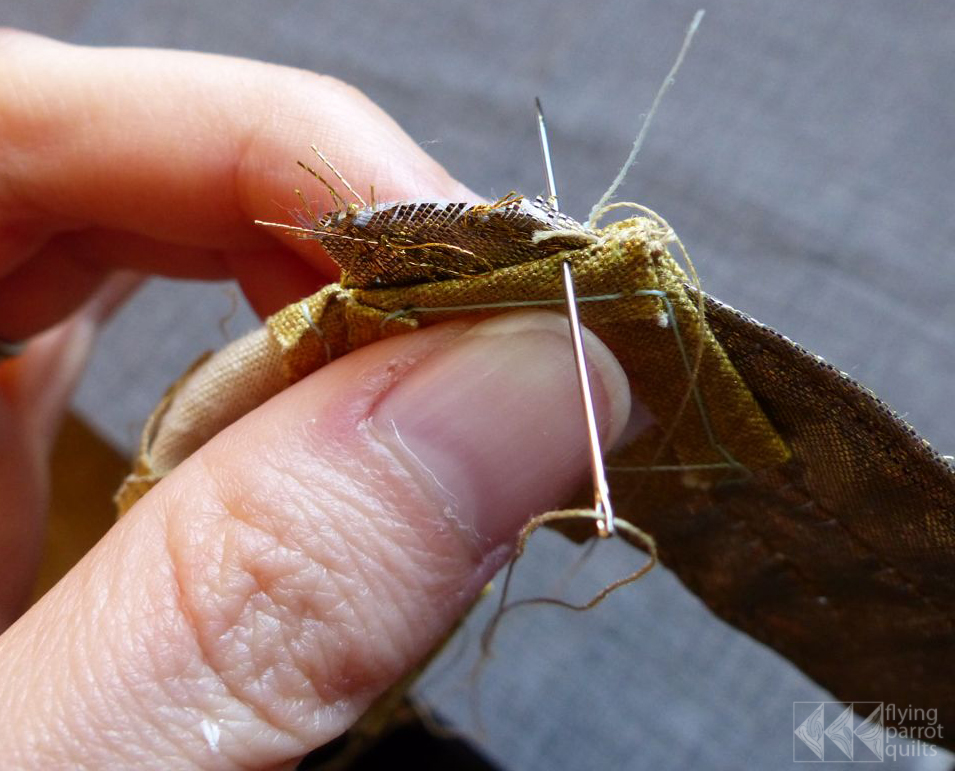
To bring the needle back to the front, stitch only through the wing just above the edge of the pentagons.
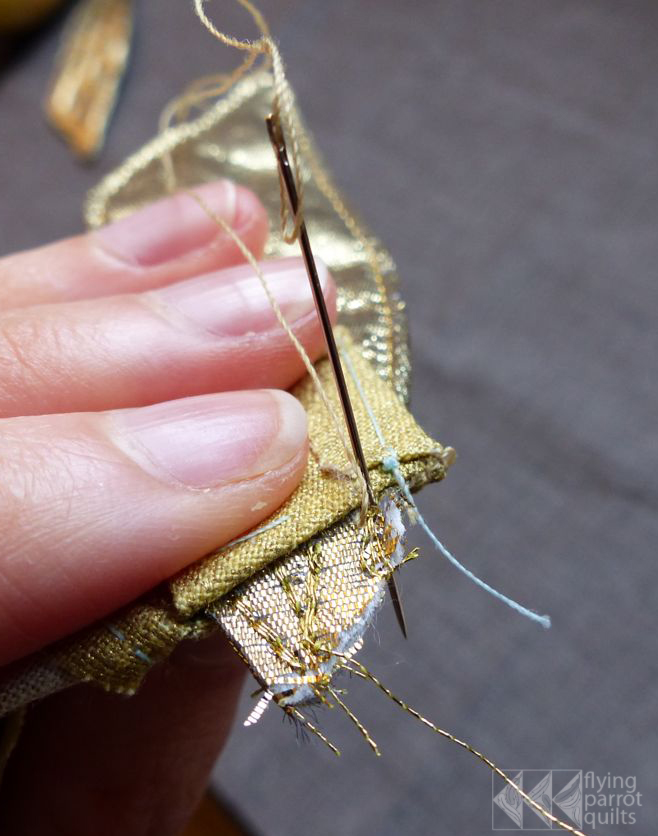
Continue stitching through the wing in this manner. When you come to the end of the seam, tie off with a knot.
Your piece should now look something like this:
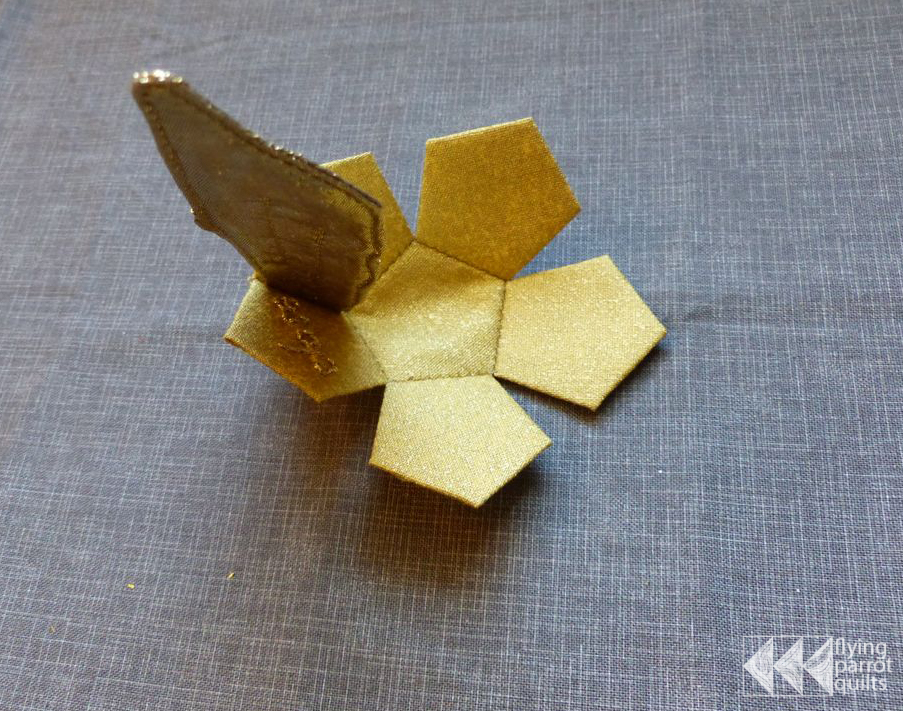
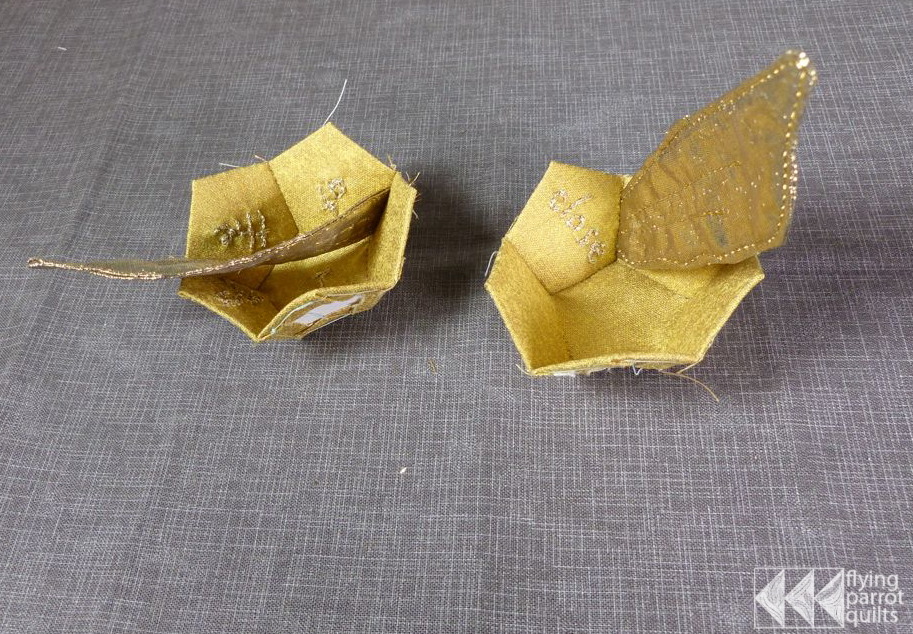
Sew the remaining side seams just like you did above when assembling the flowers. Do this for both flowers, and they should now look like bowls with a wing each:
Joining the halves
Now we need to sew the two halves together. Tuck the wings inside the bowls you’ve made:
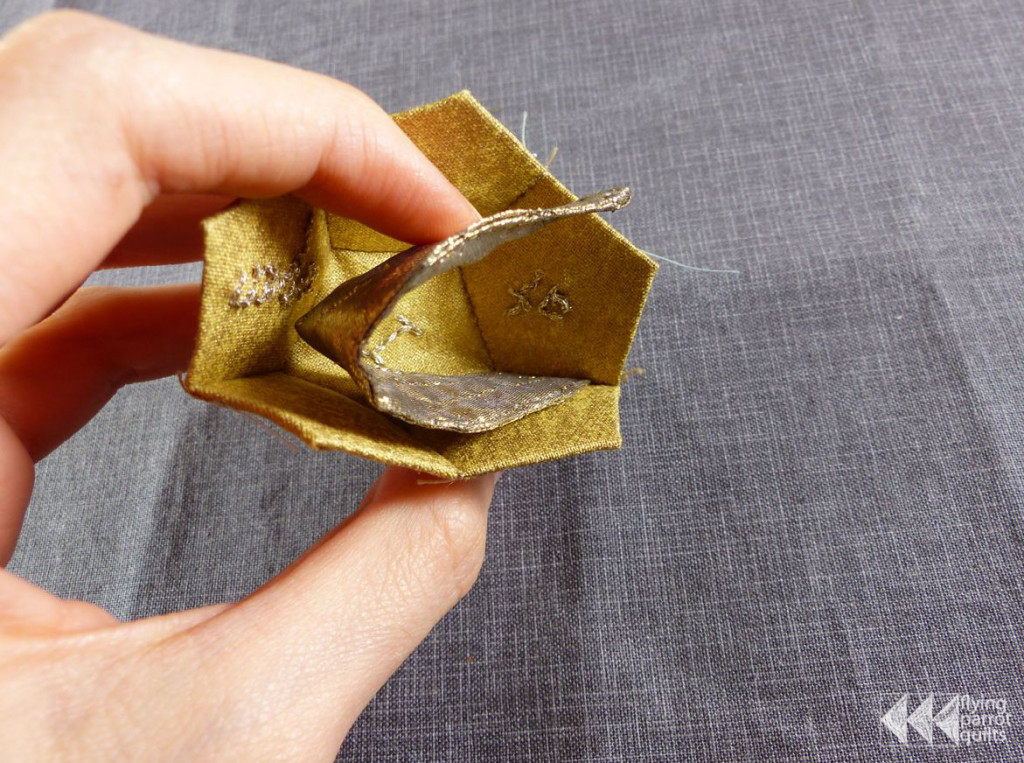
The two halves will fit together like this. The wing seams, which you can identify from the seam allowances sticking out, need to be directly opposite each other.
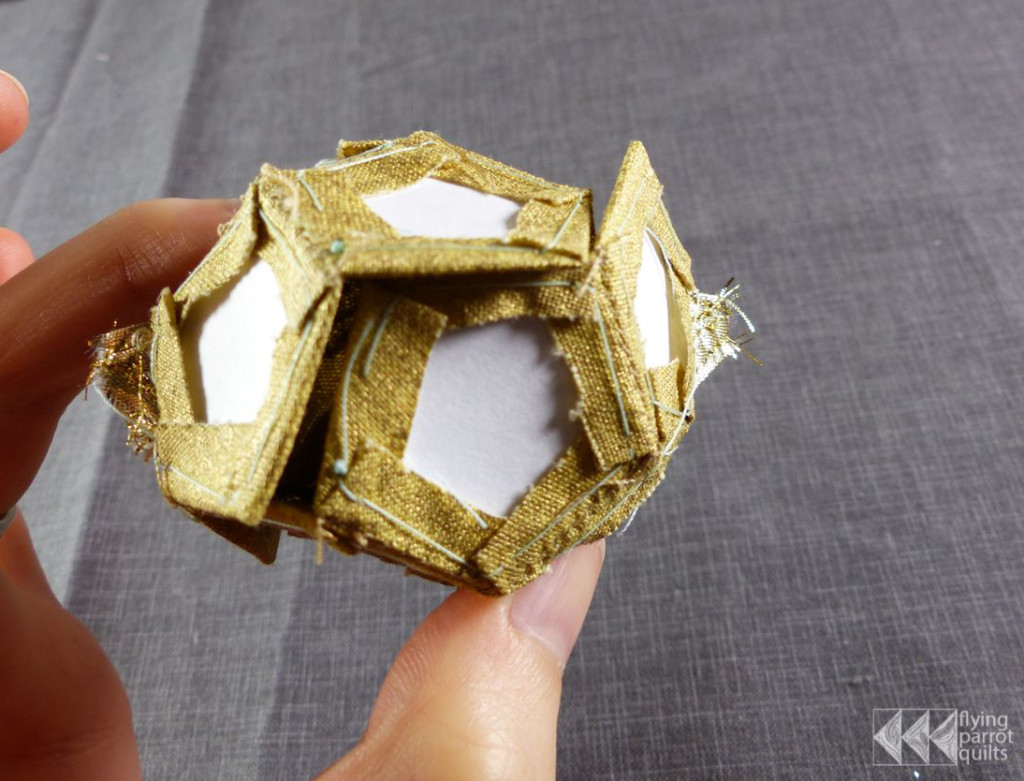
Pinch the bowls so that two of the pentagons line up and begin stitching with a whipstitch. This is a bit awkward, but it works okay.
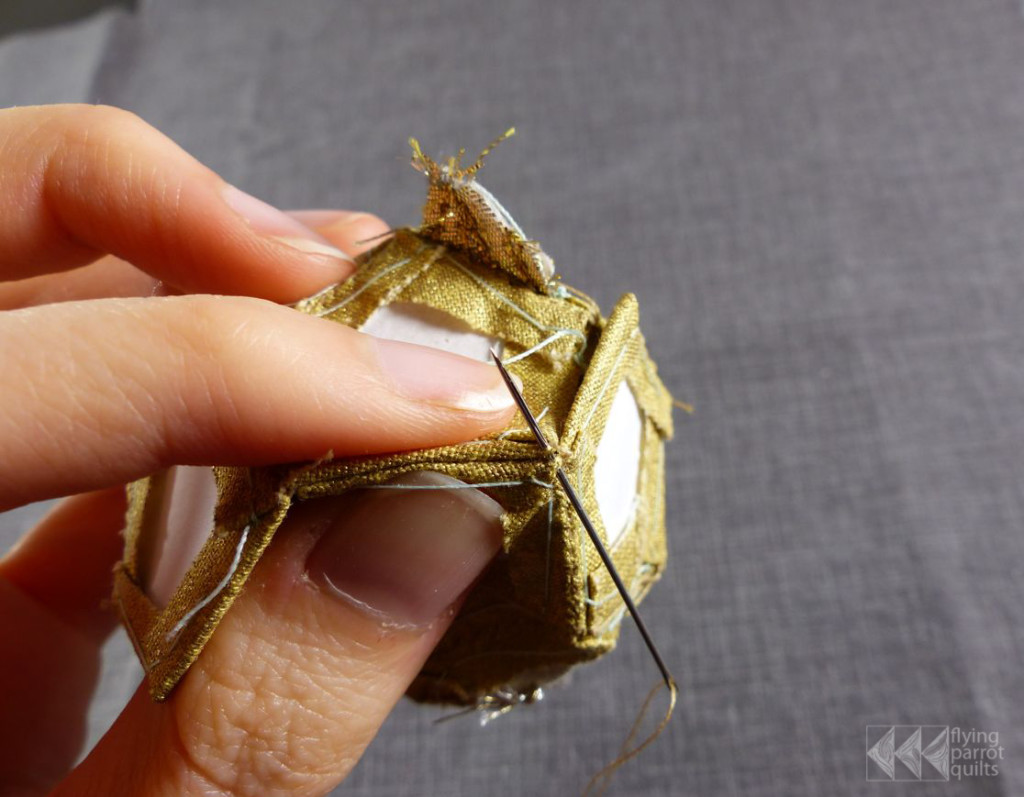
Continue around the ball, lining up edges and stitching with a whipstitch. It’s easiest if you remove the basting paper as soon as you have stitched all sides of a pentagon. Leave the last three sides unstitched. Remove the papers from the remaining pentagons, but do not remove the basting stitches! The basting stitches will keep the shape in place.
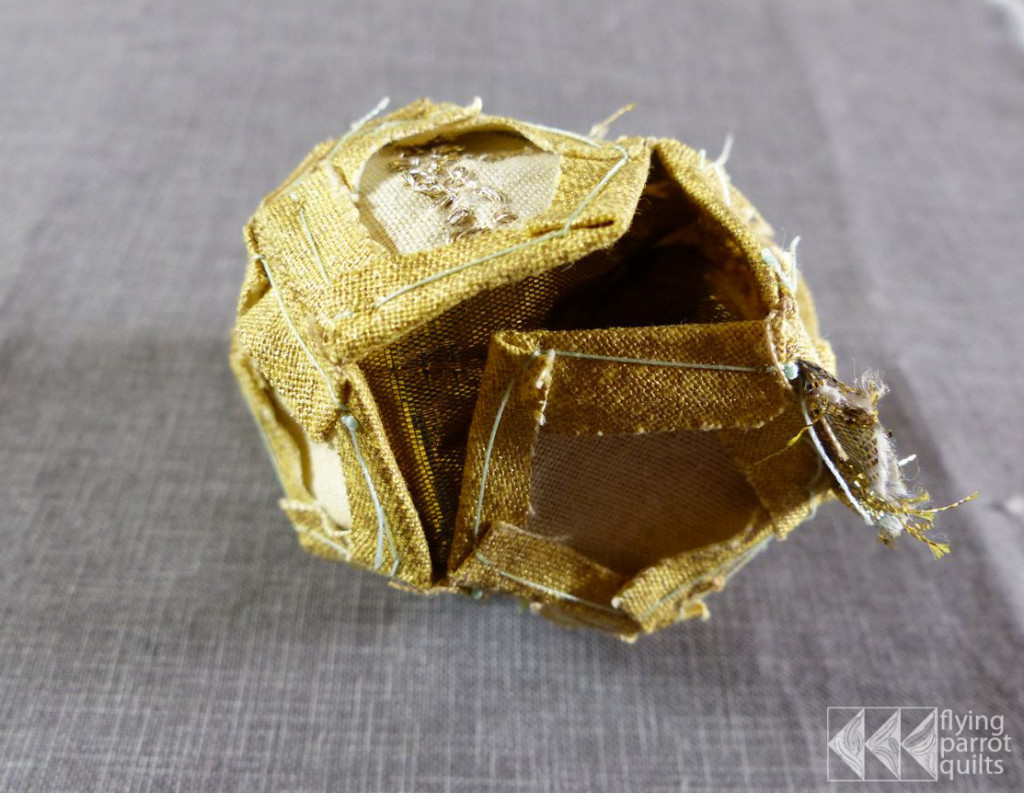
Turn your snitch inside out!
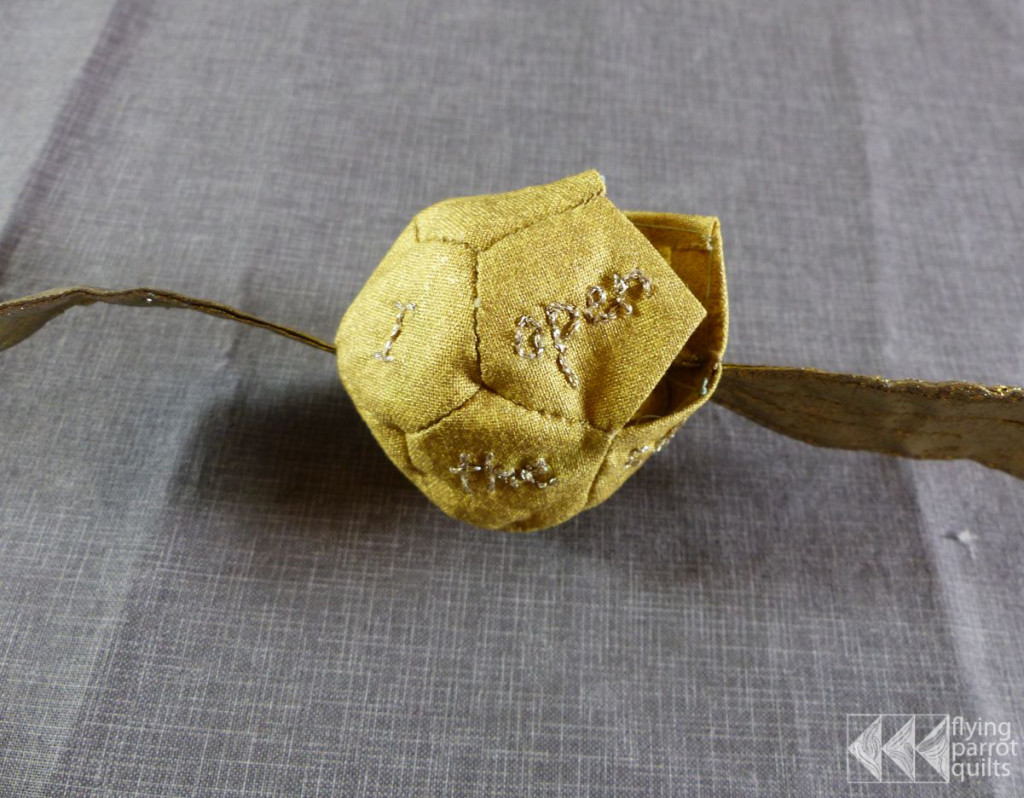
I went ahead and sewed one more side closed using a ladder stitch.
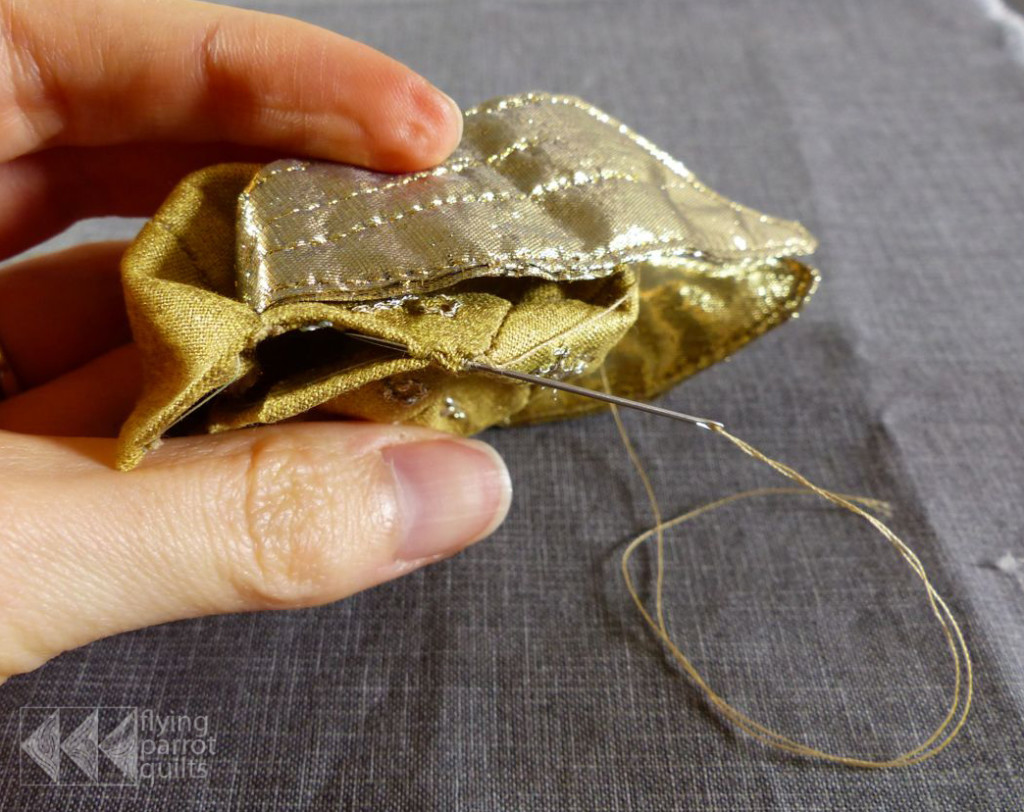
Now it’s time to stuff!
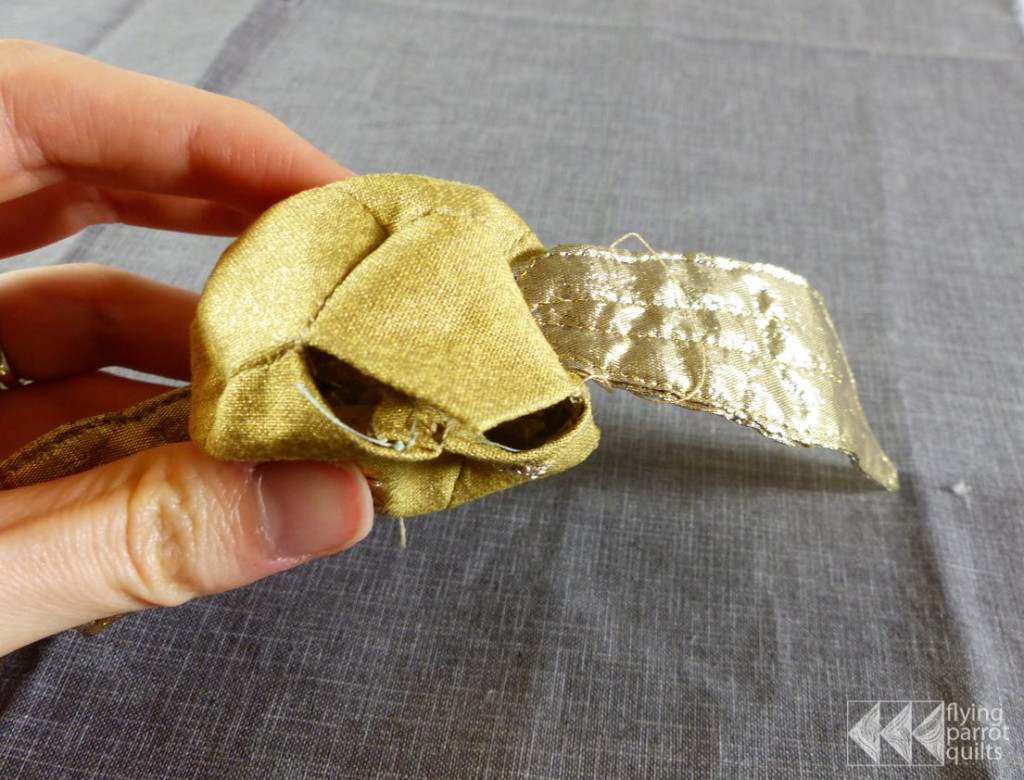
Stuff the snitch with polyester fiberfill or wool roving. Resist the temptation to overstuff.
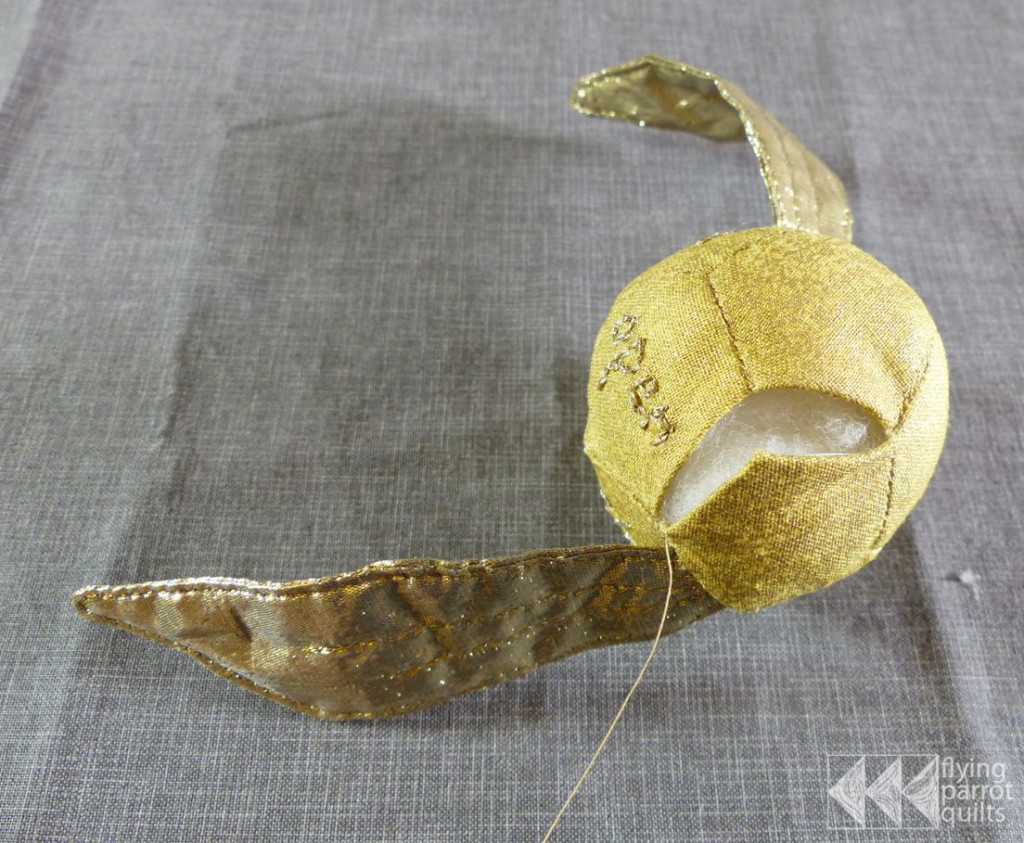
Sew the final two sides closed with a whipstitch or a ladder stitch.
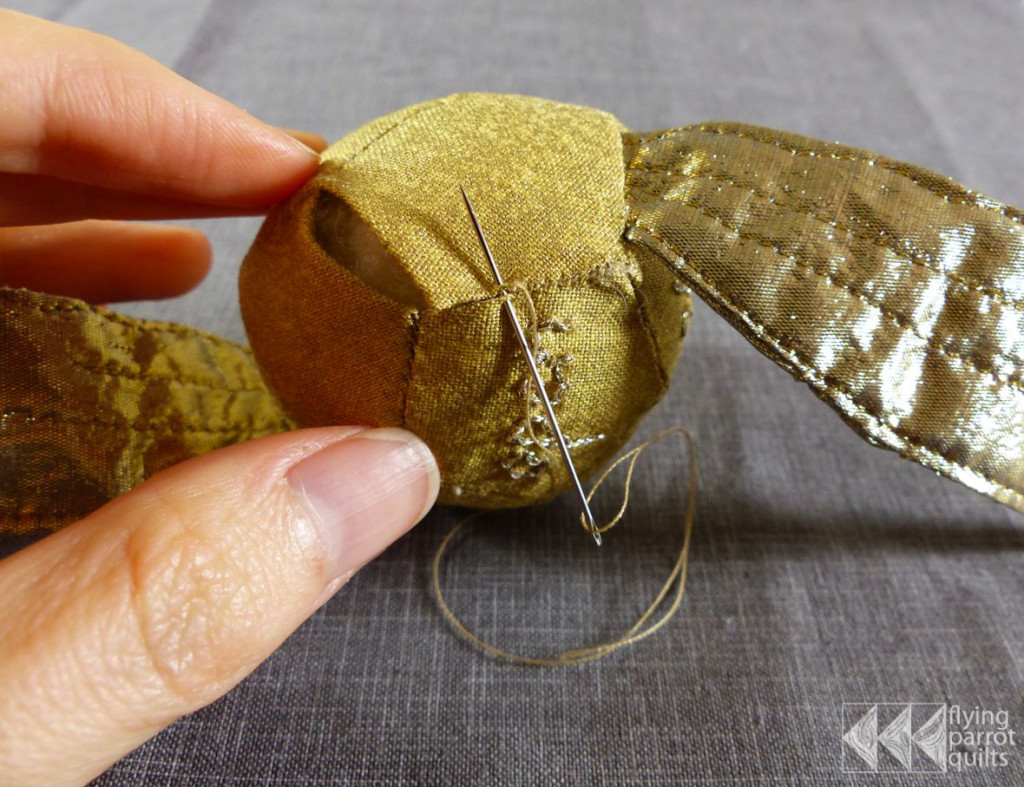
You are done! To make it fly, remember to say “Wingardium LeviOsa,” not “LevioSAR!”


Such a cute idea!! I need to make one for my grown son!!!!
Seems to be flying away in the last two pictures. Hope you can catch it again. :)))))
My boys will be getting one of these for Christmas. This is so perfect for any Harry Potter fan. Thanks for the tutorial!!
This is awesome!