As you might have realized, we’re going to be doing a lot of paper piecing for this quilt. So, I thought we’d start with some simple blocks to ease you into it if you’re new to paper piecing, or if it’s just been a while since you used the technique.
Our first blocks are candy corn and witches’ hats. I used 4 candy corn blocks and 2 witch hat blocks in my quilt. (Weird colored candy corn, that is. I don’t know what flavor this is, but I’m sure it tastes terrible.)

When printing paper piecing patterns, you always want to make sure to set your printer scaling to 100%, or “Do Not Scale.” Most patterns will provide you with a size test square. Make sure to measure this block and confirm that it is the indicated size—if it isn’t, check your printer settings and try again.
After printing your pattern, cut roughly around the block.
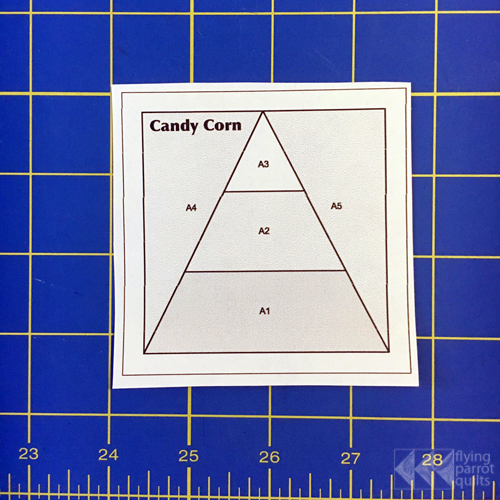
Take a piece of fabric that is big enough to cover the section marked A1 and allow for about 1/4″ of seam allowances around all sides, and pin it to the first section with the wrong side facing the paper.
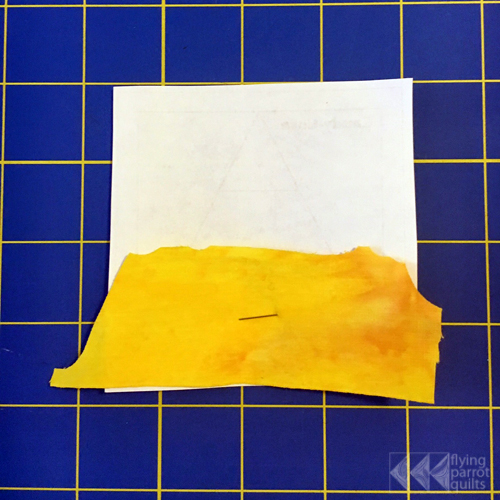
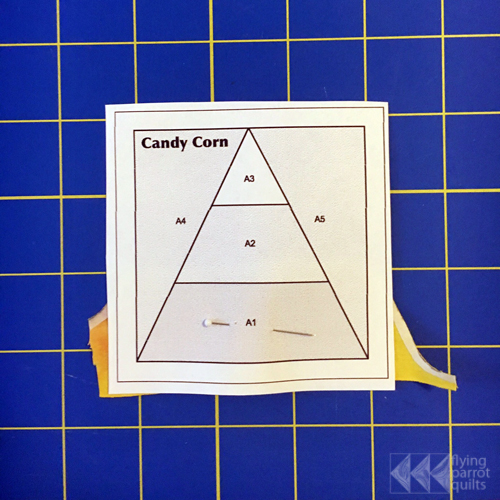
Then, fold the paper back along the line between sections A1 and A2.
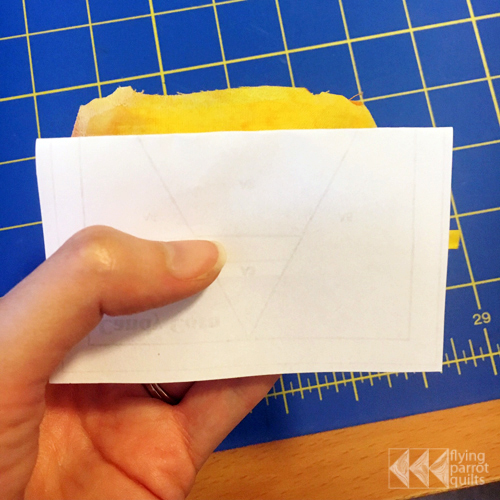
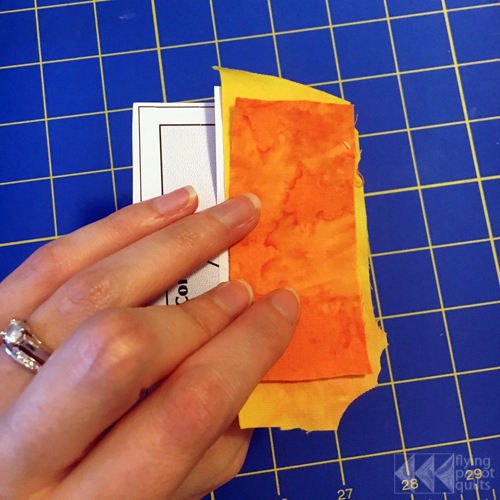
With the paper still folded back, place a piece of fabric large enough to cover section A2 (plus seam allowances) on top of piece 1, right sides together. (You can’t tell here because I’m using batiks which have no right or wrong sides.) Make sure that the fabric covers section A2 and there is enough overhang for seam allowances. Holding everything up to a window often helps!
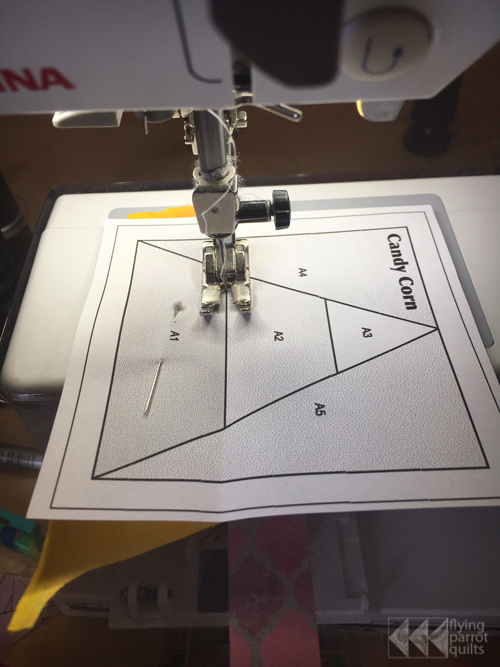
Leaving the fabric in place, fold back the paper and stitch along the marked line between sections 1 and 2, starting and ending about 1/4″ past the line, and using a slightly reduced stitch length. (I just hold the fabric in place with my fingers, but you could pin if you are not comfortable with that.)
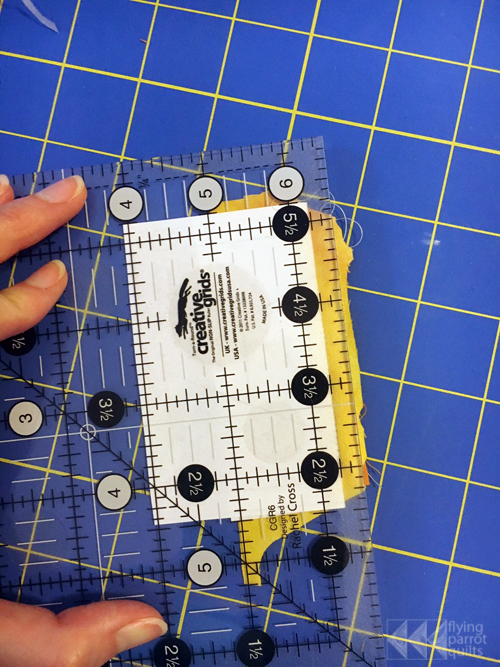
Fold the paper back again and trim down the seam allowance to 1/4″ with a ruler and rotary cutter or with scissors.
Open up your paper and press piece A2 into place with your iron. (I forgot to take a picture of this, but you can see it in the next photo.)
Now, fold down the paper along the line between pieces A2 and A3, and place your fabric so that it covers A3 well while folded back. Again, your fabrics should be placed with right sides together.
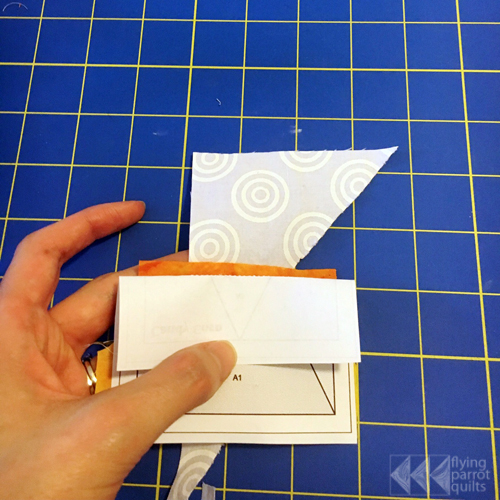
Fold the paper back and stitch along the marked line, then trim your seam allowance and press piece A3 into place.
When moving to piece A4, you will have to pull the stitching in the seam allowance away from the paper carefully in order to fold the paper back.
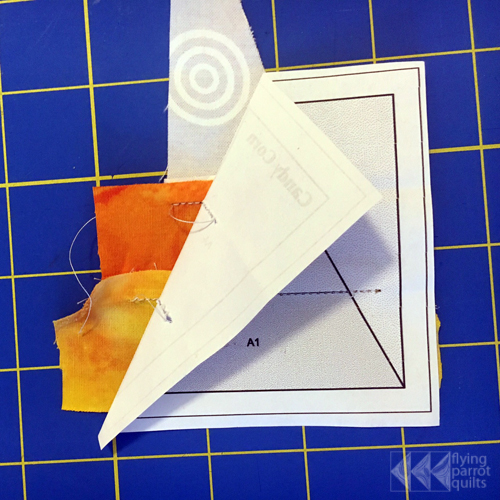
Place your first background piece, then fold the paper back and stitch.
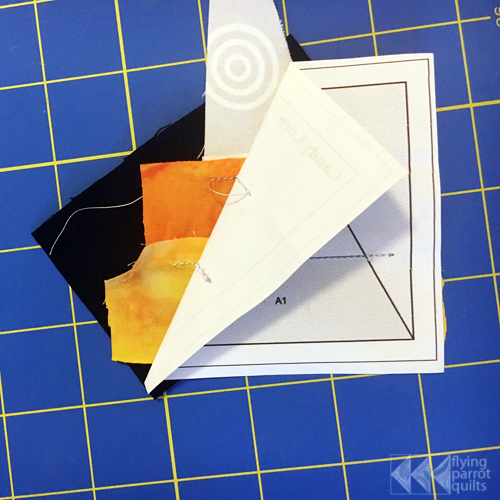
Remember to start stitching before the line.
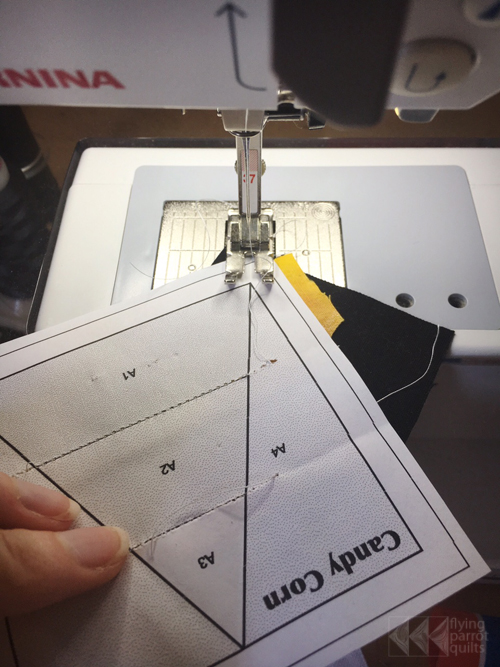
Continue until all pieces have been sewn. Your block will look like this:
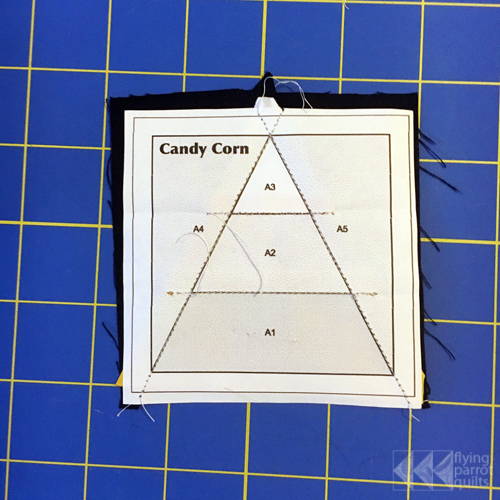
Using a ruler and your rotary cutter, trim through the fabric and the paper on the outside line.
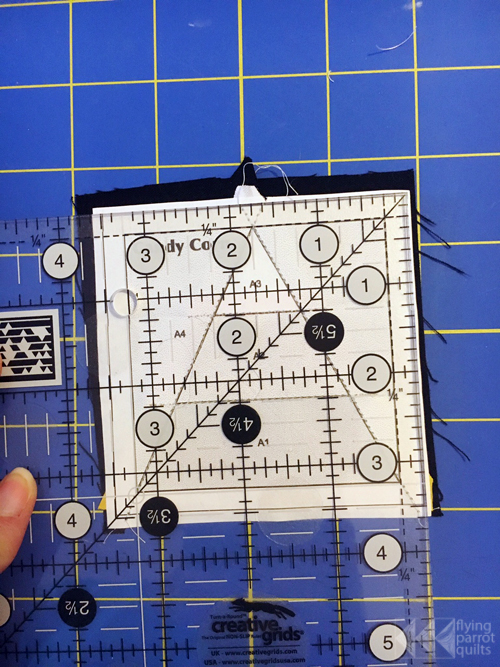
This is what your finished candy corn block will look like!
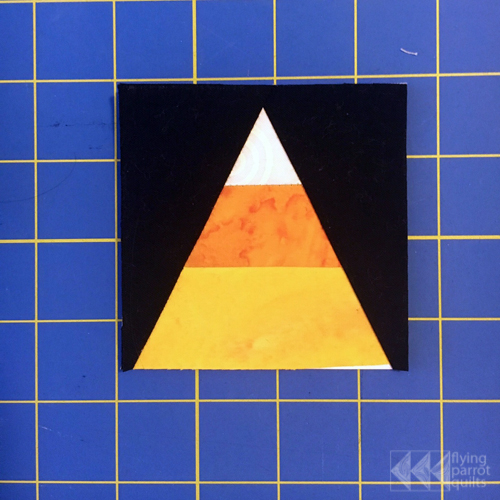
The witch’s hat block is just as easy—follow the same steps, paying attention to the order of the fabrics!
A word of advice to the less experienced paper piecers out there: when I first started using this technique, folding back the paper all the time seemed like a waste of time, and I decided to skip it. This led to endless frustration in fabric pieces not covering the paper sections properly, and having to rip out seams with a reduced stitch length is not fun. Don’t skip this step—I still have to rip occasionally, but it’s a lot less frequent since I learned my lesson and started folding the paper back!
Paper piecing can generate quite a few small scraps. I recommend that, even if you are scrap-averse in your normal quilting life, you hold on to all but your truly unusable scraps for the time being. There’s a lot of paper piecing in this quilt, and you will have plenty of opportunities to use small pieces in the weeks to come!
Please share your progress on this quilt-along on social media using the hashtag #epichalloweenqal!


I’ve never seen the tip to place the next fabric with the paper folded! This is going to make such a difference!! This is more of a 12 month than a 12 week quilt for me, but I really like it!
Yes, so much less ripping! It’s definitely worth taking the time to fold the paper. Glad you are joining in–the posts will stay up so no rush! 🙂
I found weeks 1 and 3. Where do I find week 3, please?