This week we start with some of the larger paper pieced blocks—it’s spider time! If you don’t have your pattern yet, get it here. Stick with me as we talk about the block measurements; I’ve got a tip for cutting your background fabrics at the end of the post. If you’ve not made a pattern that requires multiple sections to be joined before, my paper piecing guide here covers how to pin them together to get the best alignment.
The pattern includes three sizes: 16″, 12″, and 8″ finished. Trim down the large block to 15 1/2″ (unfinished)—there is plenty of background so you won’t get too close to the spider itself by doing that.
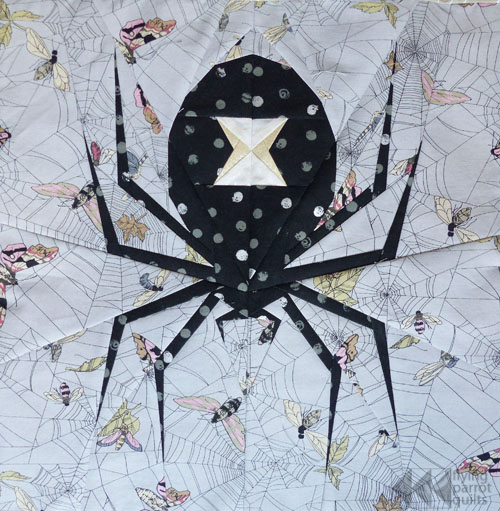
Aragog the Large
This largest spider requires you to tape together your pattern pieces B, C, E, and F. Word to the wise: use masking tape, painter’s tape, or washi tape. Scotch tape melts under the heat of your iron and makes a mess!
Shelob (medium, 12 1/2″ unfinished) fits perfectly into the quilt top.
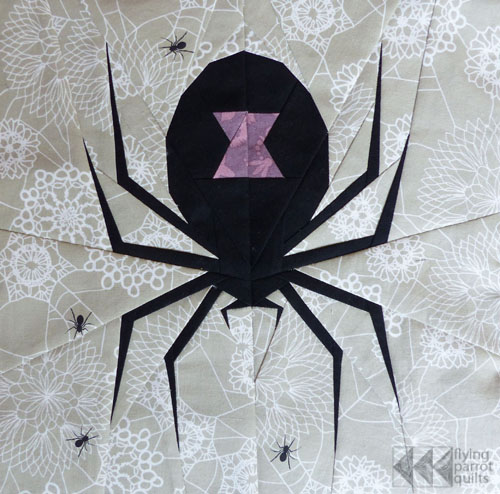
Shelob the Medium
The small size is 8 1/2″ unfinished, and needs a bit of an adjustment. This spider fits into the quilt in this odd section:
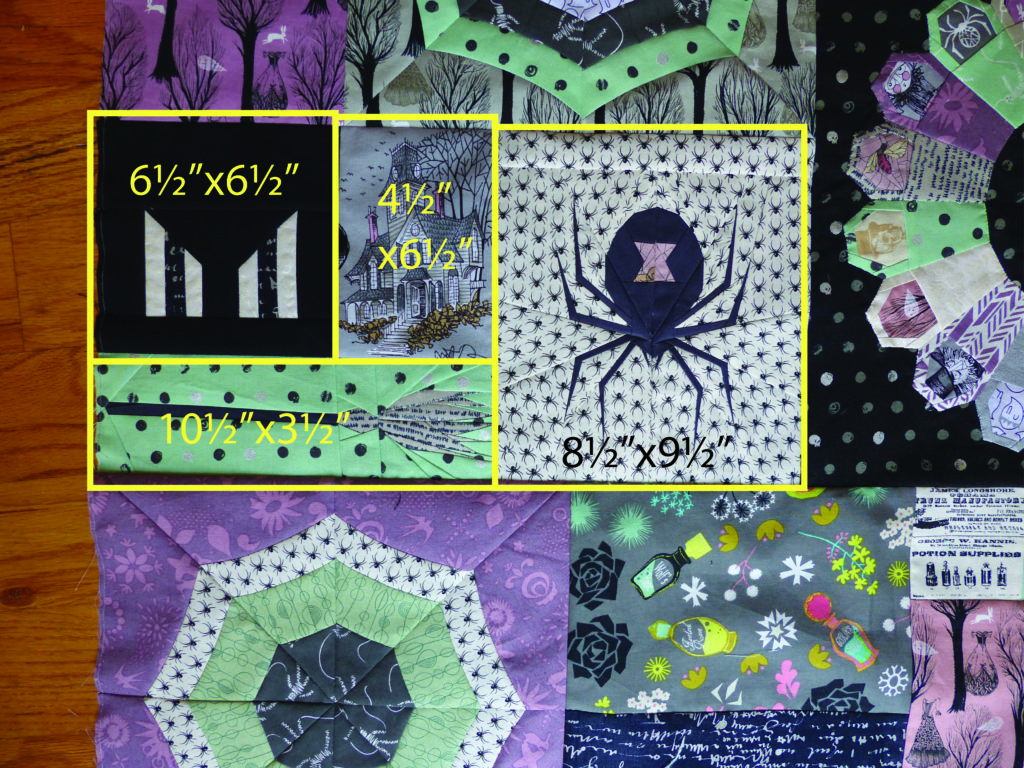
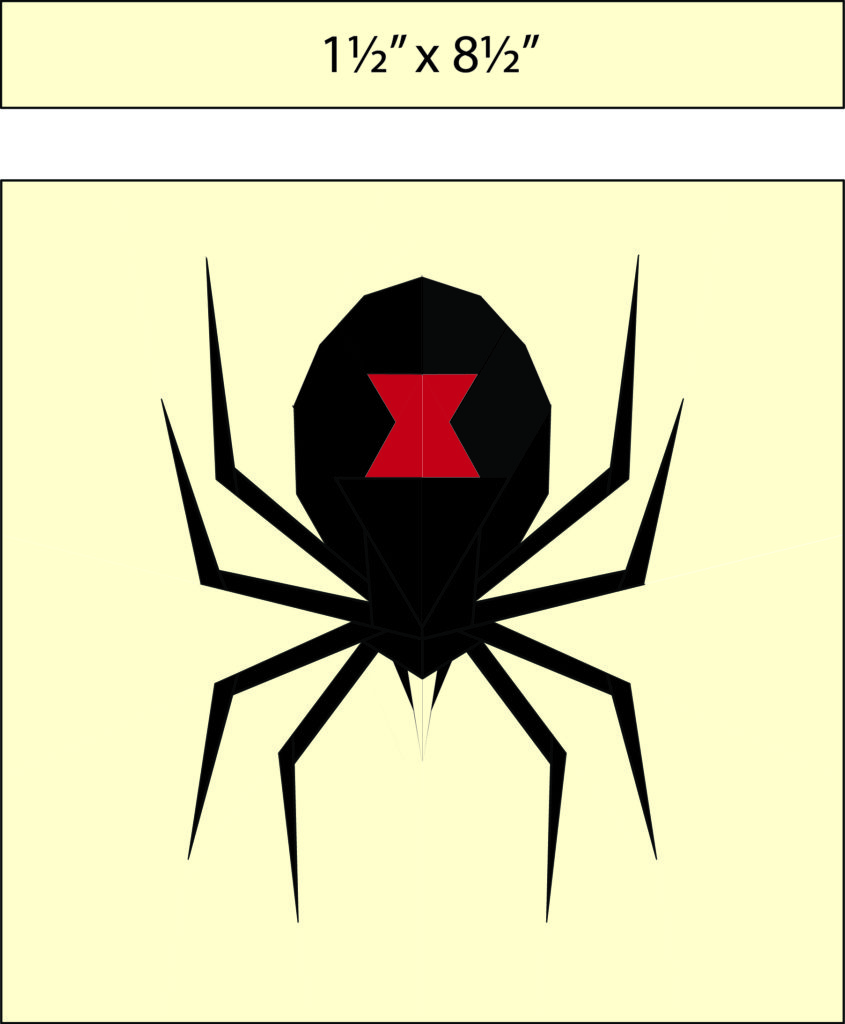
I had a 4 1/2″ x 6 1/2″ fussy cut haunted house (from the “Ghastlies” line by Alexander Henry) that I wanted to include in this section. If you want to use a piece of fabric this size, piece your spider as directed in the pattern, then add a 1 1/2″ x 8 1/2″ strip of background fabric at the top:
If you’d rather stick to the 3″ x 3″ grid layout, in which case you can add extra candy corn, witches’ hats, or a potion bottle in the remaining slot, you’ll want to size up your spider to 9″ finished. To do this, simply print the small spider pattern with your printer scaling set to 112%. Please be aware that this will make your seam allowances a little larger, too, so you’ll want to use a ruler to square the block up to 9 1/2 x 9 1/2″ at the end rather than relying just on the outside line. Also, if your top seam allowance line bleeds off the edge of the page, just redraw it 1/4″ from the block edge using one of your rulers.
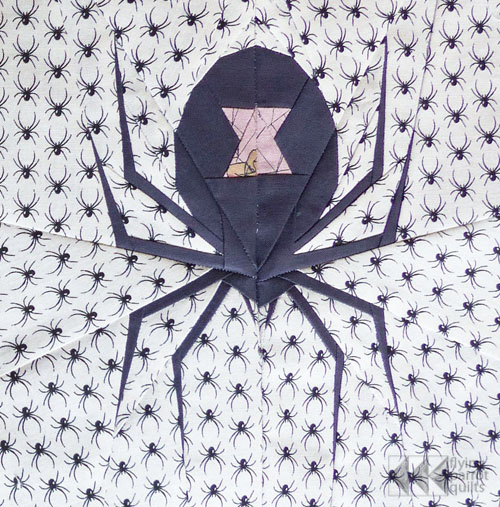
Charlotte the Small
There are a number of large-ish background fabric pieces in this pattern. Here’s a little tutorial on how to cut your background pieces to minimize fabric waste. (This tip will come in handy for the bat pattern later, too!)
Since the two halves of the spider are mirror images of one another, you’ll need mirrored background pieces. Fold your fabric in half and place Section F in the corner:
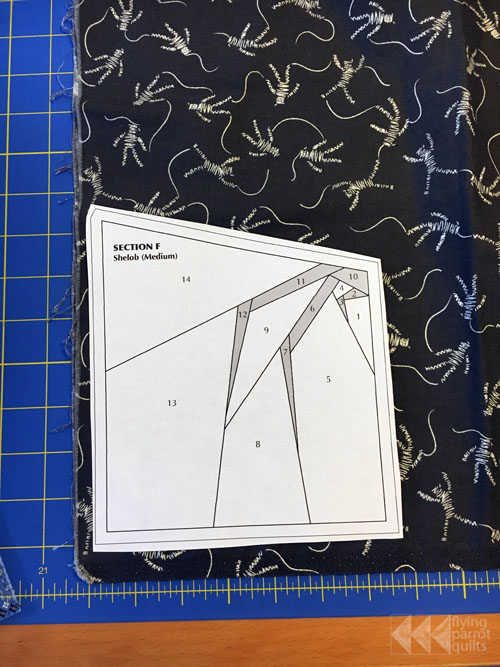
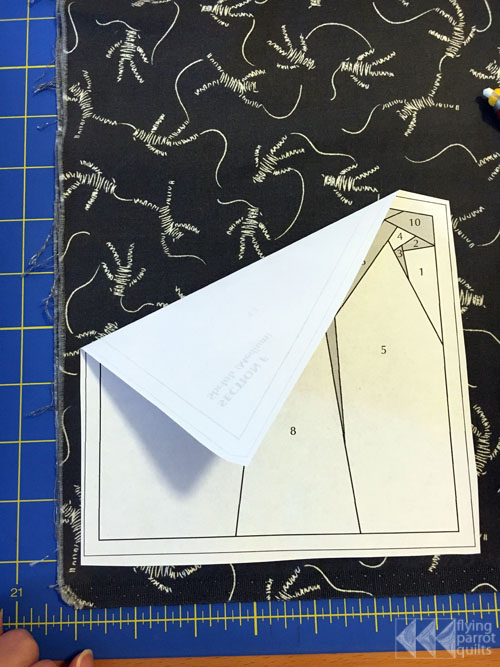
We will start with piece 13, the bottom corner piece. Fold the template back along one of the seam lines:
Using an appropriate marking tool, trace the line about ½” away (to account for seam allowance)
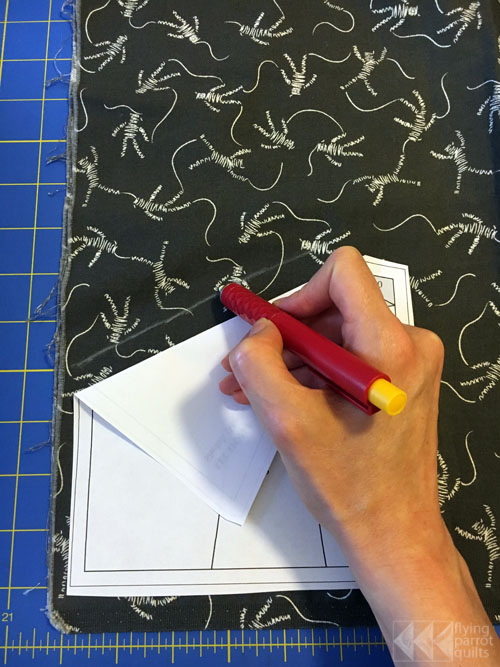
Repeat with the other seam line(s) of piece 13: fold back, then trace along the line, leaving room for seam allowance.
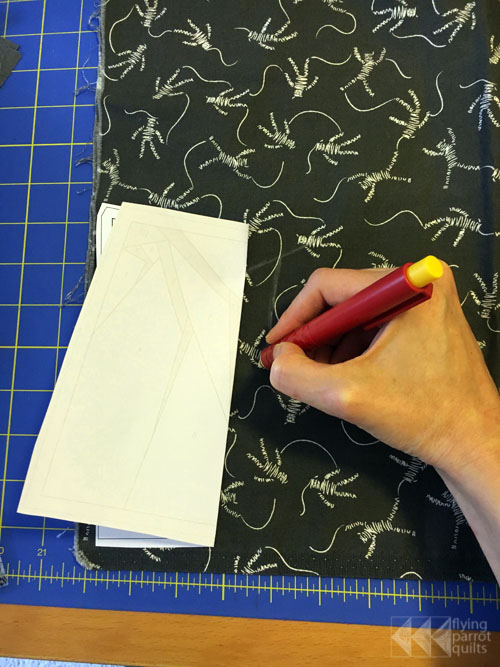
If you like, you can go ahead and cut out the piece you’ve already marked. Cut through both layers, then pin a note to the pieces to remind yourself where they belong. In this case, because you’ve folded the fabric right side out, the bottom piece will be for section F, and the top piece will be for the mirror-image section C.
To move on to the next piece (in this case, 14—the order in which the pieces are sewn is not important for this!), shift your paper up so that the fold line is now about 1/2″ on the other side of your drawn line.
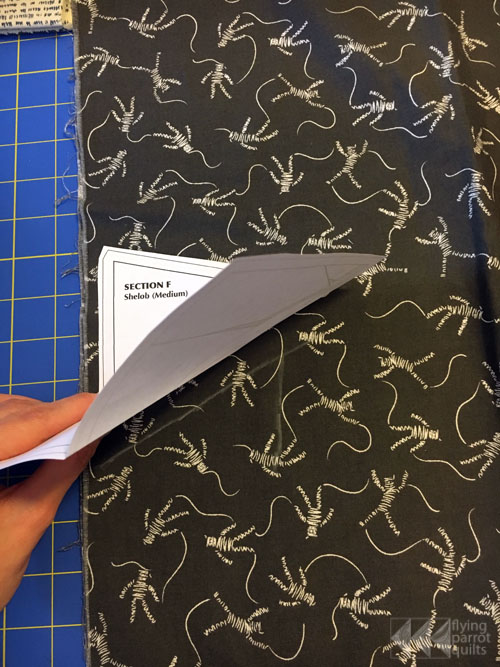
Then, follow the line about 1/2″ from the edge of the paper.
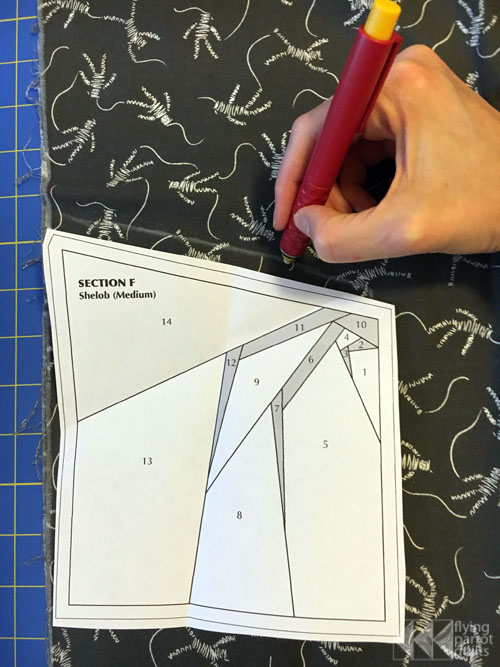
This way, we don’t waste fabric in between all those weird angles.
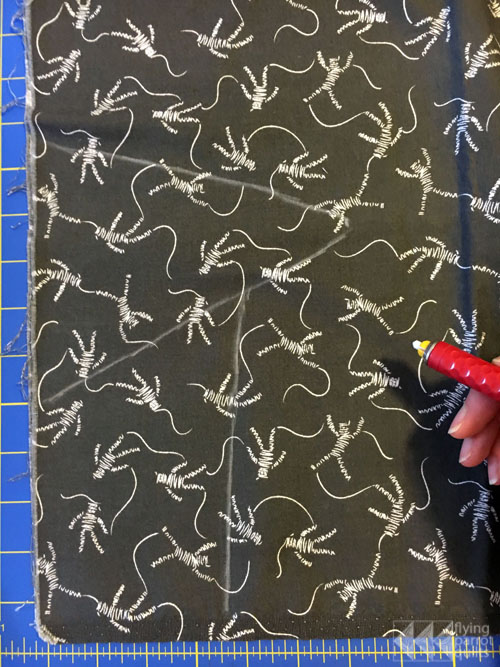
Continue with sections E and then D, tracing the pieces in the approximate configuration in which they’ll be sewn.
As a final reminder, when placing your fabrics, don’t skip folding the paper back! This really helps a lot with placement, particularly when you’ve pre-cut your fabrics close to the size of the final piece.
Tag your finished spiders with #epichalloweenqal and #spookyspiderpattern!


Love the background fabric for Aragog. Was that from your stash or is it available to purchase?
That background fabric is from the Ghastlies line from Alexander Henry. I believe the name of the print is “A Ghastlie Web.” I only purchased most of the Halloween-themed fabrics two or three months ago, so it really ought to still be available. It also comes in a lovely dusty rose that I used elsewhere in the quilt!
I’m thinking about purchasing this pattern and want to ask if I could shrink this down to a smaller block (maybe 3.5 to 4 inches)?