This week we’re bottling fame, brewing glory, even putting a stopper on death piecing Variable Potion Blocks, so called because you have lots of options on what size to make your potion blocks. These potions are also a great place to show off some more fussy cuts.
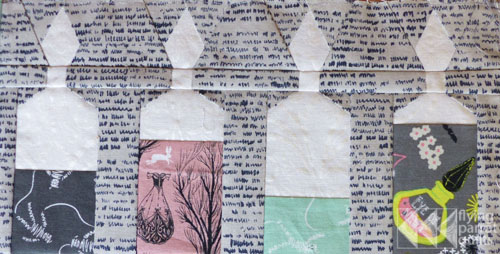
4 tall potions (12″ x 6″). Potion Inception on the right!
The paper piecing pattern is here. For this quilt, you’ll need four different blocks:
- 6” x 6” (two short potions)
- 9” x 6” (three short potions)
- 12” x 6” (four short potions)
- 6” x 9” (two tall potions)
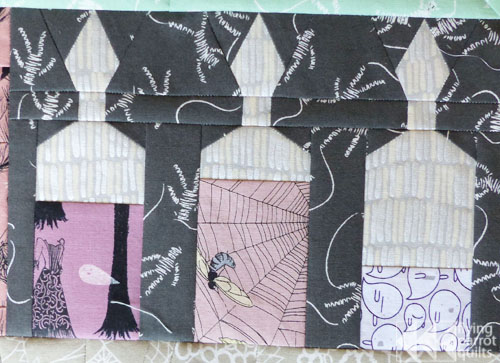
3 short potions (9″ x 6″)
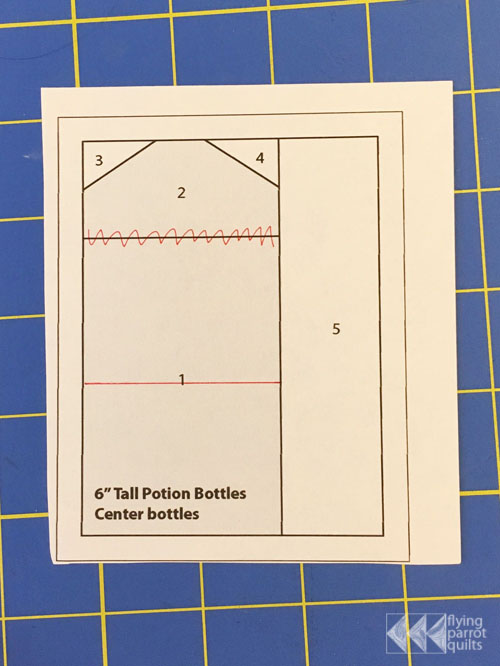
Full instructions are in the pattern, but here are just a couple of hints. First, how full the potion bottles are is merely a suggestion. To change the levels of your potions, just change the position of the line between sections 1 and 2, like I did here with a red pen:
For the four-potion block, you will need two center pieces for the tops and bottles for the four-potion block.
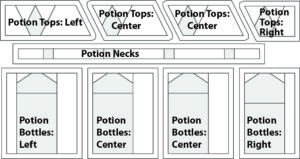
You will need to insert one additional potion neck section into the existing three-potion neck section.
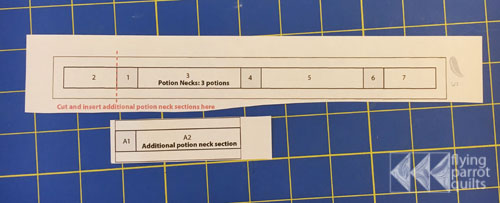
Begin by cutting along the red dashed line.

Stick some tape (washi or masking tape—remember, scotch tape melts! 🙂 ) on the back of one of the sections, like this:
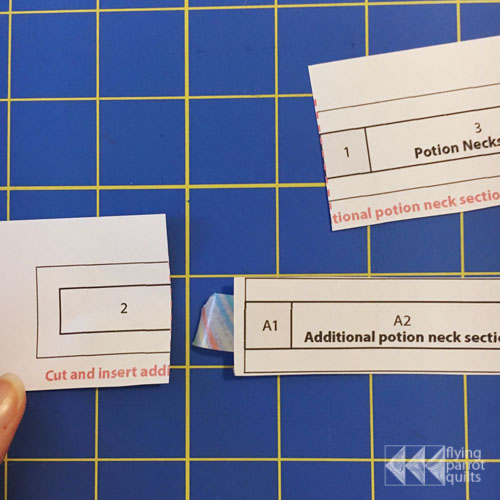
And carefully line up your pieces. You may want to use a ruler to check that the horizontal lines stay straight. Repeat for the other side.
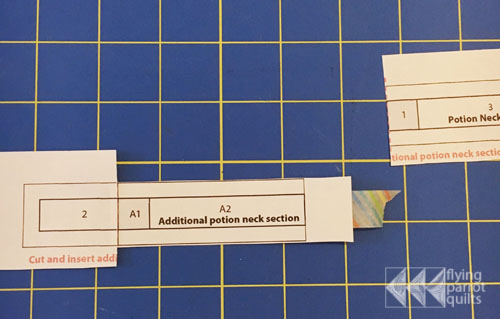
Your finished section should look like this.

Here are the rest of my potion bottles:
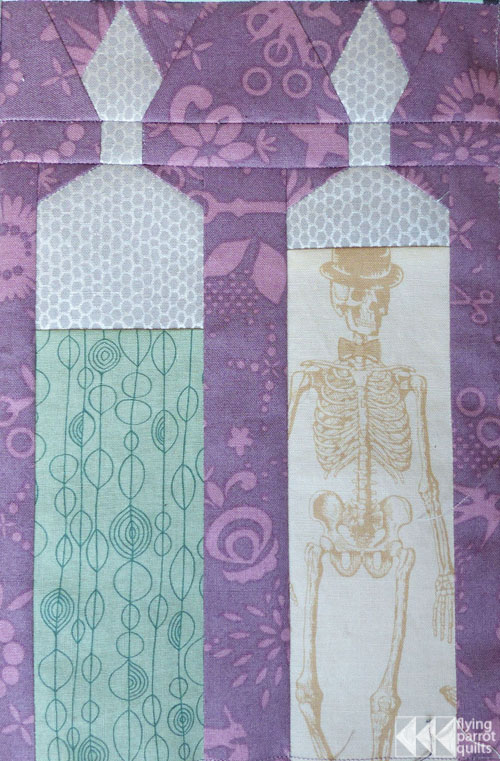
2 tall potions (6″ x 9″)
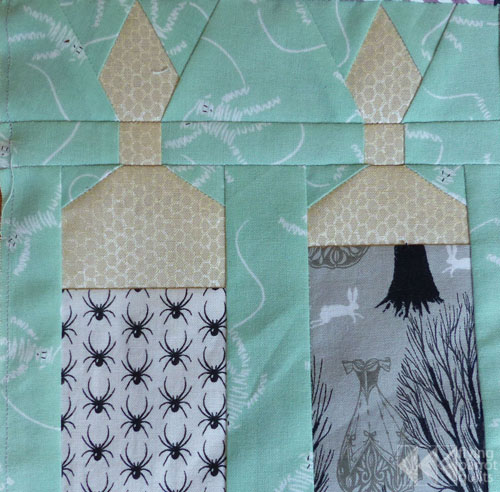
2 short potions (6″ x 6″)
Are you a potions master, or did stitching these blocks make your cauldron melt into an unrecognizable heap? Post your creations on social media with #epichalloweenqal.


Are the sizes you’ve mentioned finished or un-finished?
Thanks!!
finished … add 1/2″ to every block.