This week is the last really intense paper piecing pattern! We are making bats from the fantastic “Midnight Bite” pattern by Nicole of Lily Ella Stitchery. Grab your pattern here if you don’t have it yet.
You will need to tape some foundation pieces together following the instructions in the pattern. Again, please be sure to use masking, painter’s, or washi tape instead of scotch tape so that you don’t end up with a melted mess on your iron!
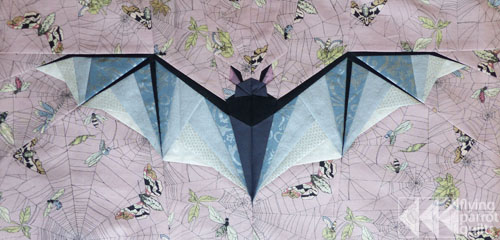
We’ll be making all three sizes of bats, but there are some slight size adjustments to make on a couple of the blocks. The large block fits into our quilt nicely as is. The medium block will need to be trimmed down to 9½” x 15½”. Just trim ½” off each of the short sides.
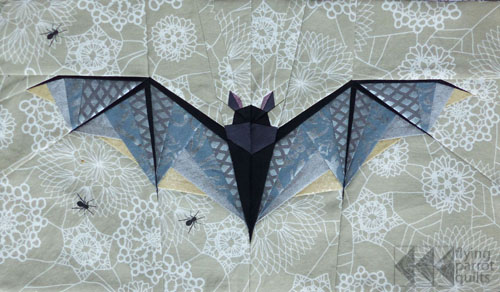
The small bat is sized 10″ x 6″, and would be easier to fit into the quilt if it were 12″ wide, so we need to add an inch to either side.
Find sections D and E, and line up the one-inch mark on your ruler with the outer (dashed) line.
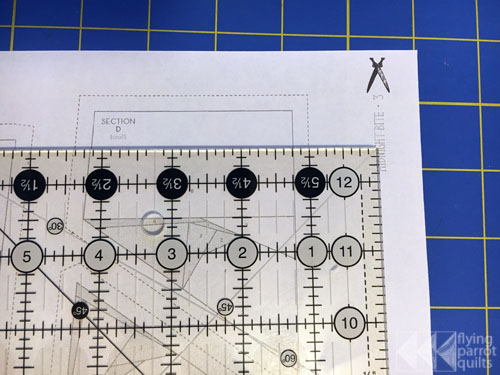
Notice how the 1 inch mark is lined up with the OUTER edge. Be careful!
Draw a line to indicate your new block boundaries.
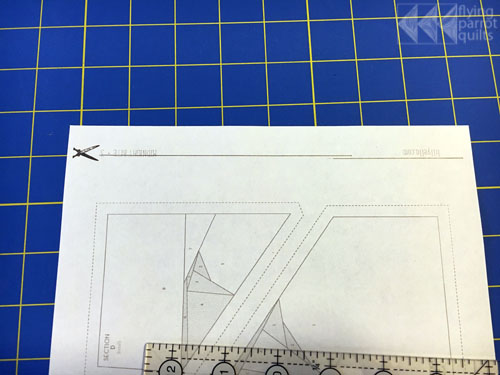
Then, just extend all the piecing lines to your new boundary!
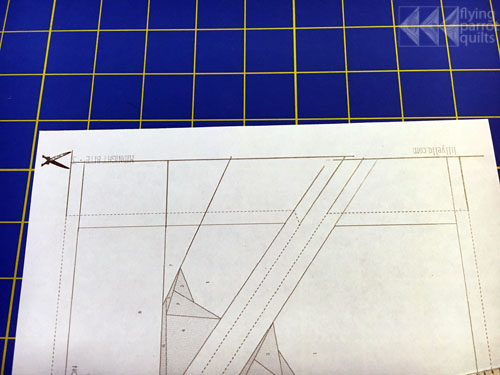
Draw in the finished block boundary 1/4″ inch away from the outside edge. This way, you still have those points for purposes of joining sections.
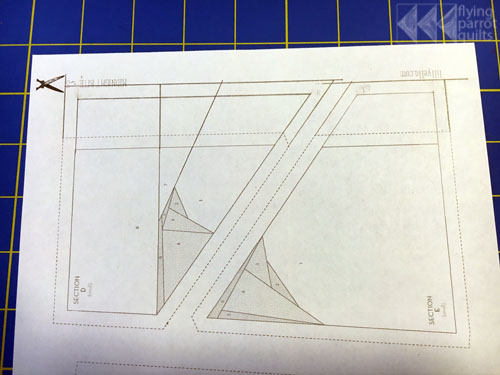
Repeat for sections I and J on the other side of the bat. You may have to tape on a little extra paper.
And that’s how you extend the background on the small bat!
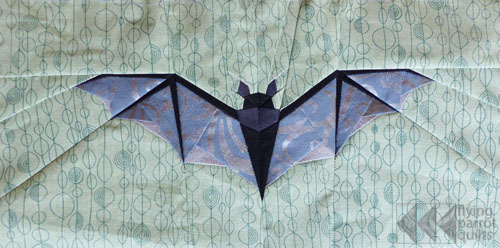
I loved using some of my metallic fabrics for the bat wings—it made them shimmery and ethereal!
Tag your bat blocks with the pattern hashtag #midnightbitepattern and the quilt-along hashtag #epichalloweenqal!


Leave a Reply