We recently finished our basement to create a studio space for me, along with some storage space and a play space for the kiddos. It has been a slow process, but I am getting organized down there, and one of the things I worked on over this past winter was putting up a proper design wall. I haven’t had a design wall in over ten years—I typically design my quilts on the computer, and since many if not most of them recently have used solids, putting up and moving around my blocks hasn’t really been a necessity. I am, however, working on a series of new projects that use primarily prints, and so I really needed a design wall again.
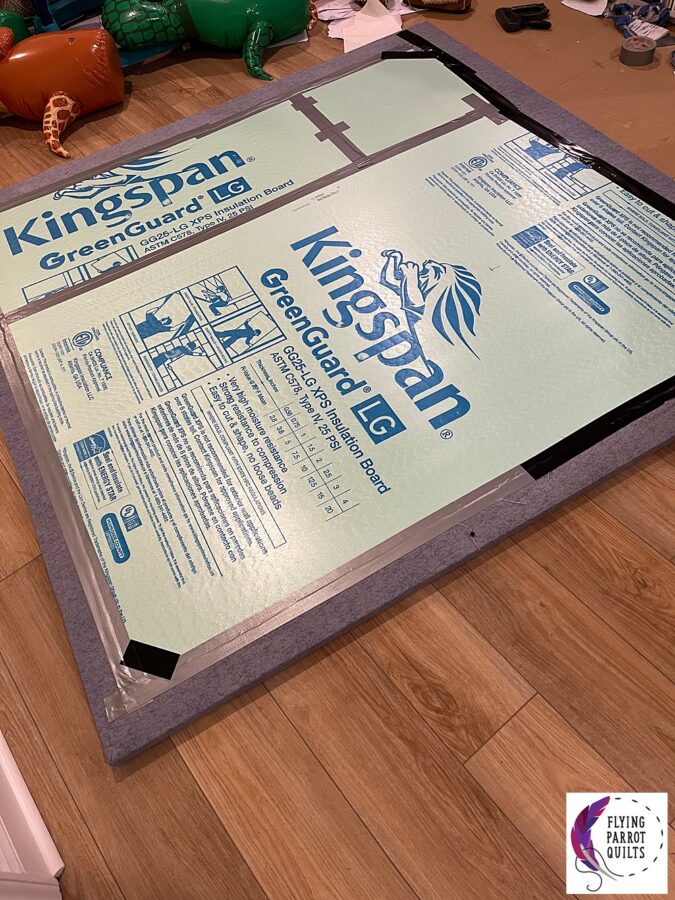
I based my design wall largely off the tutorial by Christa Watson, but I thought I’d share how I modified it. Since there are some air intakes on the wall I am using, I couldn’t use two full insulation boards as she does. I opted to make my wall 6 foot by 6 foot, since my quilts don’t often get a whole lot bigger than 72″ x 72″. I bought one 4 foot by 8 foot 1″ thick panel, and then a small 2 foot by 2 foot board.
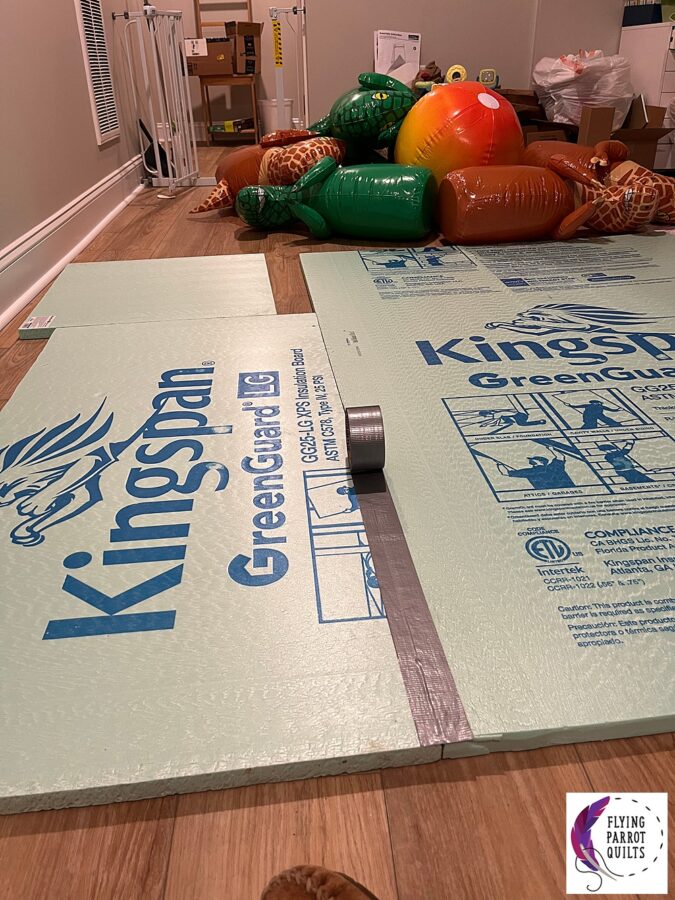
Yes, that’s a giant inflatable dinosaur bowling set in the background. Like I mentioned, the kids play down here.
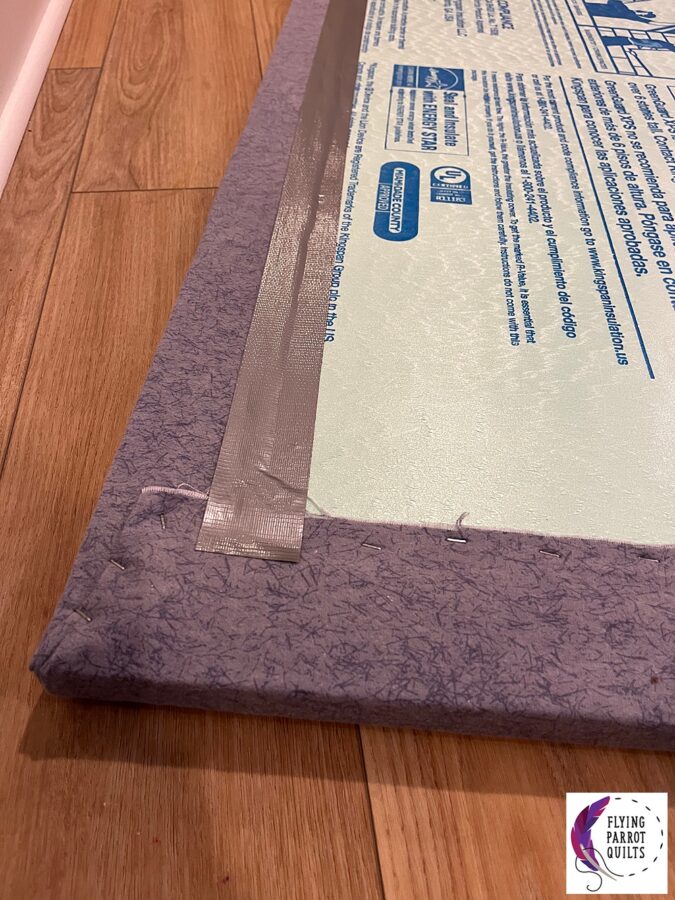
I cut 2 feet off the bottom of the 8 foot panel using a utility knife and rearranged. I duct taped the pieces together on the back. This is not a great photo, but you can see how I taped them together.
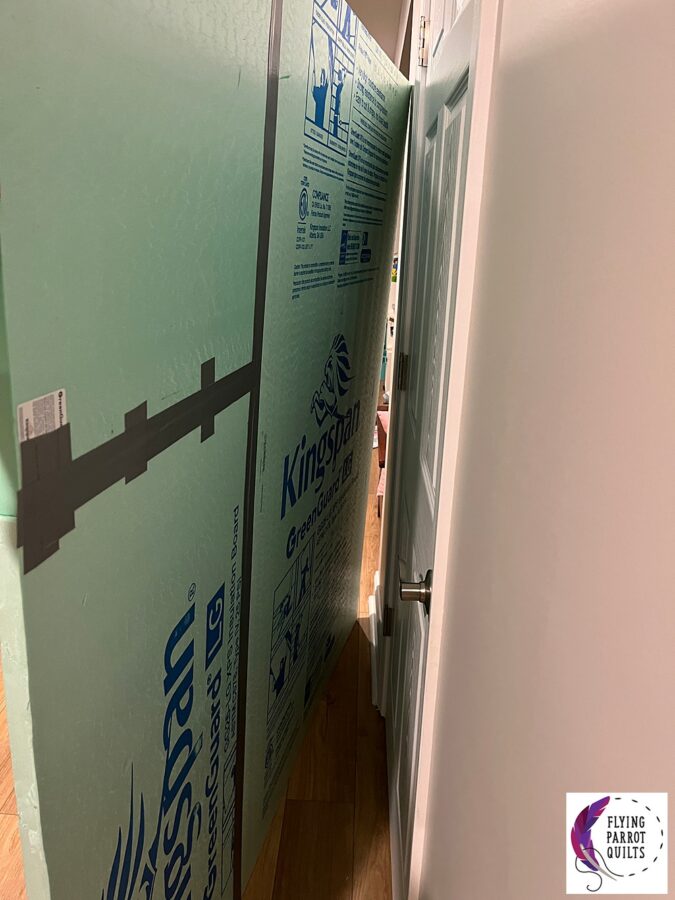
Here it was from the front. The joins weren’t perfect but they are going to be covered by flannel, so it’s not a big deal.
I decided to use some wide masking tape to tape the joins on the front as well in order to make the board a little sturdier. Using masking tape rather than duct tape means that I’ll still be able to pin into those sections if needed.
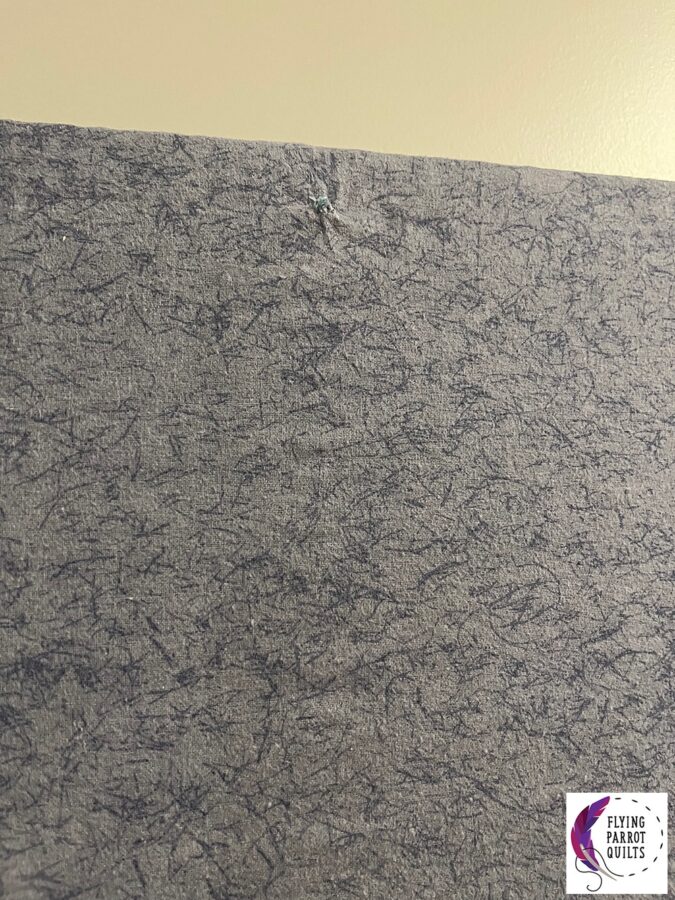
Then it was time to cover it with flannel! 108″ wide flannel was 50% off at Joann’s, so I bought 2½ yards for this particular project. I did prewash it to remove any sizing, since I figured that might make it less sticky. I ended up having very few options in terms of color, but this slightly textured gray actually works out really nicely in my opinion.
I folded the flannel to the back and used a staple gun to secure it, and I did pull it pretty tight. Because the insulation boards are just foam, the staples weren’t holding super well, so I also duct taped over the stapling afterwards to hold it on. Then I ran out of duct tape, but I found some Gorilla tape in a bin in the garage. I probably would have used that for all of the back taping if I’d known it was there!
Then it was ready to attach to the wall—or so I thought! Here is where I learned an almost-disastrous lesson, because we planned to just drill through the whole assembly and into the wall, but the spin of the drill caught the flannel and started to pull it. Fortunately the damage was minimal and able to be covered up with the finishing washers, but if you’re going to do this, PUT DOWN THE POWER TOOL!
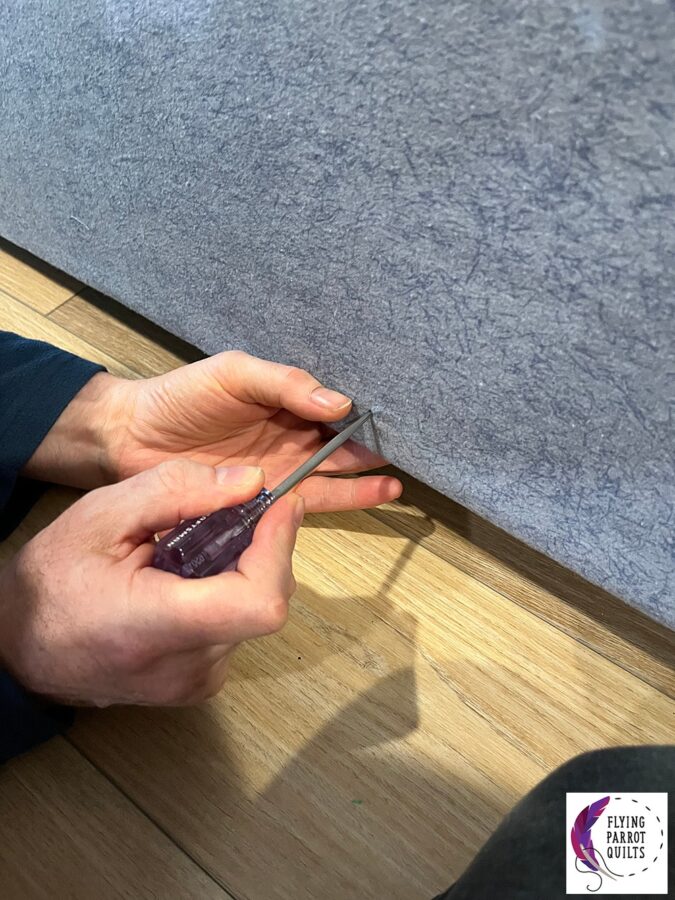
Instead, we decided we needed to do the holes in the wall and through the design board separately, which meant some quilting tools came in handy! Although I don’t think this really HAS to go into the studs, we try to get things in the studs where possible, so I marked out on the wall where we wanted to pre-drill holes into the studs.

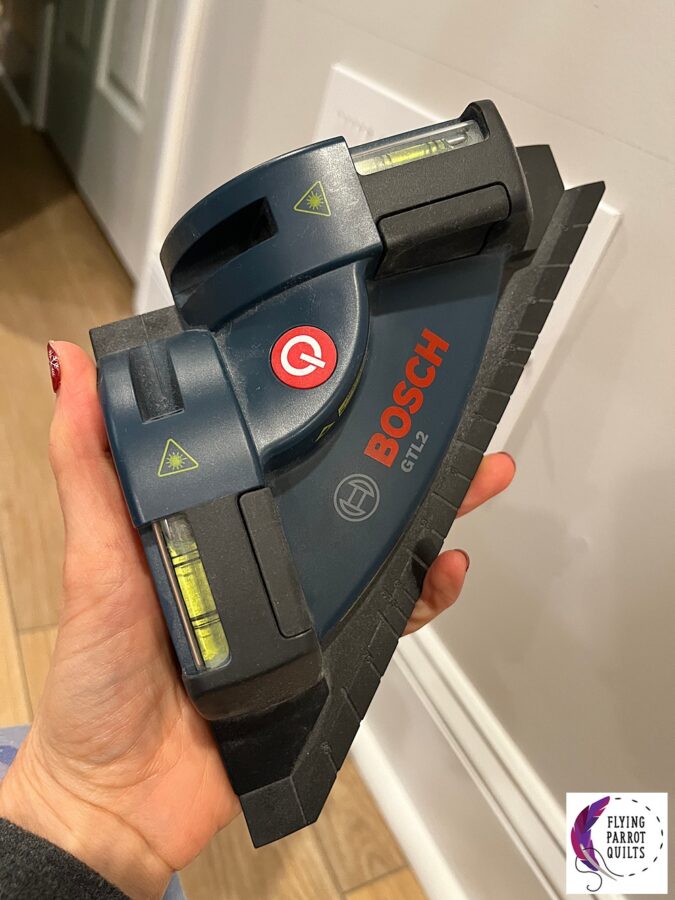
To make sure it was going to stay nice and level, I used my laser square that I sometimes use to square up quilts! (Stay tuned, because this bad boy is going to make an appearance in my post about my cutting table too!)
I then used my quilting rulers and wash-out marking pens to note where on the design wall the holes needed to go.
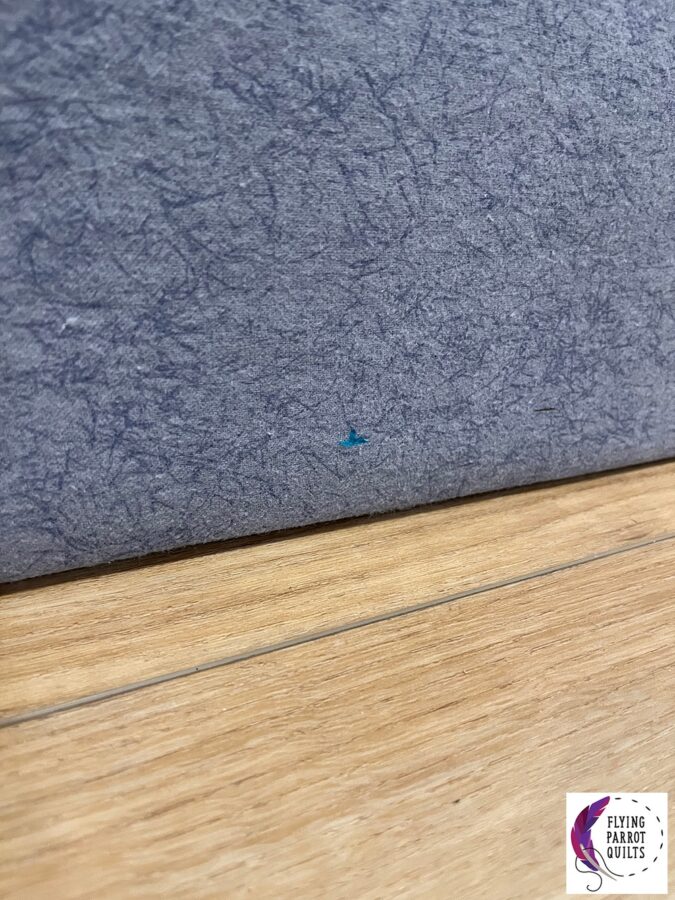
We used an awl to poke the holes through the flannel and insulation board. The hole will be covered up by the finishing washer, so I didn’t do anything else to it, but you could use some Fray-Check if you are worried.
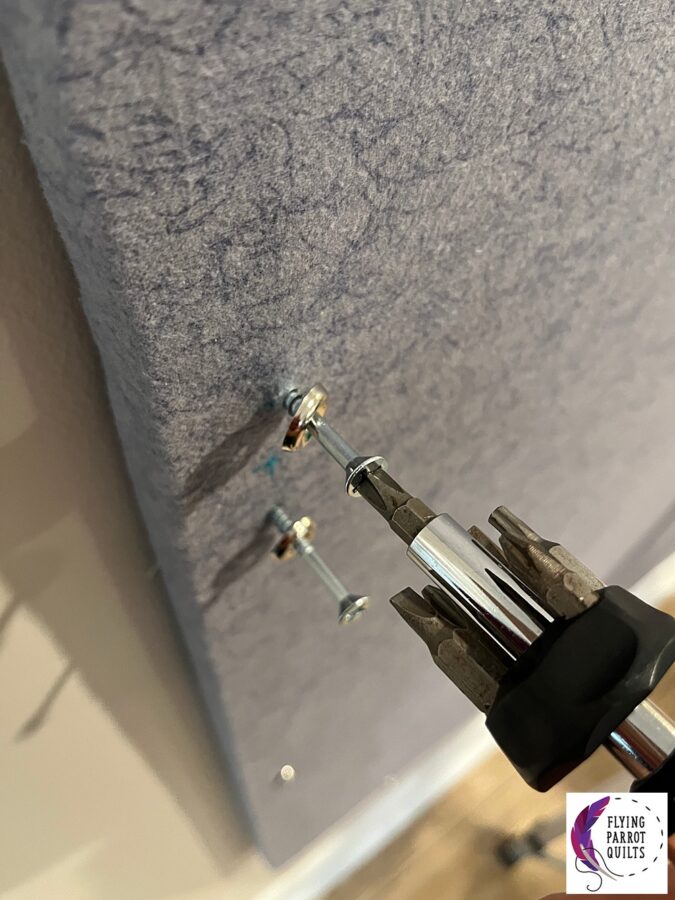
After pre-drilling the holes into the wall, we used a hand screwdriver (again, NOT the power tool!) to screw 2″ screws with finishing washers through everything. Fortunately, all my holes lined up, and it turned out nicely! I intended to just space them every 2 feet along the sides, but that would have put a couple of them right on the joins between the insulation boards so I had to space a few of them a bit more closely. But the washers really look pretty nice, so it doesn’t bother me!
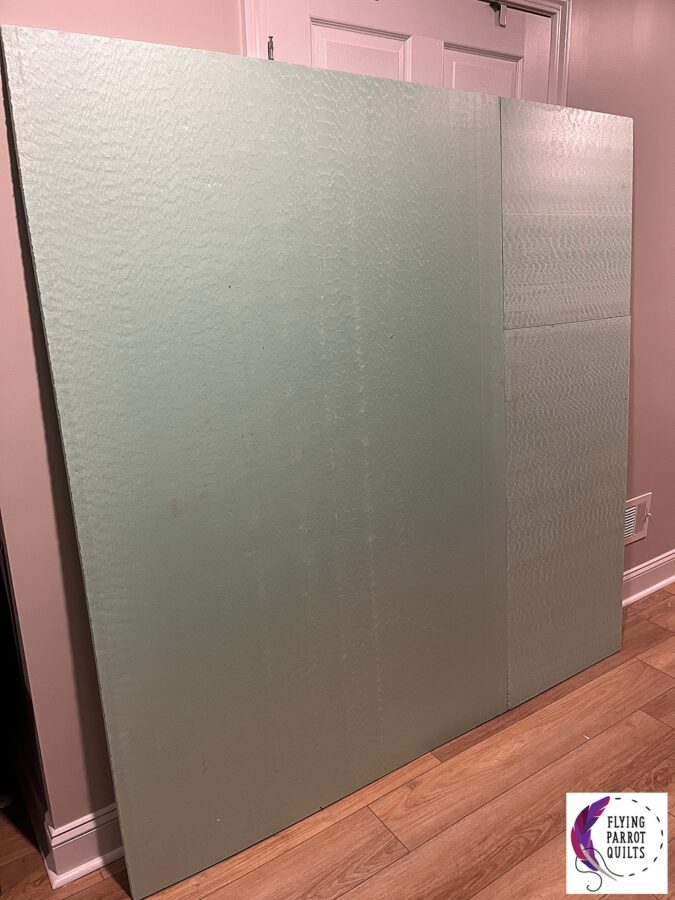
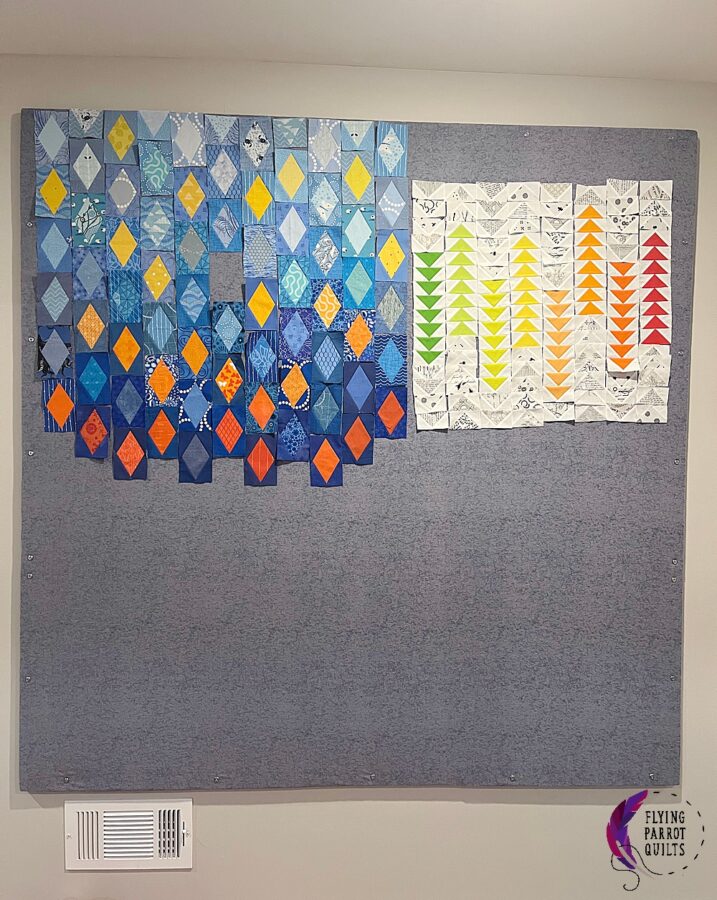
Here’s the finished board! You have to look pretty closely to see where the joins are.

I’m so excited to finally have a place to lay out quilts again! And little hands were pretty fascinated by the stickiness of it—I got a few minutes out of handing over a scrap bin and letting the kids at it.
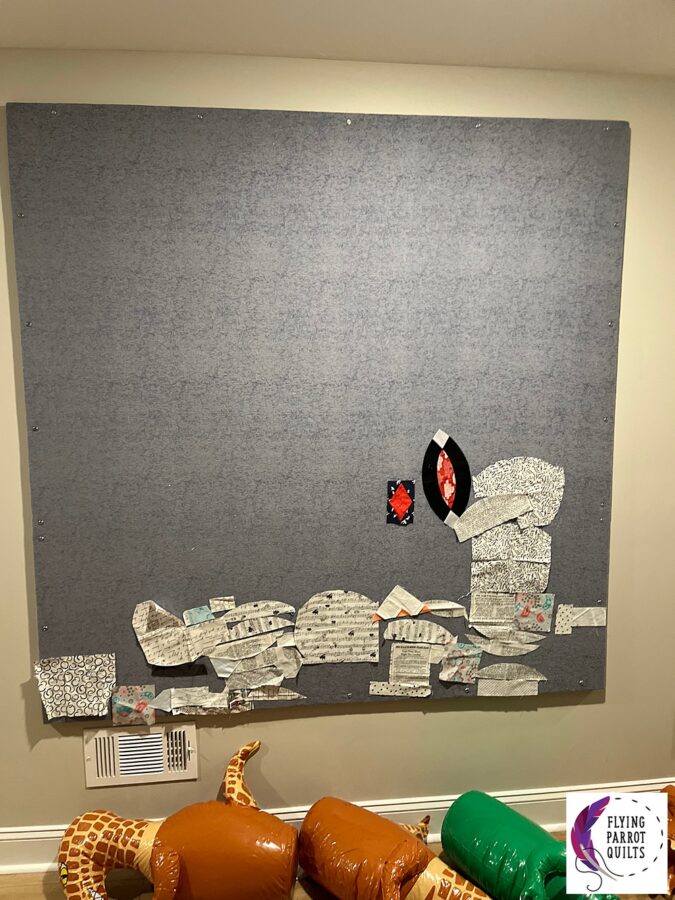
It looks pretty good with some actual quilt blocks on it, too!

Nice work!
Great method! Thanks for sharing!