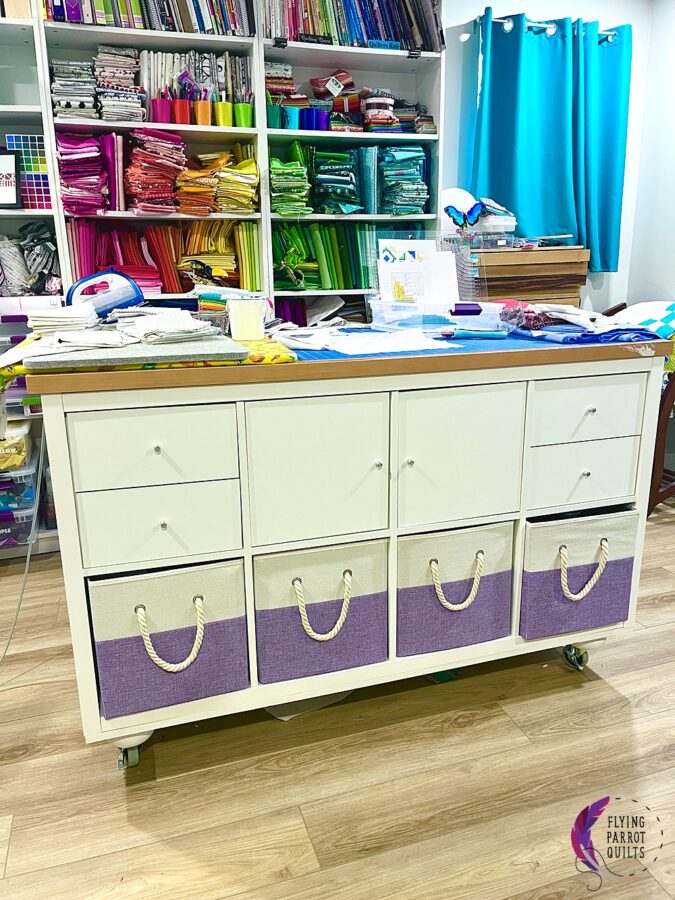
It wouldn’t be a new quilting studio without a new cutting table, right? In my old space I propped up a table with some PVC pipe to get it to the right height, but I wanted a table on casters with storage underneath—so enter the IKEA Kallax cutting table hack!
I used two 8-cube Kallax units, which I bolted to a sheet of plywood. I added casters (plus feet, to give some additional height since I am 5’10”), and the tabletop from my old cutting table on top, which was just barely big enough. I would ideally have liked a slightly larger tabletop, but in the interest of using what I had I reused it.
As a side note, IKEA does sell 3×4 cube units. I didn’t realize this until after I’d bought and assembled mine, but I think that by the time I added casters and the tabletop and bottom plywood, it would have gotten too high. However, if you are tall and want a stationary cutting table, those might be a good option.
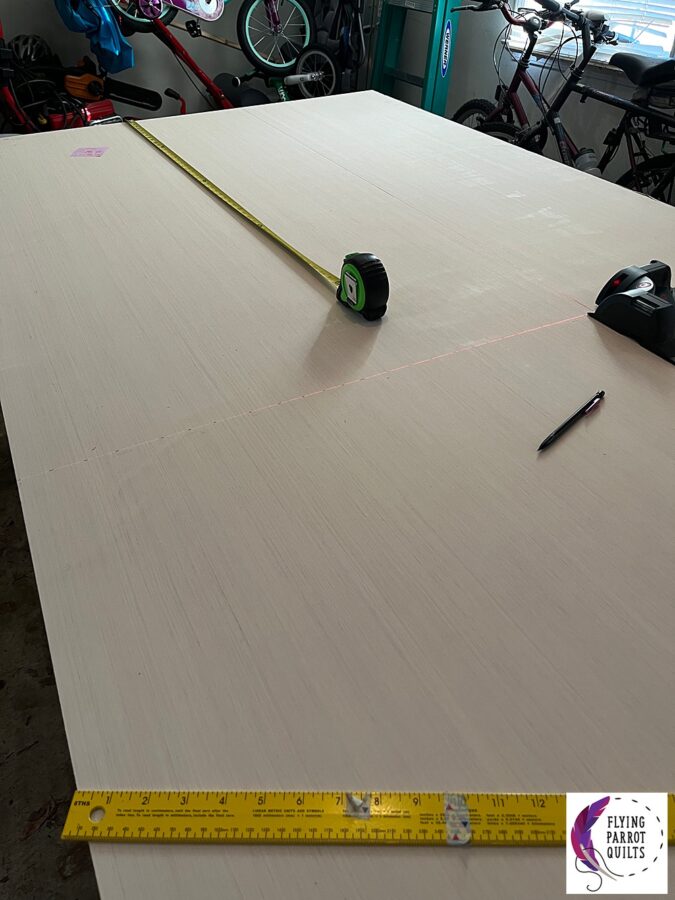
The first step was cutting the plywood down to the size of the two back-to back units. The trusty laser square that I bought to square up quilts years ago came in handy again! I used our circular saw to cut the plywood.
I used iron-on melamine tape to finish the edges so that it would match the white Kallax units, and more quilting supplies did double duty: an iron and a seam roller.
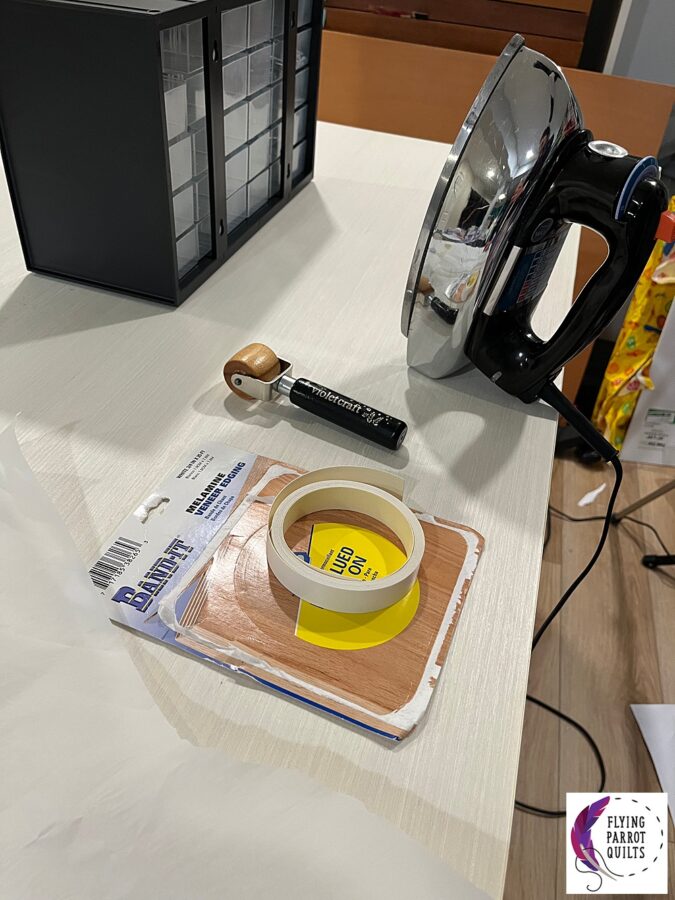
This type of veneer edging is really nice, as it finishes the edges much better than a coat of paint would. I didn’t paint the board as aside from the edging, it’s not really visible.

Then, I clamped my plywood to the top of the Kallax units.
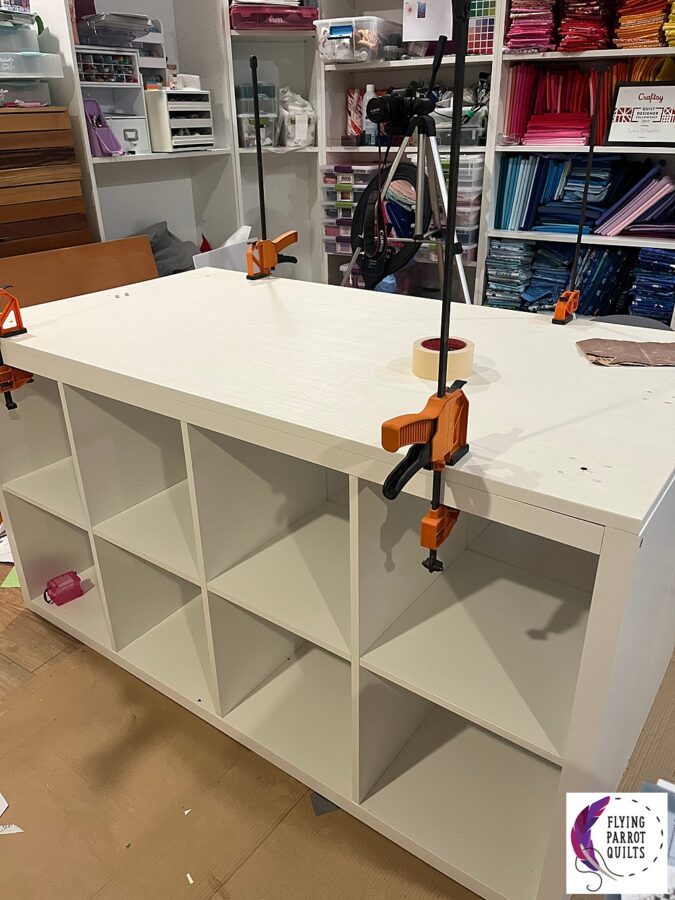
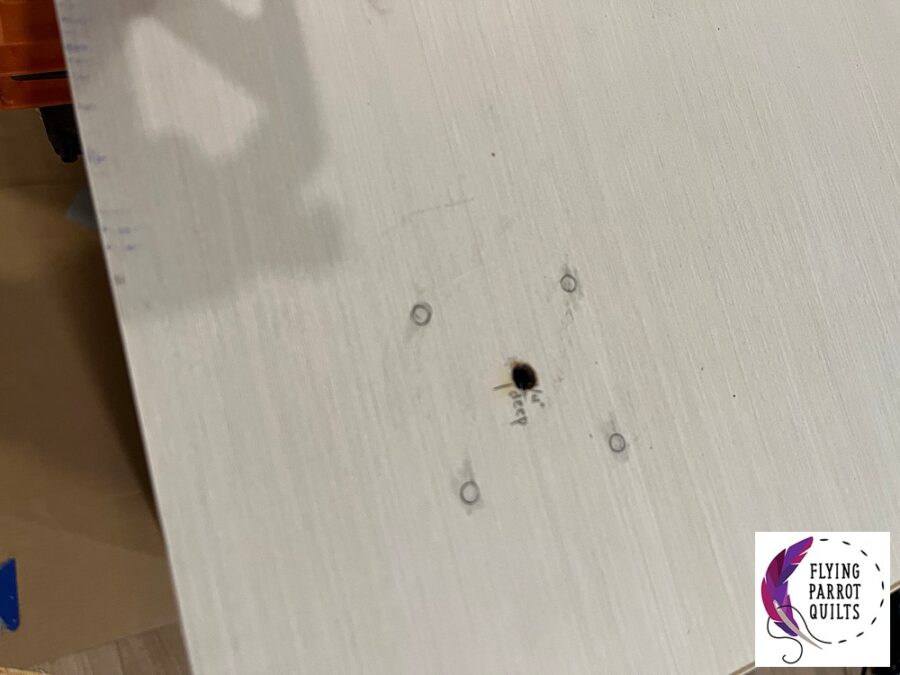
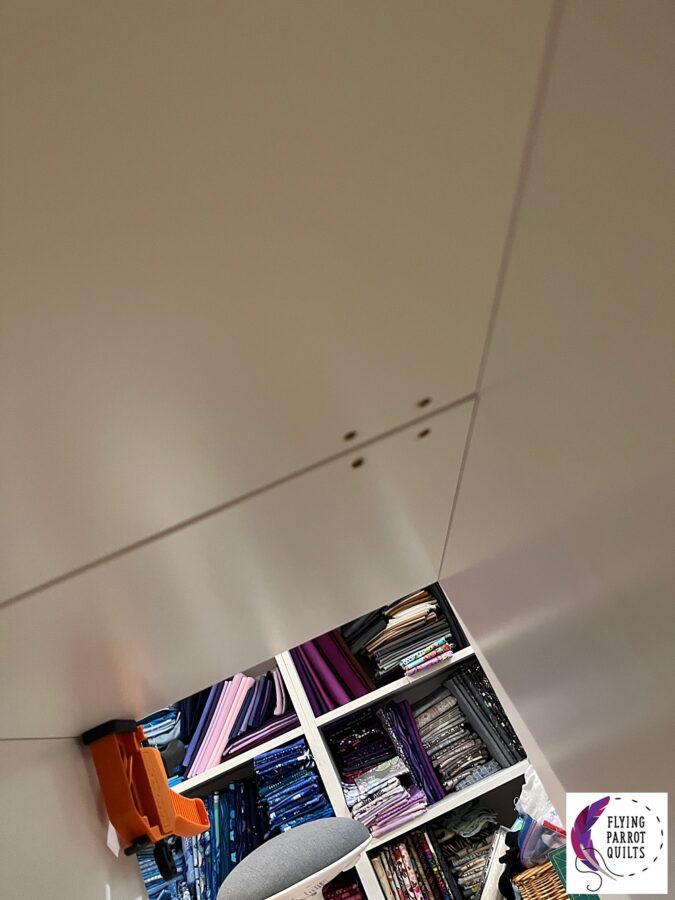
The Kallax units have pre-drilled holes meant for bolting them to the wall; I went ahead and drilled all the way through the units and through the plywood (hence the clamping). I found flat brackets at Lowe’s that fit over the holes just perfectly, so I used them and 3″ machine screws to bot the units together and to the plywood.
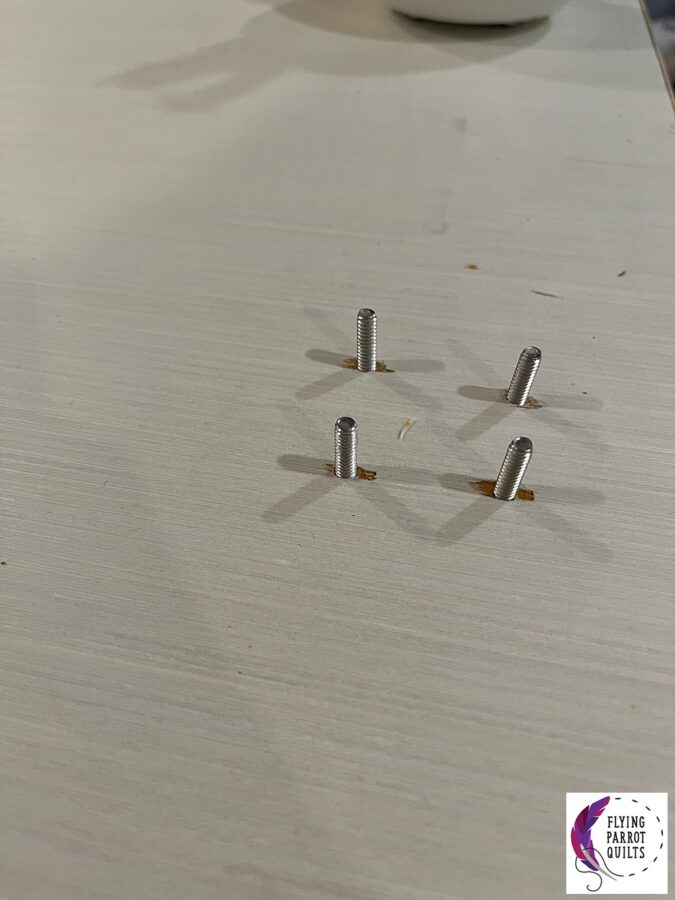
I still need some nuts, but at the point that I realized I got the wrong kind, I’d made approximately 300 trips to Lowe’s and they can just wait a bit.
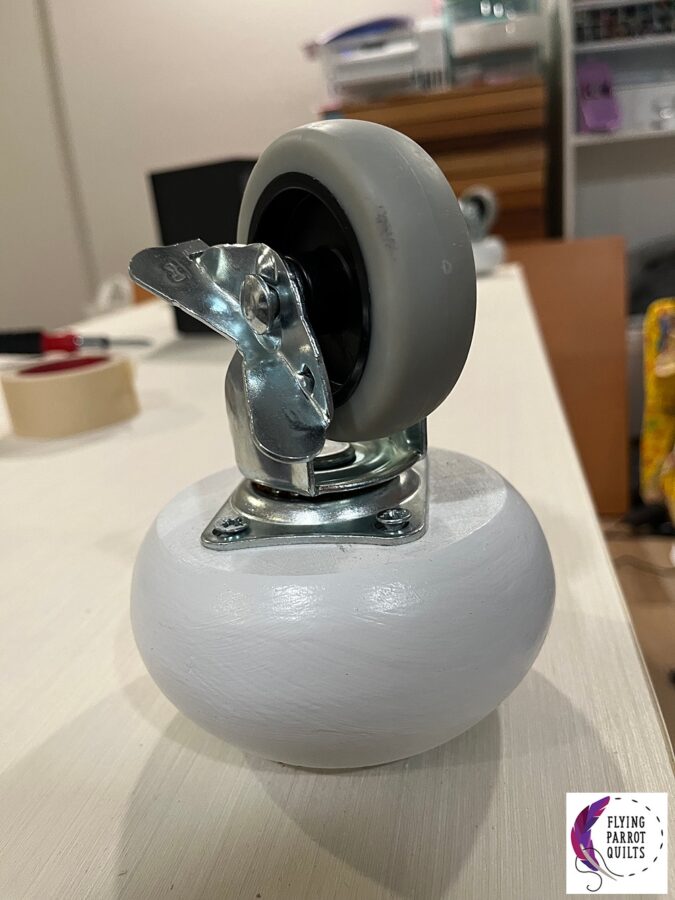
Next step was putting on the legs and casters! Although they’re not really visible, I did give my table feet a quick coat of paint. This is leftover white latex paint from the trim in the basement. Don’t forget to tape off the screws with painter’s tape first!

Again, these are just to give the table a bit of extra height since I’m tall. You could totally leave them off if you need less height. The bolts on them were a little too long for the table leg plates, so I had to drill into the plywood to attach them.
After attaching the feet, I predrilled holes for the casters.

This is when I managed to break a drill bit! By the way, we bought a corded drill last year when we needed to anchor shelving into concrete in the storage area of our basement and it’s so much more powerful (and fun) than a little battery-operated drill!
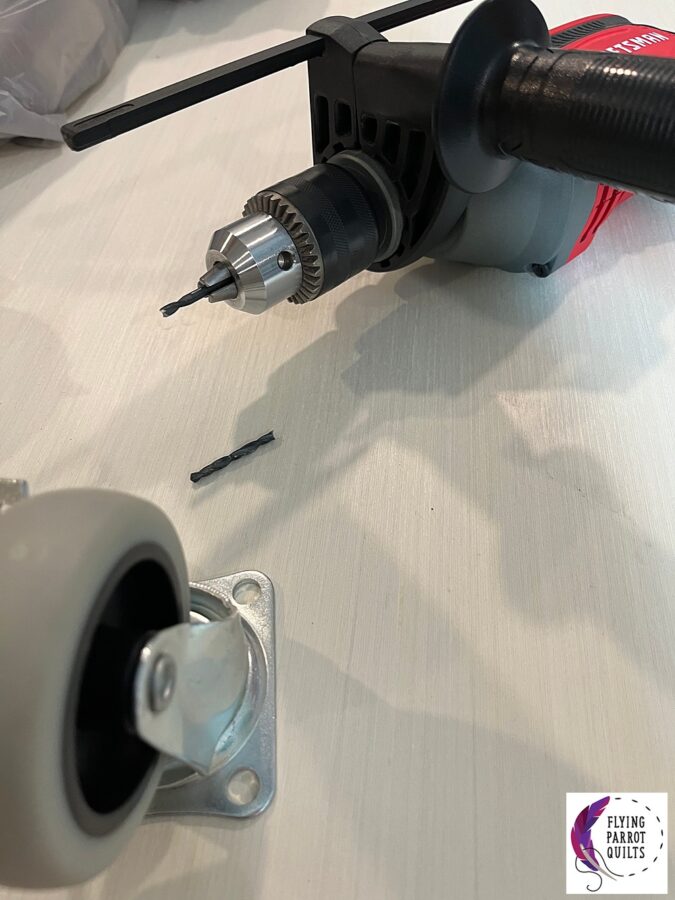
Once I’d made yet another trip to Lowe’s to replace the drill bit, I was able to get the caster assembly put together.
At that point, I got some help flipping it over and I got too excited about being close to the finish line to remember to take pictures! I drilled through the holes for bolting to the wall on this side too, and then clamped the table top onto the units. I used more brackets along with regular wood screws this time to screw the table top on.
If you wanted the bottom and top to be more secure, you might want to add additional bolts and screws in each of the four corners. I figured I wasn’t going to be putting that much stress on the unit so it didn’t really need it, and I didn’t want the bolt and screw heads to get in the way of things that were going to go into the cubbies.

After that, I got to install all the Kallax inserts that I got for the table! I had a hard time deciding where to put them all, but in the end I went for symmetry. I did have to use a utility knife to cut a little slot out of the inserts for the drawers to account for the screws used to bolt the two units together.
And then I ordered some pretty bins for the bottom to hold things like interfacing, cuts of apparel fabric, etc.! Purple boxes for the front…
…and pink for the back!
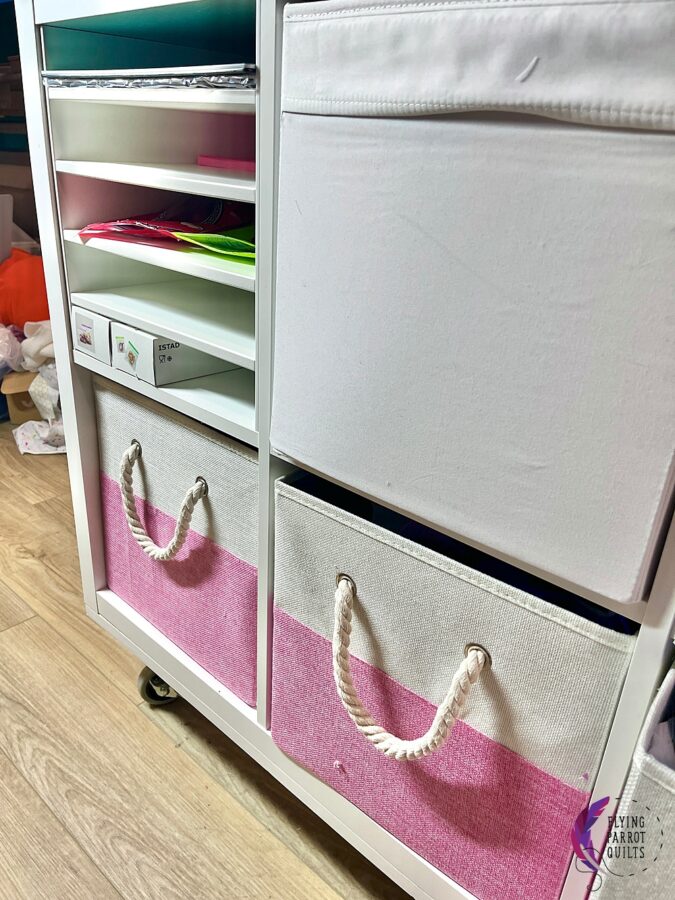
Shhhh… don’t tell my kids that’s my secret candy stash in the small shelves!


Leave a Reply